
Crochet Trees and Cars
My lovely hookers have worked so, so hard and I couldn’t be more chuffed with the effort, skill and commitment they have shown to this crazy project.
But we’ve still got so much more to do!
I’m currently a little low on houses, cars and tree so I’m releasing some more patterns, tutorials and ideas to get everyone inspired! If you’d like to make a house, check out my previous post, and below is a tutorial for making fancy trees!
Here goes…
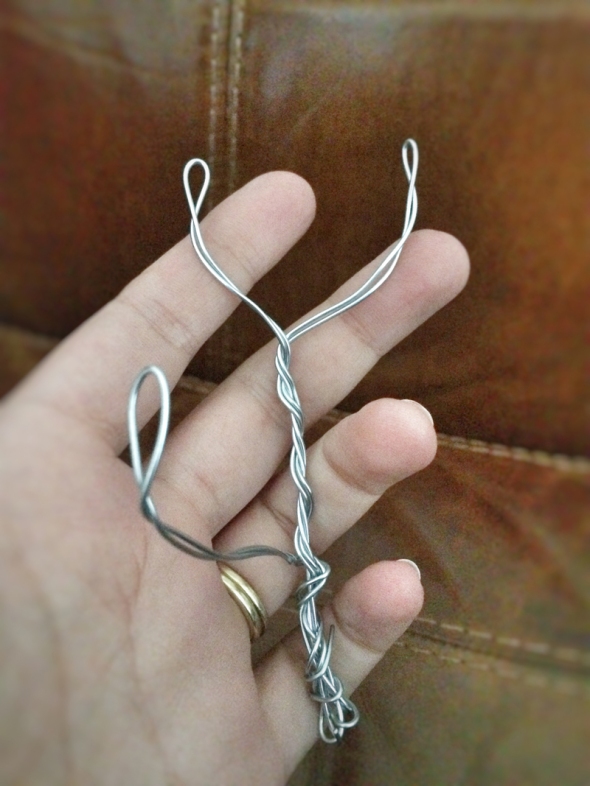
Using ordinary gardening wire, or any wire that is sturdy, make a tree shape out of 1 long piece of wire. You want the top of each of the branches to be bends, not the pointy end of the wire. Twist and bend until you have this sort of shape about 10-15cm high.
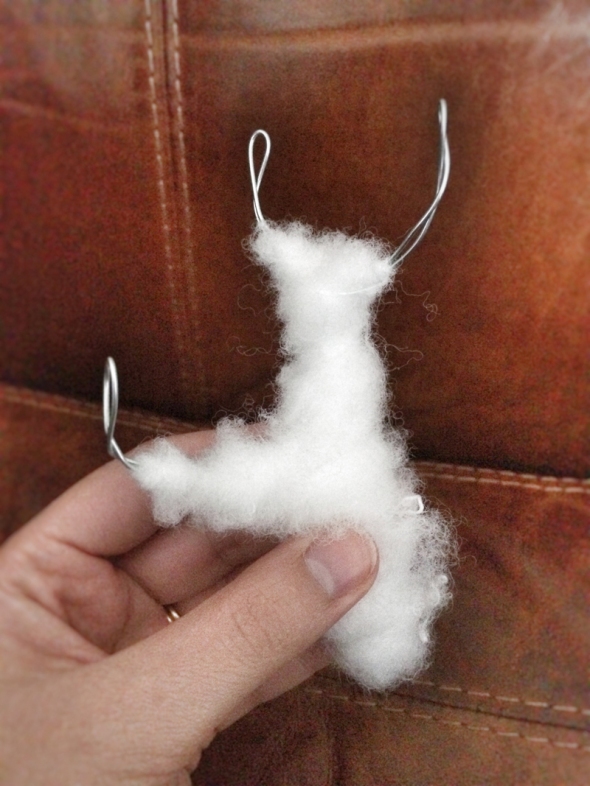
Using fibre fill (stuffing), wrap the tree to bulk it out. Use more at the base so it is thicker, and leave 1.5cm at the top of each branch to poke into the leafy bits later.
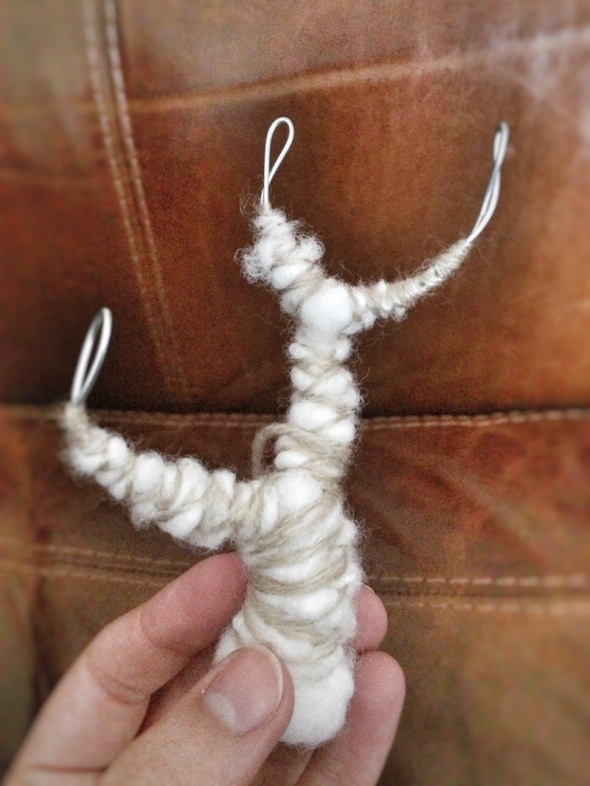
Bind the fluff to the wire with spare yarn, make sure you’ve secured the fluff in place so it doesn’t come loose when you re crocheting the bark later.
In brown dk yarn with a 3 or 3.5mm hook (the smaller the better here), create a small disc that is bigger than the thickness of the base of your tree.
Magic circle 6dc
2dc in each st (12)
(2dc in next st, 1dc) 6 times, slst to finish circle.(18)
Add more rounds if your tree is thicker, increase 6 evenly every round.
Next, on the wrong side of the disc (so turn your work over) working clockwise, stitch 1dc through the stem of each st. (18)
Continue to work even for a couple of rounds.

Now comes the fun bit, a bit fo free form crochet. Stuff the tree into the bark and continue to crochet around it. If you find your work is getting baggy on the tree trunk, decrease the amount of stitches. If it is getting too tight, increase.
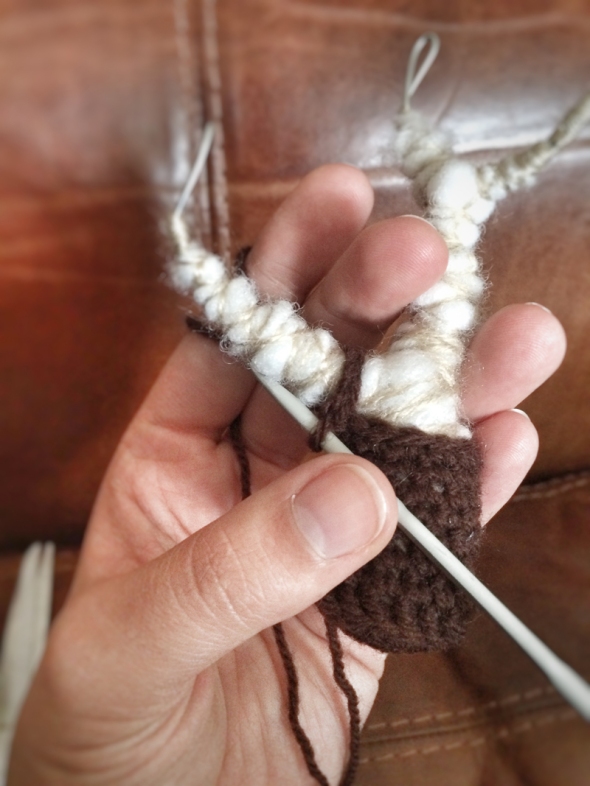
Keep going until you are tight up to the first branch. ch st around the branch using as many chs as it takes to be able to circle it. Keep working in rounds up the branch, decreasing where needed, until you have covered the fluff. Leave the 1.5cm tip of wire free.
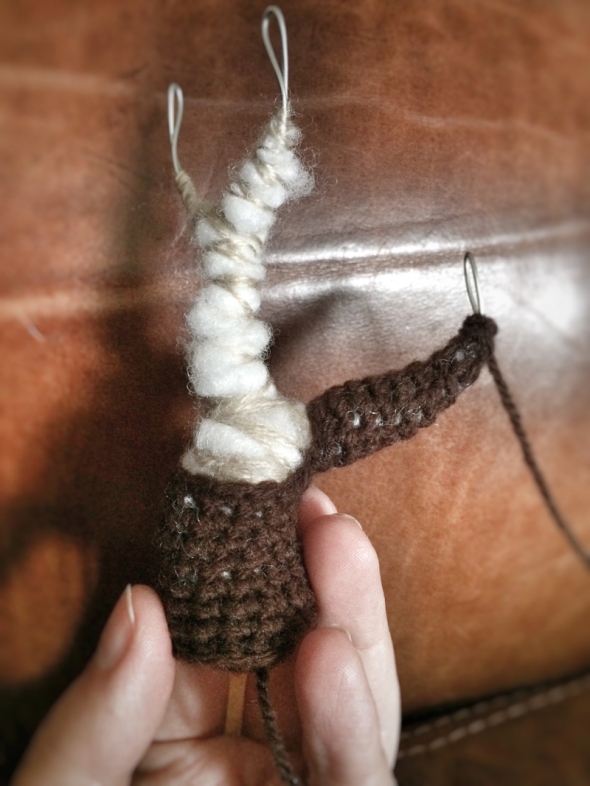
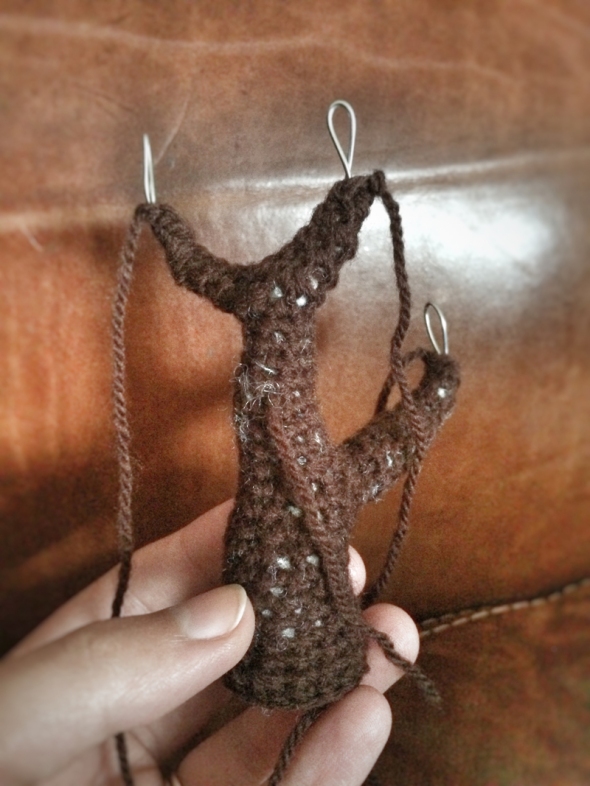
Reattach yarn on the main trunk and continue to work in rounds, breaking off for branches as before and increasing and decreasing where needed.
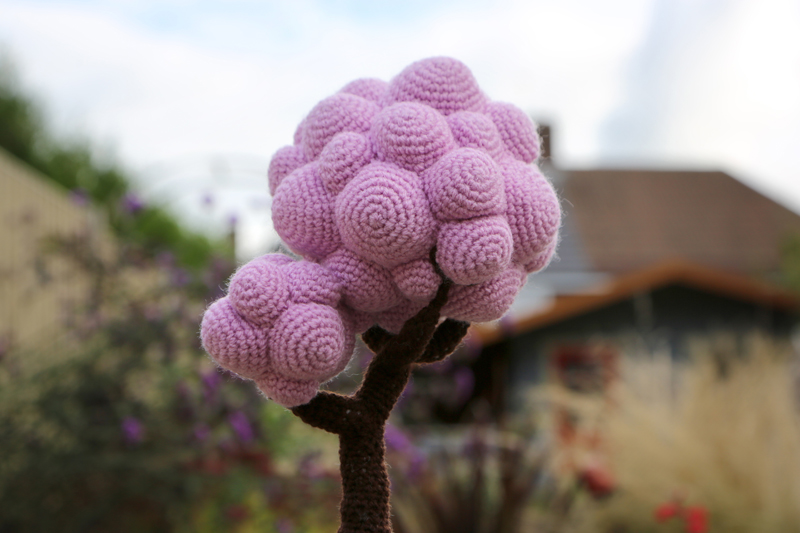
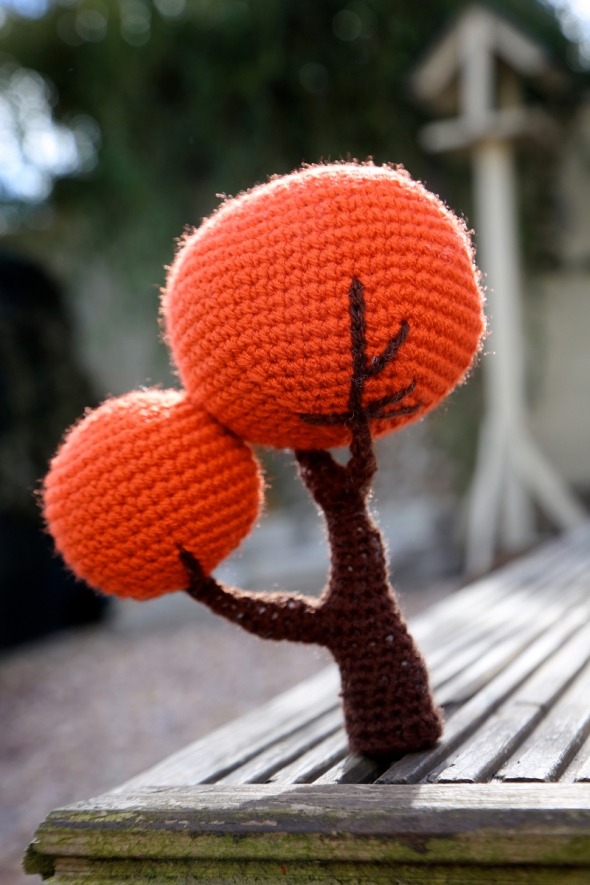
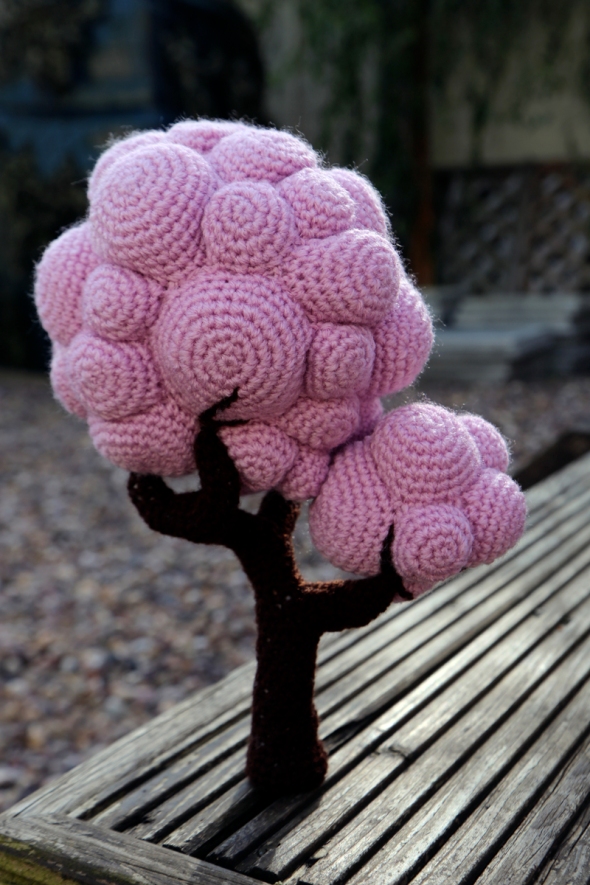
Leafy orbs
These can be as large or as small as suits your trunk shape. As a general rule, you can make spheres by starting with 6dc in a magic circle, then increase 6 evenly every following round until you get to the diameter of the sphere you want.
Next, double the amount of rounds you have created by working even. So, if you had increased for 6 rounds, work even for another 6 rounds.
Lastly, decrease 6 evenly every following round to close the bubble. Don’t forget to stuff your ball before you close it!

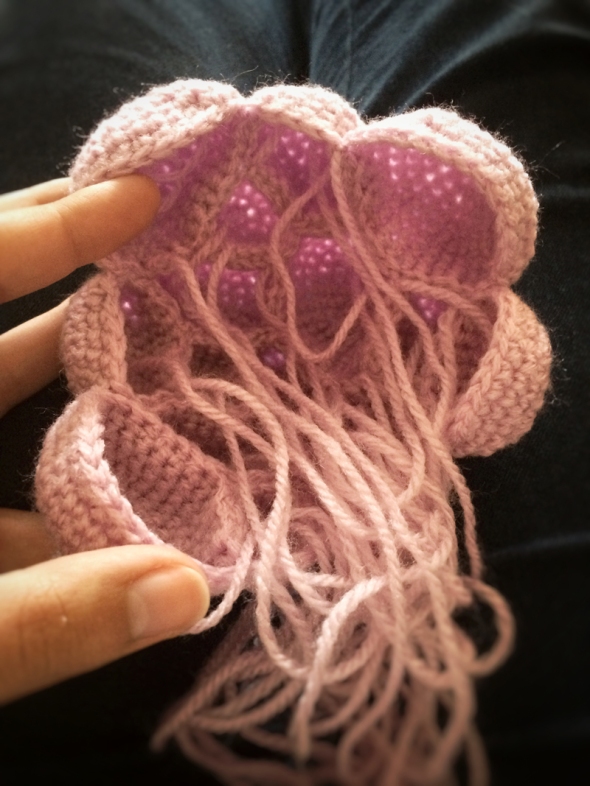
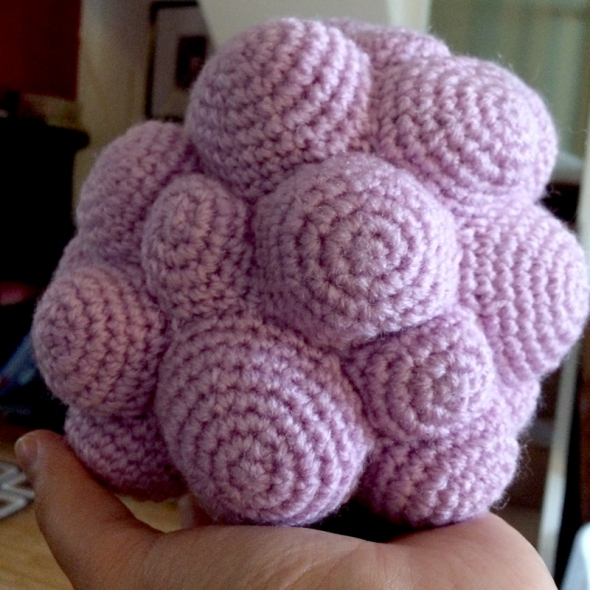
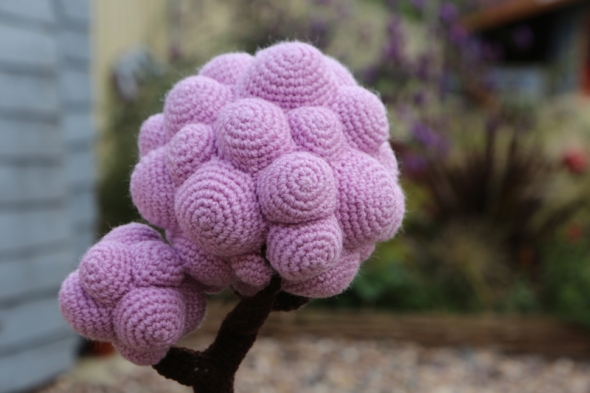
Or, if you want a more challenging version, make a series of smaller HALF spheres (18st circumference, 24st circumference and 30st circumference) and stitch them together in a big … blob. I wish I could find a better word for it!
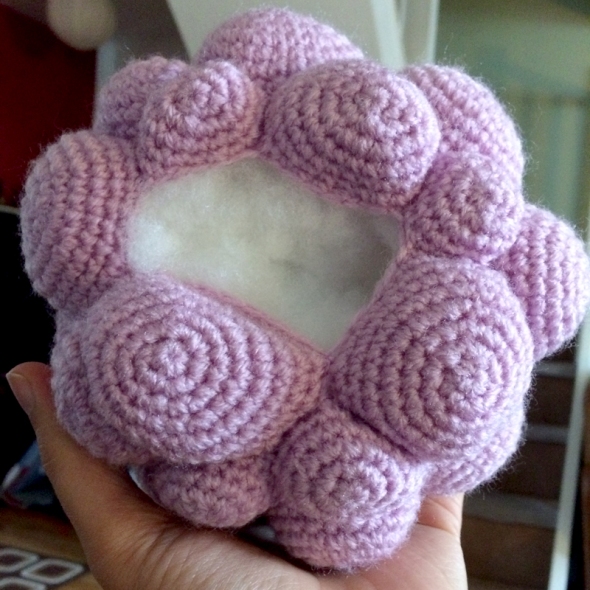
Once you have your leafy sections, insert the wire from the braches into the bottom of them and stitch into place. If you can, try to have 3 points of contact between the trunk and the leafy sections.
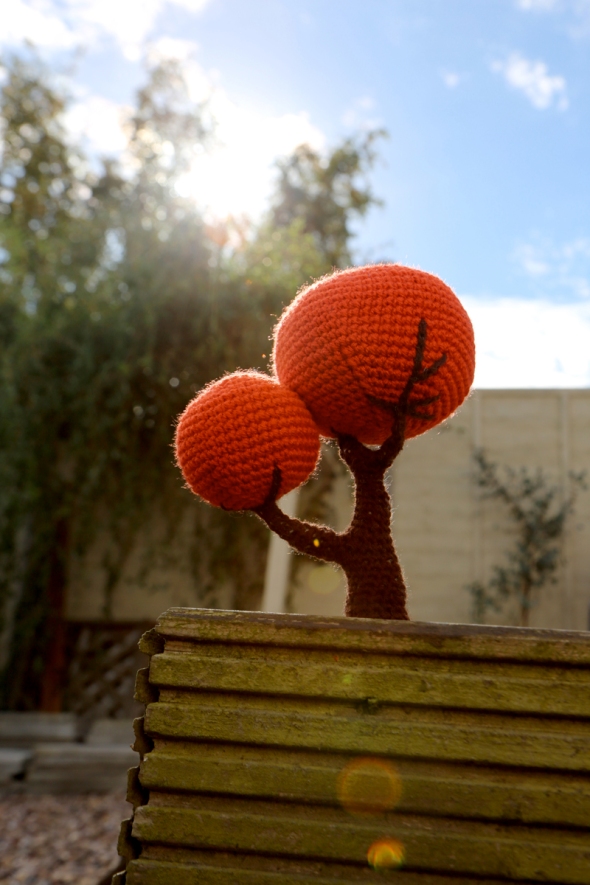
I also like to surface crochet or embroider on some extra branches onto the leafy sections. If you secure your stitches back onto the branches/trunk section, you’ll add another layer of stability.

Please note, these trees will attract the attention of any young ones you have around, but they are not toys. Whilst I do advise that you make sure all sharp edges of the wire are tucked away, they still have wire inside so please supervise little ones around them.


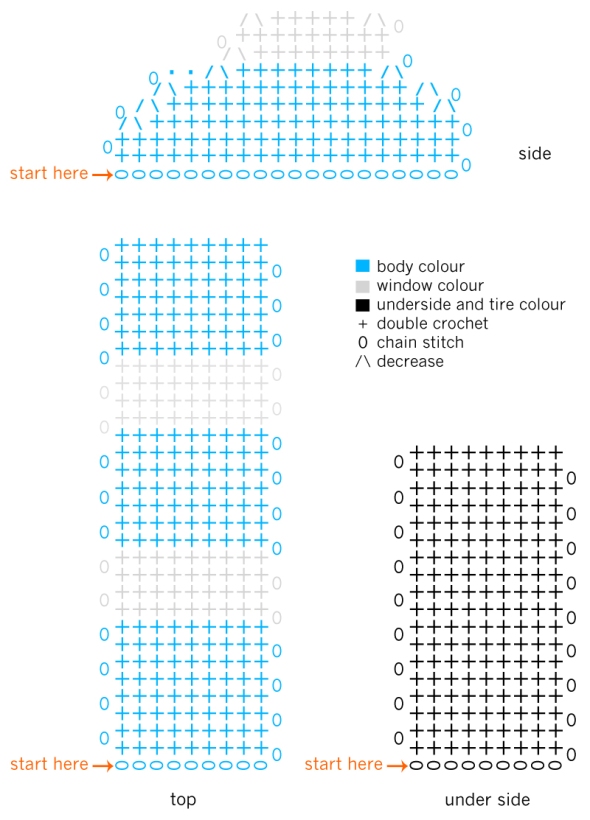
Cars
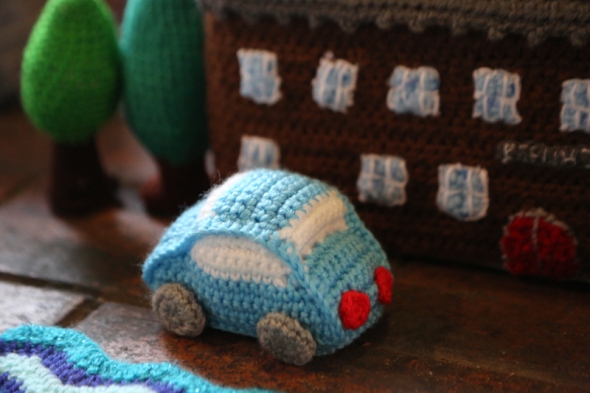
For the cars, I’ve written a crochet chart for the sections that are worked back and forth. Its good practice for those of you learning to read charts, remember to work 2 sides.
Wheels x 4
Magic circle 6 dc,
2dc in each st (12)
(2dc, 1dc) 6 times (18)
work even
(dec, 1dc) 6 times (12)
6 dec (6)
stuff with a little fibre fill, sew up and stitch through the centre, front to back and back again a couple of times to flatten.

Lights, 2 x yellow for front, 2 x red for rear
Magic circle 6dc.
Attach the top of the car to the sides, matching up the windows. Either sew or double crochet to join.
Sew or double crochet to join underside of car, remembering to stuff before you completely close.
Sew on lights and wheels.
So there we have them, 2 more pattern ideas for Burton Yarn Trent. I’d love to see your versions, or even have them submitted for our model! And don’t forget, if you’re struggling with the patterns or need a bit of guidance, I teach crochet at the Brewhouse Arts Centre on Tuesdays from 1-2pm.


