Hello dear Amigurumi Followers
Today we share Amigurumi Lanny Santa’s Helper Doll Free Pattern for you. As you know we share new free amigurumi pattern every day. The main crochets are gazelle, amigurumi bear, pola, crochet panda, penguin, giraffe, llama, pig, bunny, clown, lamb, bee, crochet unicorn, amigurumi doll, fox, penguin, dinosaur, crochet elephant, hippo, monkey, crochet cat, crochet dog and more …
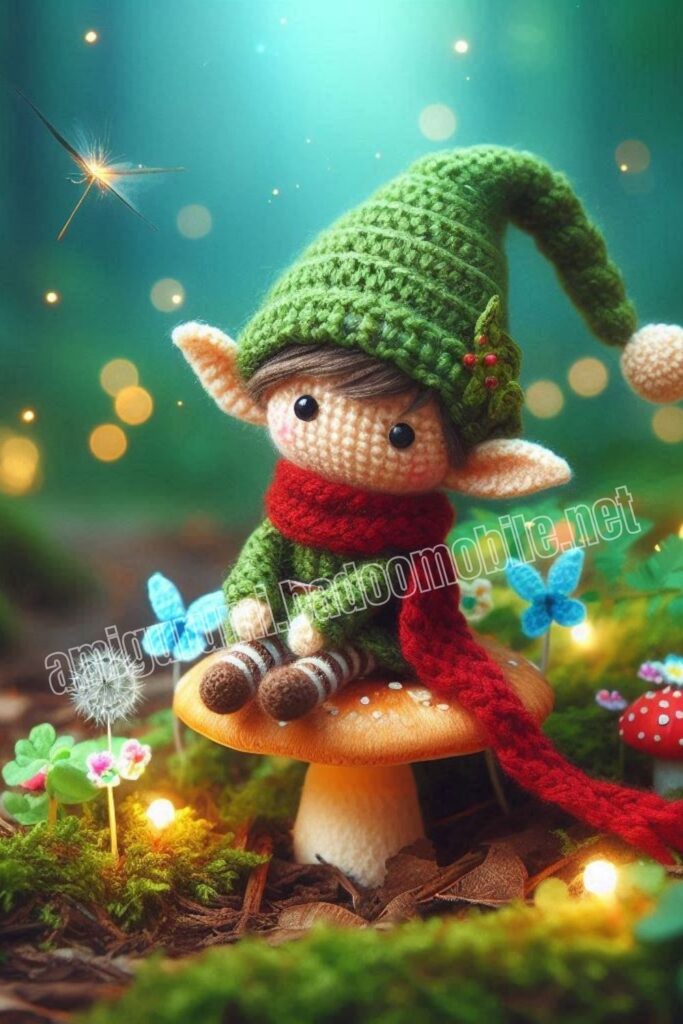
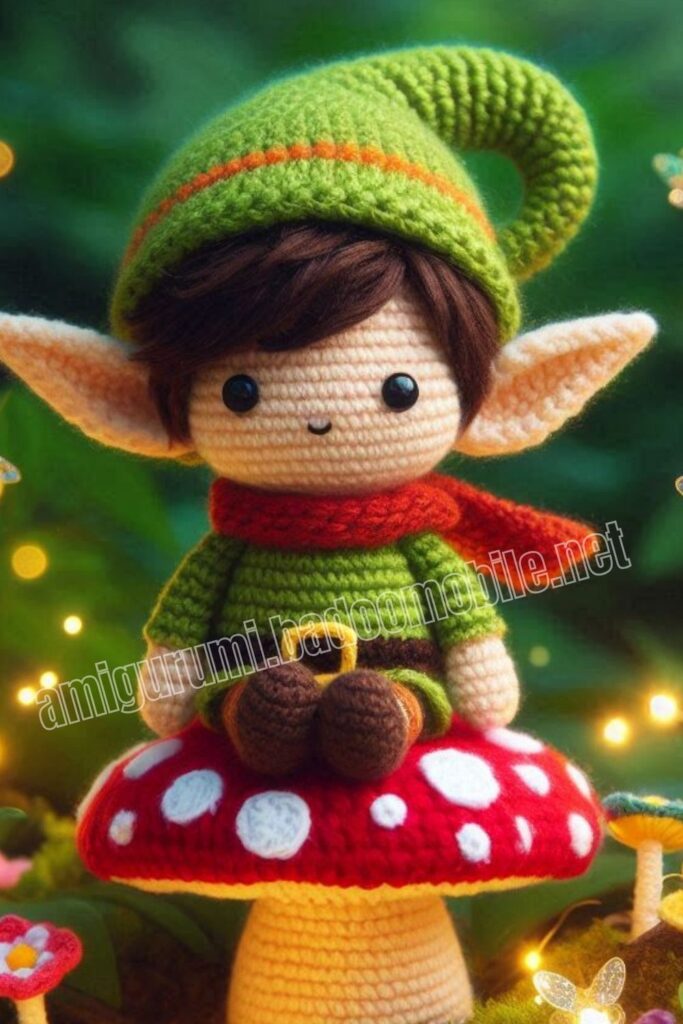
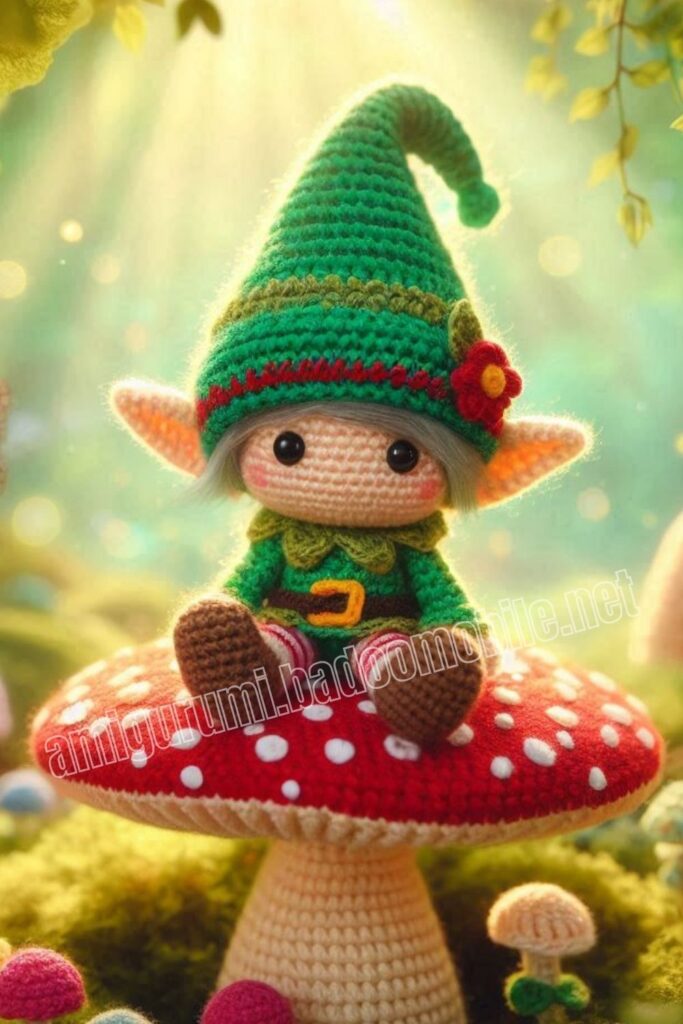
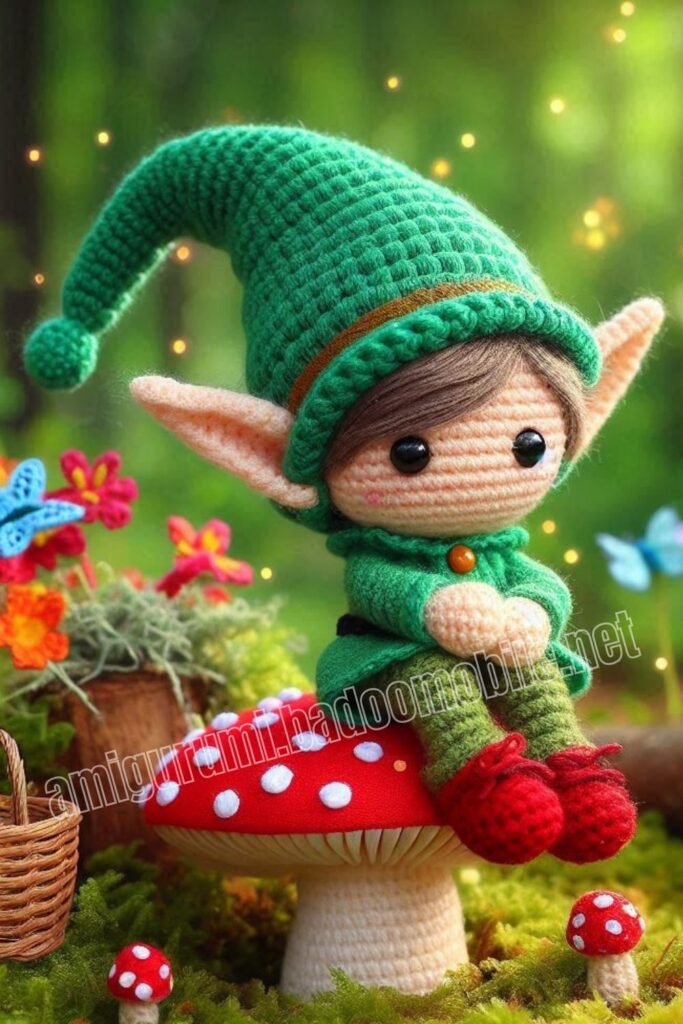
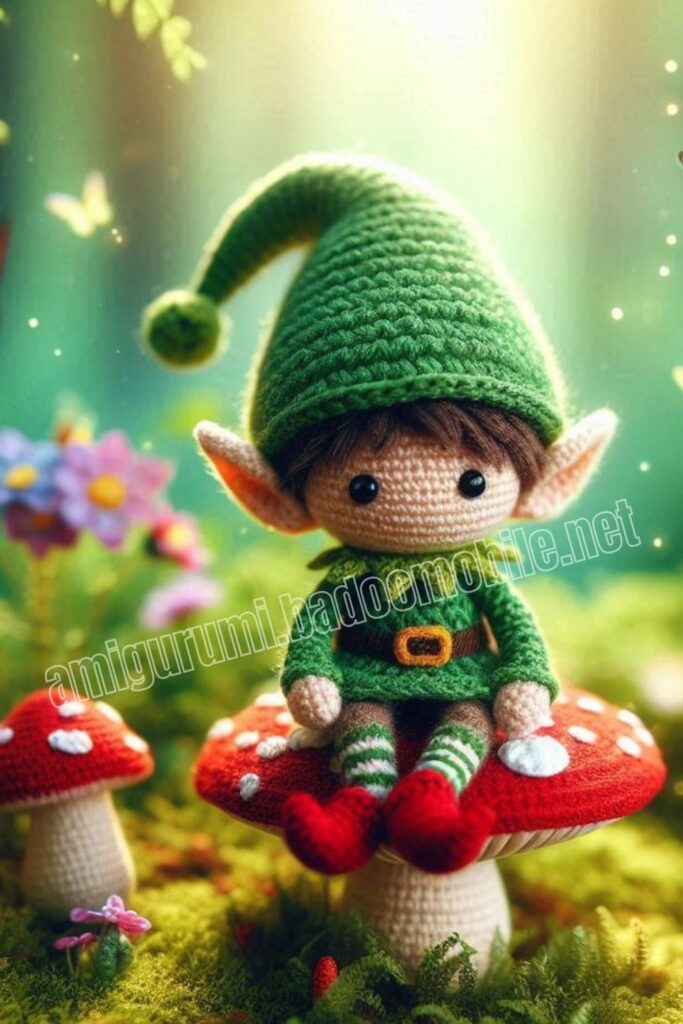
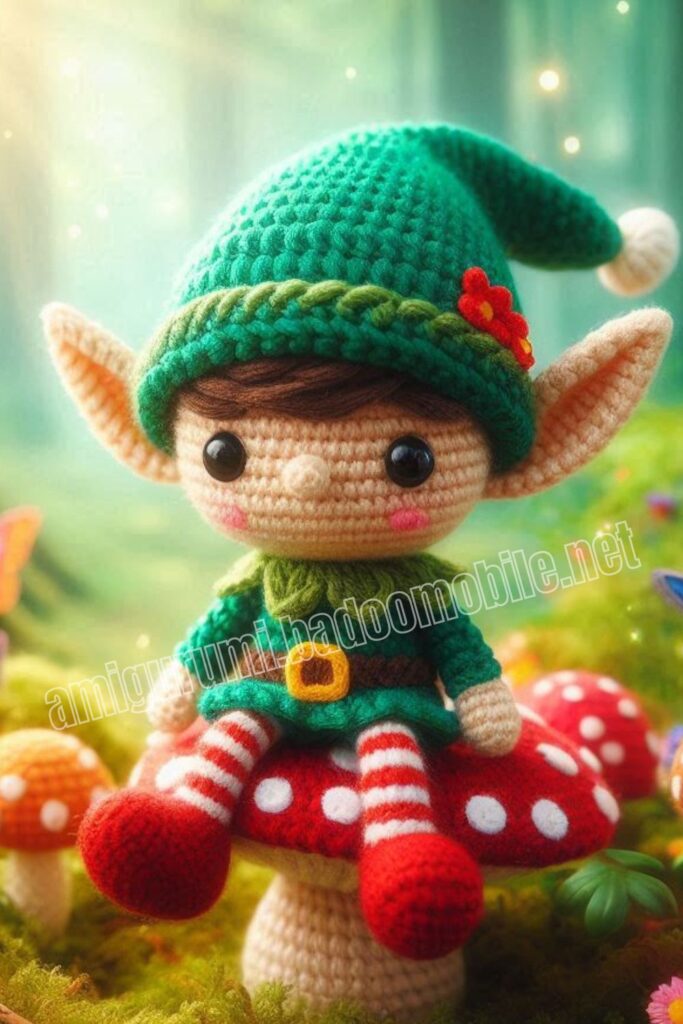
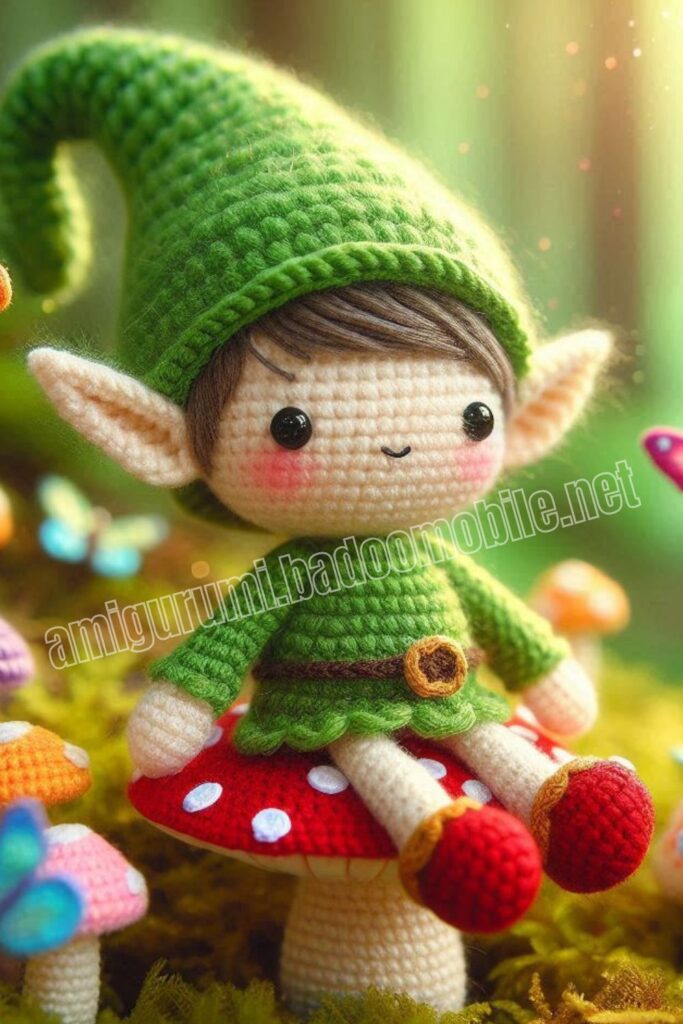
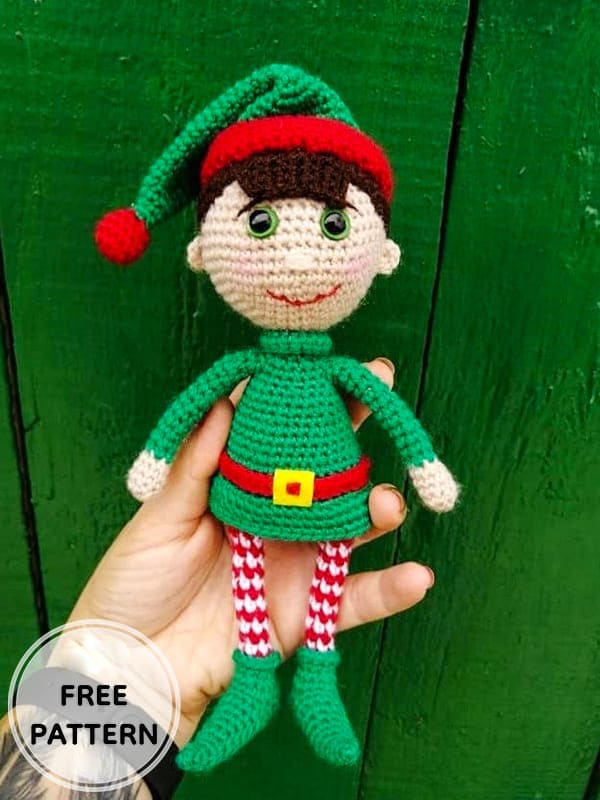
Todays daily new amigurumi free crochet pattern is Amigurumi Lanny Santa’s Helper Doll.
I want to give you some informations about this amigurumi free pattern ; Lanny Santa’s Helper Doll.
Necessary materials
1. Yarn Pekhorka “Children’s novelty” beige, green, white, red and brown.
2. Red floss for the mouth.
3. Eyes on a 9 mm safety mount.
4. Wire 10 cm for head stability.
5. A piece of yellow felt for a plaque on the belt.
6.Filler
• When using these materials, the height of the finished toy is 22 cm.
Abbreviations
MR: Magic ring
Ch: Chain
Sc: Single crochet
Inc: Increase
Dec: Decrease
Slst: Slip stitch
BLO: Back loop only
FLO: Front loop only
Tch: turning chain
Rnd: round
Amigurumi Lanny Santa’s Helper Doll Free Pattern:
Arms (Make 2)
Beige yarn.
Rnd 1. 6 sc in MR
Rnd 2. (1sc, inc)*3 (9)
Rnd 3-4. 9 sc
Rnd 5. (1 sc, dec)*3 (6)
Change yarn to green color.
Rnd 6-18. 6 sc
The beige part of the arms is well stuffed, the green part is weaker, the latter do not fill two rows. Fasten and cut the thread, we will arms tie.

Legs (Make 2)
Green yarn.
Rnd 1. 3 sc in MR
Rnd 2. 3 sc
Rnd 3. 3 inc (6)
Rnd 4-5. 6 sc
Rnd 6. (1 sc, inc)*3 (9)
Rnd 7-9. 9 sc
Rnd 10. (2 sc, inc)*3 (12)
Rnd 11. 12 sc

We crochet in rotary rows without a loop rise.
Rnd 12. turn, 6 sc
Rnd 13. turn, 6 sc
Rnd 14. turn, 6 sc
Rnd 15. turn, 6 sc
Rnd 16. turn, sc, 2 dec,sc
Rnd 17. turn, 2 dec
Next, crochet in a spiral.
Rnd 18. 2 sc (on the edge), dec (grab 1 edge loop and 1 toe loop), 4 sc, dec (grab 1 toe loop and 1 edge loop), 2 sc on the heel (12), fill the sock with filler.
Rnd 19. 12 sc
Rnd 20. (2 sc, dec) * 3 (9), fill the heel
Rnd 21. 9 sc
Change yarn to red
Rnd 22. crochet behind the BLO (1sc, dec) * 3 (6)
Change yarn to white
Rnd 23. 6 sc
Next, we crochet alternating red and white yarn in a row.
Rnd 24-34. 6 sc
We return to the 22nd row and crochet for the FLO.
We attach the green yarn in such a position that the foot looked at you and crochet (2 sc, inc) * 3 (12), fasten the thread and hide. Fasten and cut the thread at the first leg, do not cut the second leg, but continue crocheting.

Body
In the process, we fill the body with filler.
We finished the leg with red yarn, and we will continue with it.
Rnd 35. 4 sc on the second leg, make 6 ch and connect with the first, symmetrically placing our legs. The beginning of the row is behind us.
6 sc on the first leg, 6 sc on the ch, 6 sc on the second leg, 6 sc on the ch (24)
Rnd 36. (3 sc, inc)*6 (30)
Rnd 37. (4 sc, inc)*6 (36)
Change yarn to white
Rnd 38. 36sc
Change yarn to red
Rnd 39. 36 sc
Change yarn to green
Rnd 40. 36 sc
Rnd 41. BLO- 36 sc
Rnd 42-43. 36 sc
Rnd 44. (4 sc, dec)*6 (30)
Rnd 45-46. 30 sc
Rnd 47. (3 sc, dec)*6 (24)
Rnd 48-49. 24 sc
Rnd 50. (2 sc, dec)*6 (18)
Rnd 51. in this row we crochet arms, 3 sc, 3 sc on the loops of the arm and body, 6 sc, 3 sc on the loops of the arm and body, 3 sc.
Rnd 52. 3 sc, 3 sc in the remaining loops of the arm, 6 sc, 3 sc in the remaining loops of the hand, 3 sc.
Rnd 53. (1 sc, dec)*6 (12)
Change yarn to beige
Rnd 54. BLO- 6 dec (6)
Rnd 55. 6 sc
Rnd 56. 6 inc (12) start the head

Head
Rnd 57. (1 sc, inc)*6 (18)
Rnd 58. (2 sc, inc)*6 (24)
Rnd 59. (3 sc, inc)*6 (30)
Rnd 60. (4 sc, inc)*6 (36)
Rnd 61. (5 sc, inc)*6 (42)
Rnd 62. (6 sc, inc)*6 (48)
Rnd 63-69. 48 sc
Rnd 70. (6 sc, dec)*6 (42)
Insert eyes between 67 and 68 rows at a distance of 3-4 sc.
Rnd 71. (5 sc, dec) * 6 (36) insert the wire deeper into the body so that it passes through the body and head.
Rnd 72. (4 sc, dec)*6 (30)
Rnd 73. (3 sc, dec)*6 (24)
Rnd 74. 24 sc
Rnd 75. (2 sc, dec)*6 (18)
Rnd 76. (1 sc, dec)*6 (12)
Rnd 77. 6 dec (6)
pull the hole, hide the thread and cut it off.
We return to the 41st row and knit for the FLO, attaching green yarn so that the legs look down and crochet:

Rnd 1. (5 sc, inc)*6 (42)
Rnd 2-4. 42 sc
Now we return to the 54th row and crochet neck.
Rnd 1.12 sc
Rnd 2. (1 sc, inc)*6 (18)
Rnd 3. 18 sc
We embroider a nose with beige yarn, a mouth red floss.
Hair
Brown yarn.
Rnd 1. 6 sc in MR
Rnd 2. 6 inc (6)
Rnd 3. (1 sc, inc)*6 (18)
Rnd 4. (2 sc, inc)*6 (24)
Rnd 5. (3 sc, inc)*6 (30)
Rnd 6. (4 sc, inc)*6 (36)
Rnd 7. (5 sc, inc)*6 (42)
Rnd 8. (6 sc, inc)*6 (48)
Rnd 9-12. 48 sc

Now we crochet in rotary rows without a turning chain.
Rnd 13. sl st in 2nd st from hook, 33 sc, slst, turn
Rnd 14. sl st in the 2nd loop from the hook, 32 sc, sl st, cut the thread leaving end for sewing.
Bangs
Rnd 1. 4 ch, from the 2nd loop from the hook 3 sc
Rnd 2-9. 3 sc, cut thread leaving end for sewing.
Sew hair and bang to head, embroider the rest of the thread eyebrows.
Ears (Make 2)
Beige yarn
5 sc in MR, pull off, sew to heads are symmetrical to each other.
Cap
Red yarn.
Rnd 1. 6 sc in MR
Rnd 2. 6 inc (12)
Rnd 3-4. 12 sc
Rnd 5. 6 dec (6),fill with filler.
Change yarn to green.
Rnd 6-7. 6 sc
Rnd 8. (1 sc, inc)*3 (9)
Rnd 9. 9 sc
Rnd 10. (2 sc, inc)*3 (12)
Rnd 11. 12 sc
Rnd 12. (3 sc, inc)*3 (15)
Rnd 13. 15 sc
Rnd 14. (4 sc, inc)*3 (18)
Rnd 15. 18 sc
Rnd 16. (5 sc, inc)*3 (21)
Rnd 17. 21 sc
Rnd 18. (6 sc, inc)*3 (24)
Rnd 19. 24 sc
Rnd 20. (7 sc, inc)*3 (27)
Rnd 21. 27 sc
Rnd 22. (8 sc, inc)*3 (30)
Rnd 23. 30 sc
Rnd 24. (9 sc, inc)*3 (33)
Rnd 25. 33 sc
Rnd 26. (10 sc, inc)*3 (36)
Rnd 27. 36 sc
Rnd 28. (11 sc, inc)*3 (39)
Rnd 29. 39 sc
Rnd 30. (12 sc, inc)*3 (42)
Rnd 31. 42 sc
Rnd 32. (13 sc, inc)*3 (45)
Rnd 33-35. 45 sc
Change yarn to red.
Rnd 36-40. 45 sc, fasten and cut the thread leaving the end for sewing a cap to the head.
Twist the red part of the cap, sew it to the head.
We give the cap a lowered position with a couple of stitches.
Belt
We collect a chain from ch along the waist circumference (I have 35 ch) and from the 2nd loops from the hook we crochet 34 sc, we cut the thread, leaving the end for sewing. We attach the belt to the waist, sewing the ends and sewing a couple of stitches along the length of the belt to the body.
We cut out a plaque from felt and glue it to the belt. Optional we tone the cheeks.
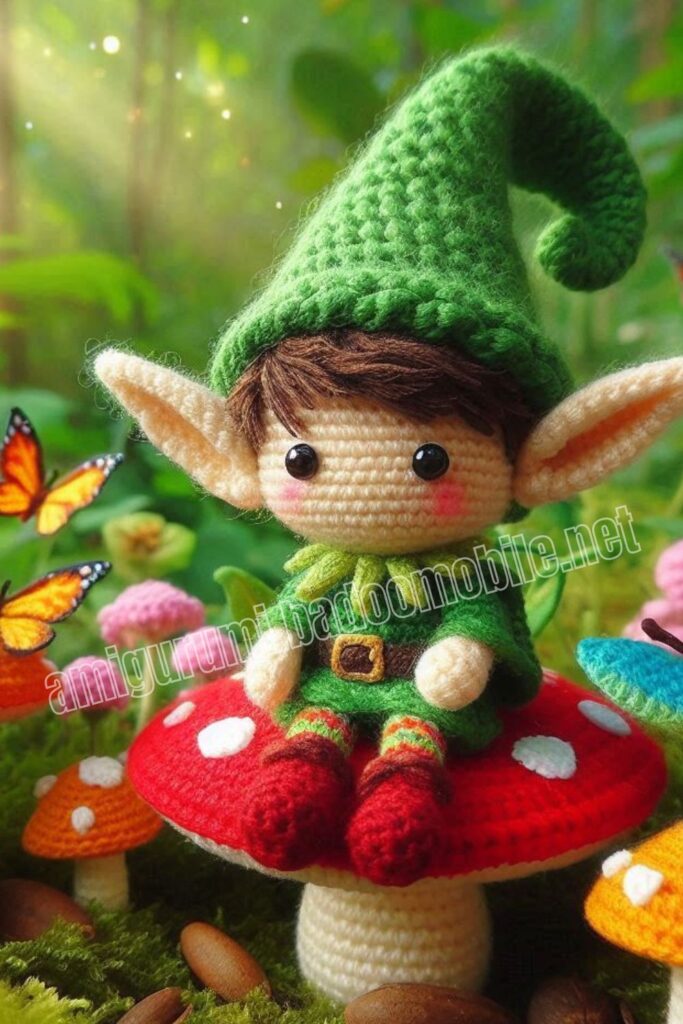
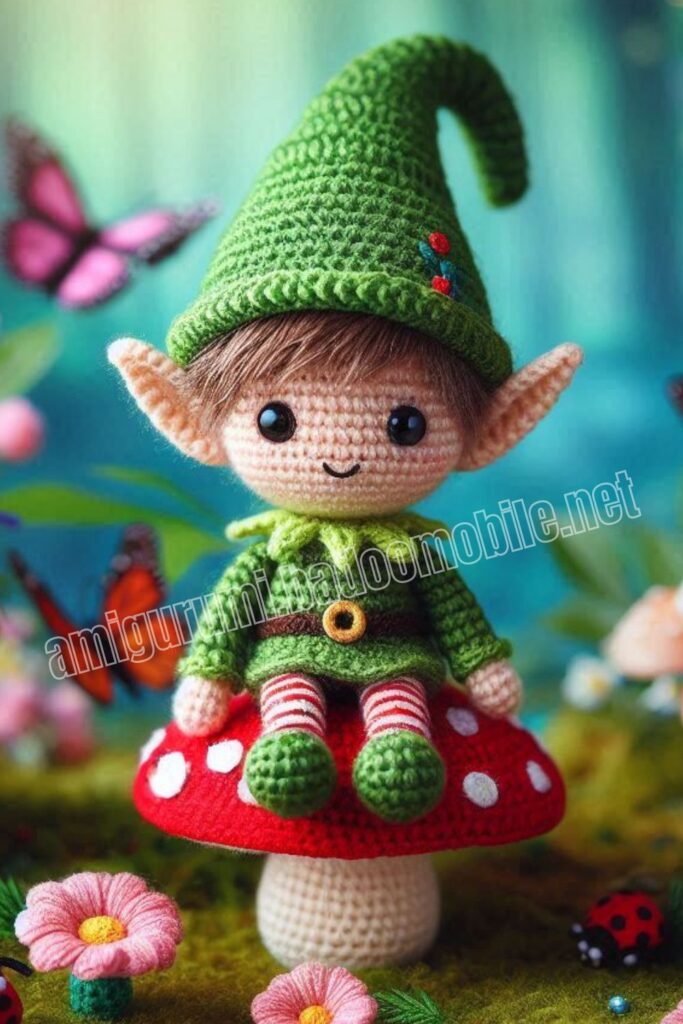
More Amigurumi Elf Ideas:
