Hello dear Amigurumi Followers
Today we share 1 Free Crochet Earring Pattern and 26 Crochet Earnings Ideas for you. As you know we share new free crochet pattern every day. The main crochets are gazelle, amigurumi bear, pola, crochet panda, penguin, giraffe, llama, pig, bunny, clown, lamb, bee, crochet unicorn, amigurumi doll, fox, penguin, dinosaur, crochet elephant, hippo, monkey, crochet cat, crochet dog and more … Here we are with an awesome post to let you witness a whole new involvement of the crochet work, which would surely give you a big jaw drop.
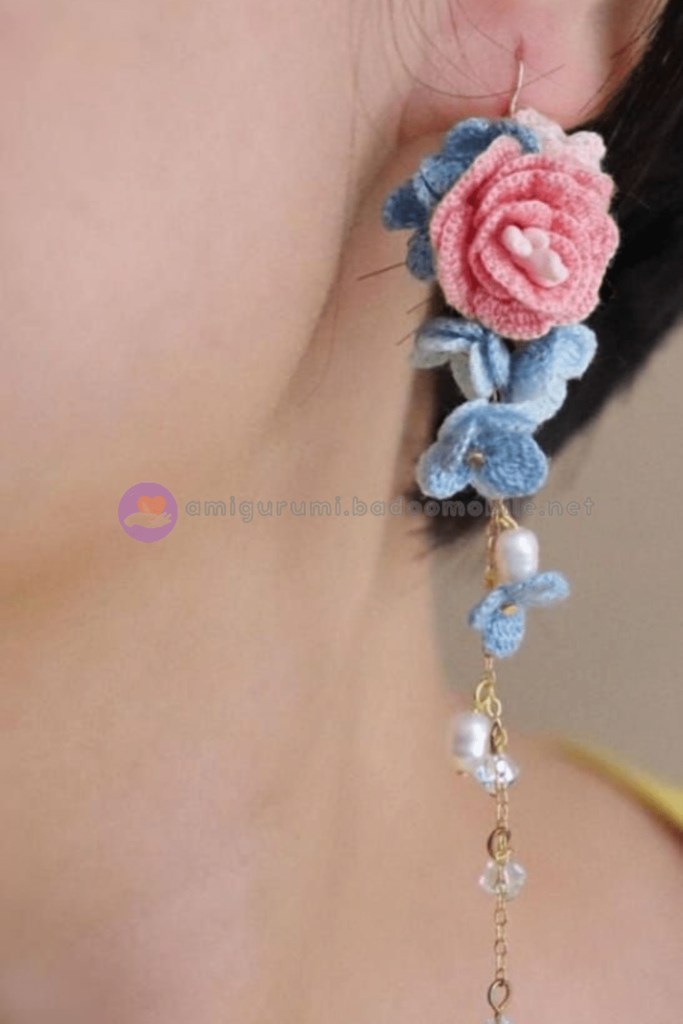
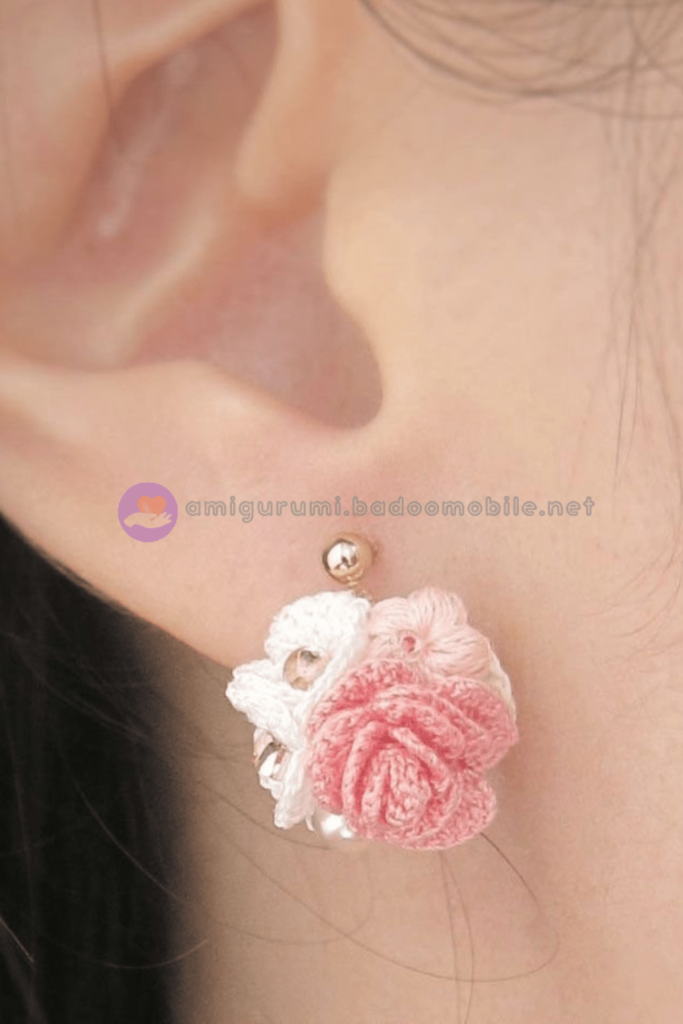
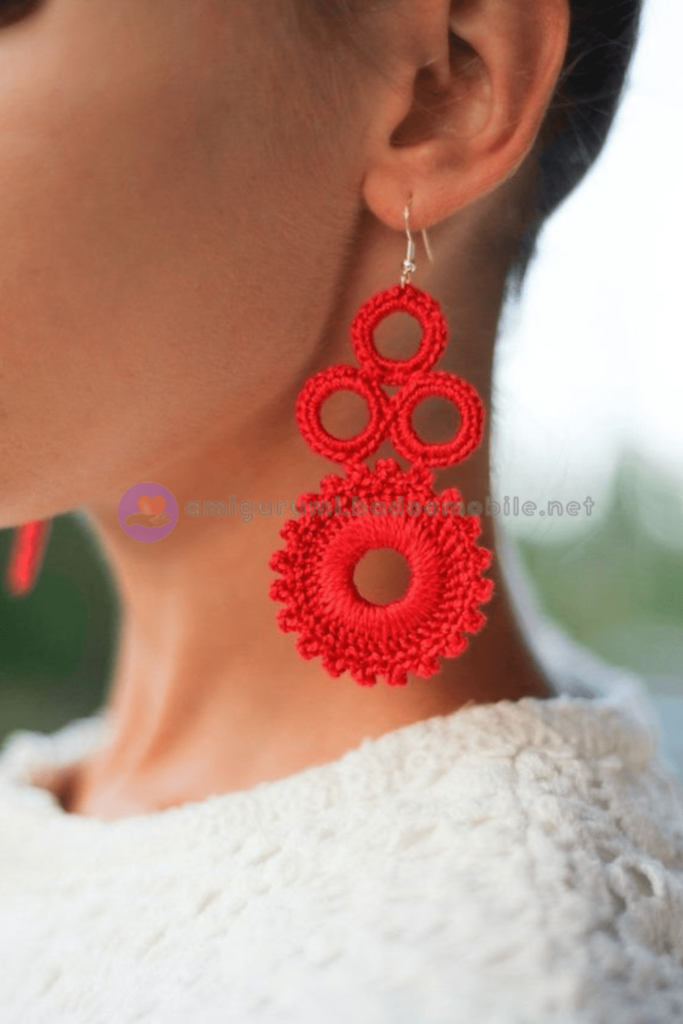
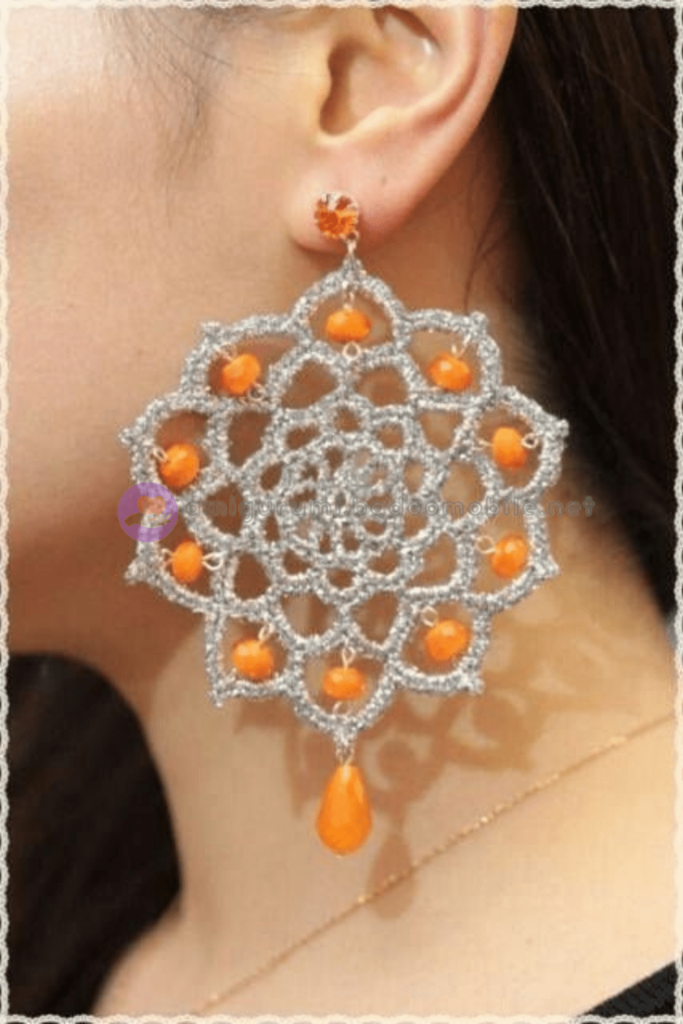
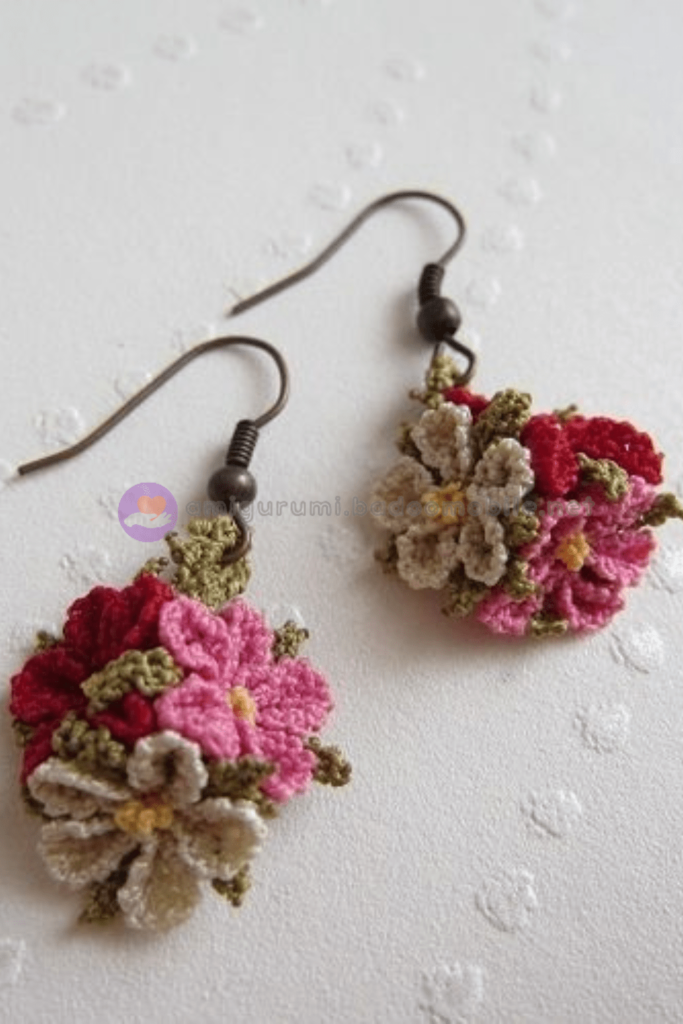
Todays daily new free crochet pattern is Crochet Earnings.
I want to give you some informations about this crochet free pattern ; Crochet Earnings
Many thanks to Designer: Fuzzy Fingi
FINISHED DIMENSIONS
Length: 3-5 cm (varies depending on yarn and hook
used)
MATERIALS
• Hook Size: 2.10 mm
• Earring hooks
• Jewelry wire & pliers (optional)
• Seed beads (optional for leaf and rose)
• Yarn Weight: you can use thread or fine/lace
weight yarn
NOTES:
• Optional instructions for beading will be written
between brackets like these: { }, the section
being replaced will be indicated by these
brackets: []
• The puff stitches I used for the Daisy Chain
earrings only use 3 yo, since any more would
make the stitch too large
ABBREVIATION
CROCHET TERMINOLOGY: CANADA/US
sl st: slip stitch
ch: chain
ch sp: chain space
sc: single crochet
hdc: half-double crochet
dc: double crochet
tr: treble crochet
mc: magic circle
sk: skip
yo: yarn over
st: stitch
rep: repeat
- * : repeat everything between these for the
indicated number of times
( ) : everything between goes into the same stitch
Free Crochet Earring Pattern
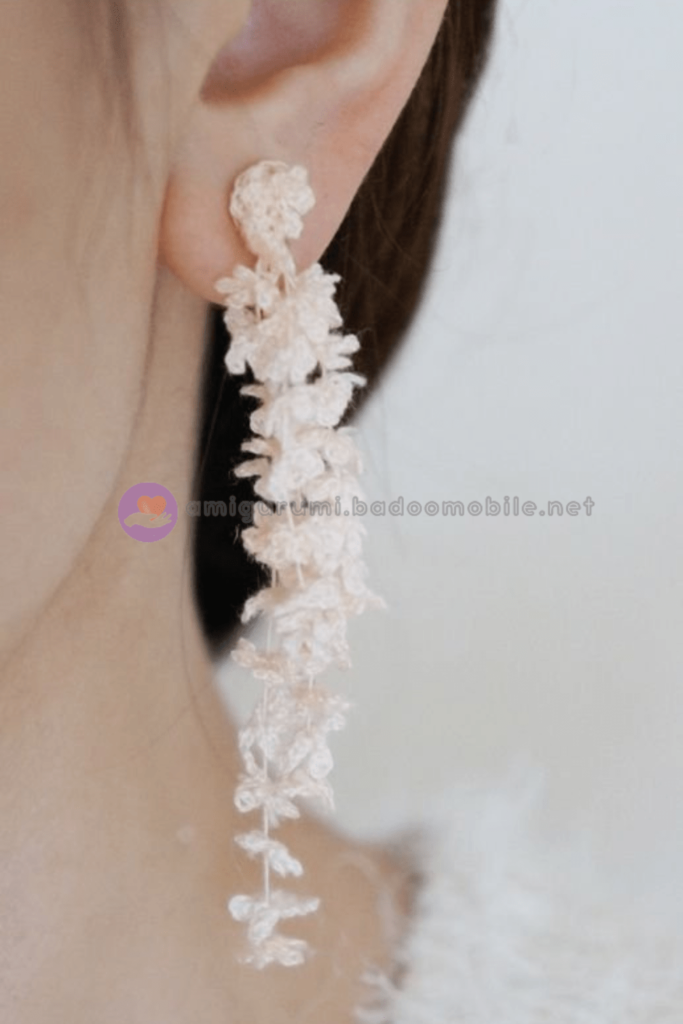
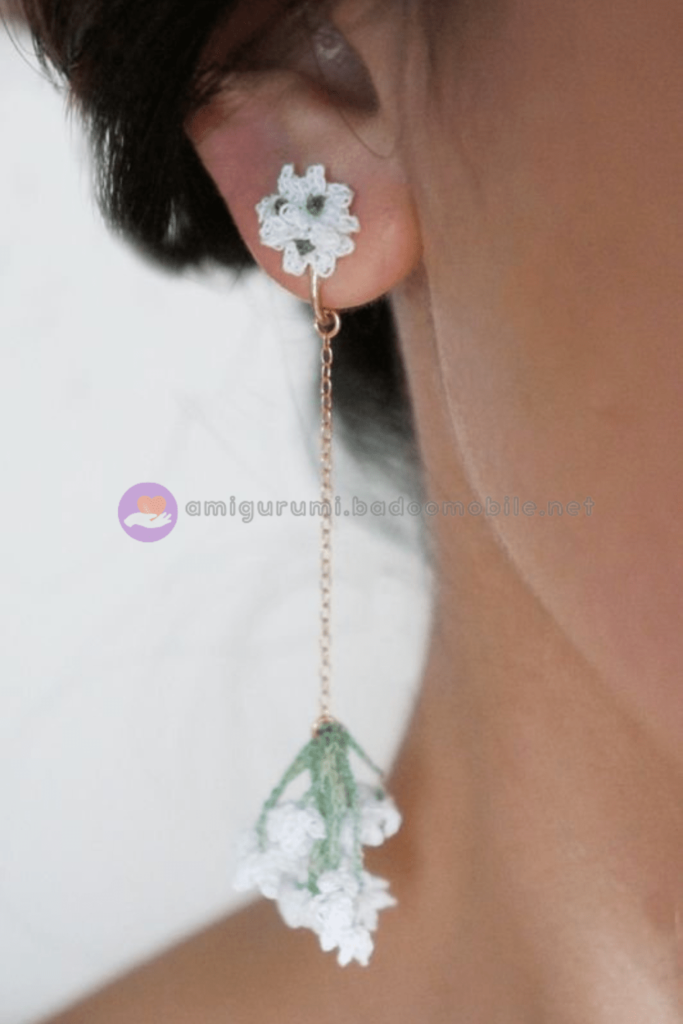
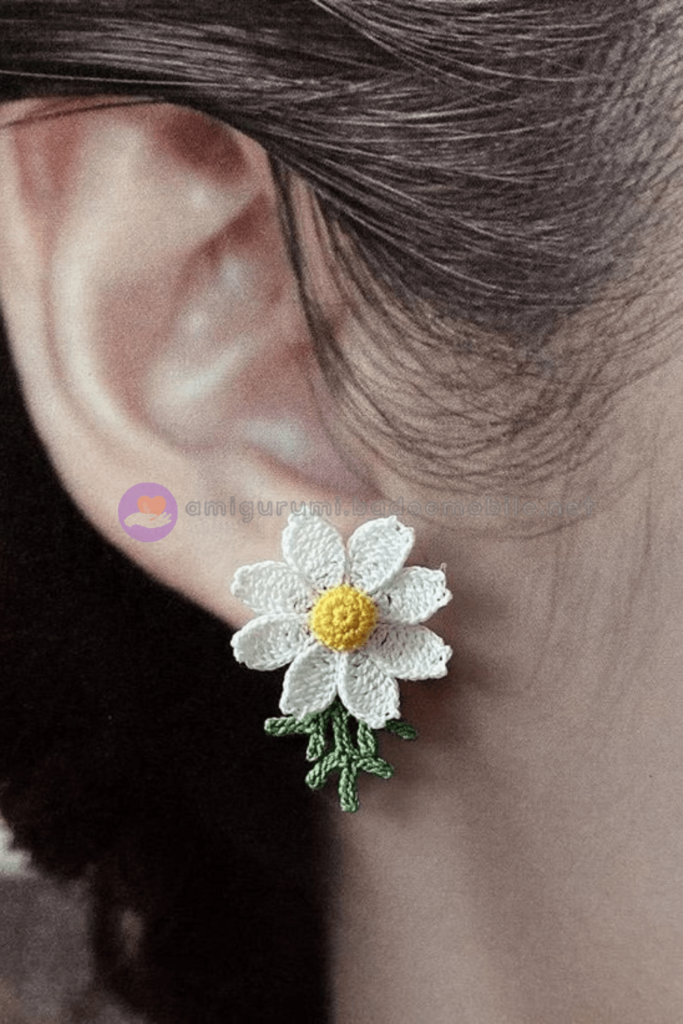
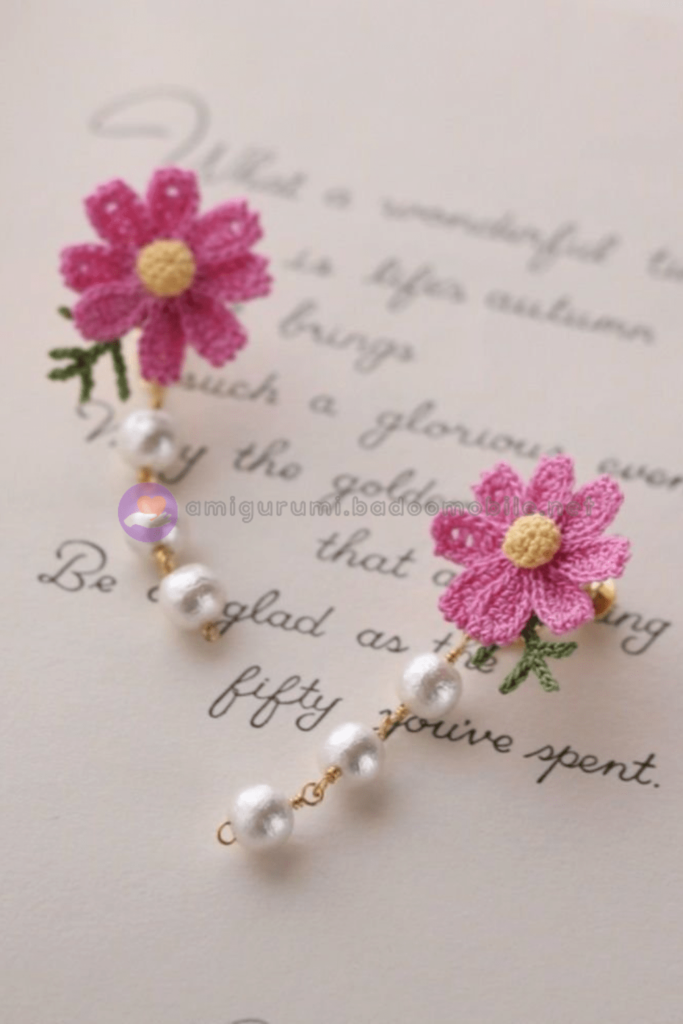
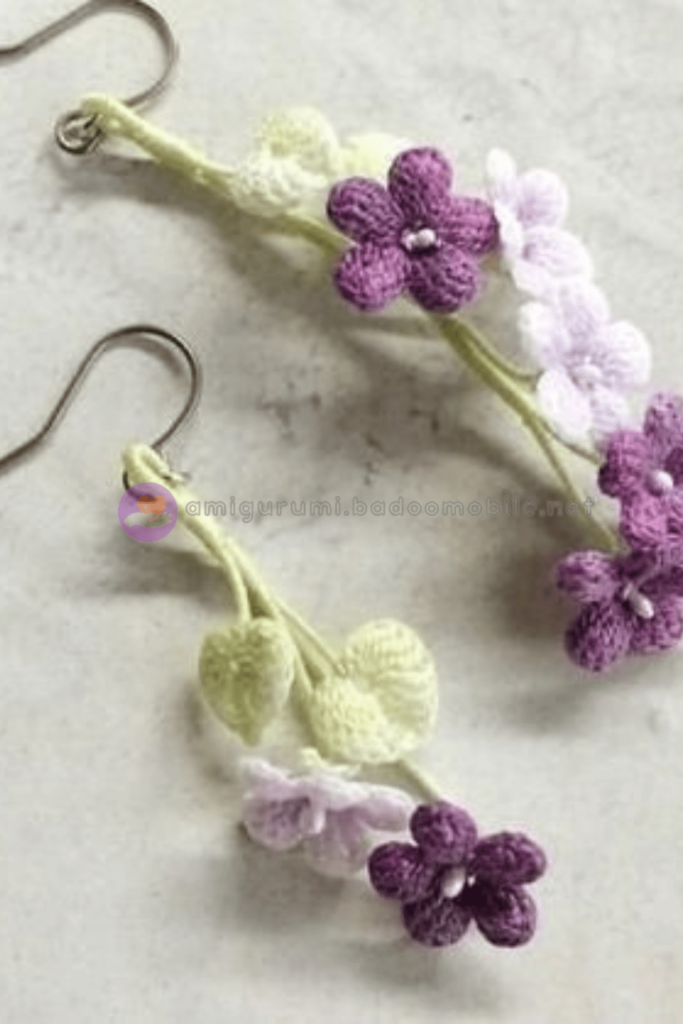
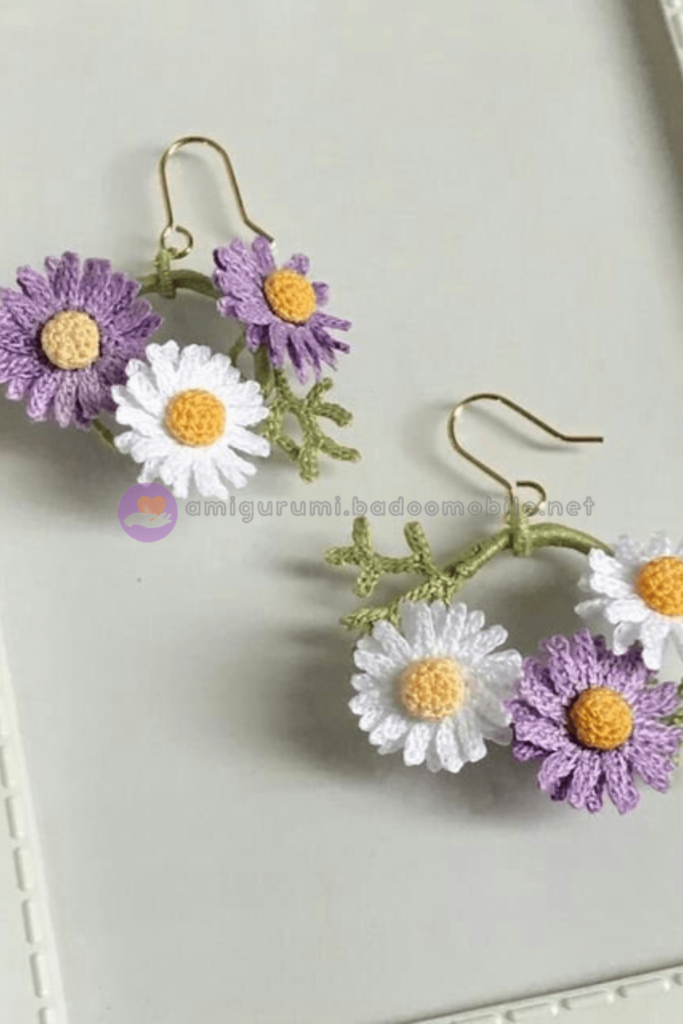
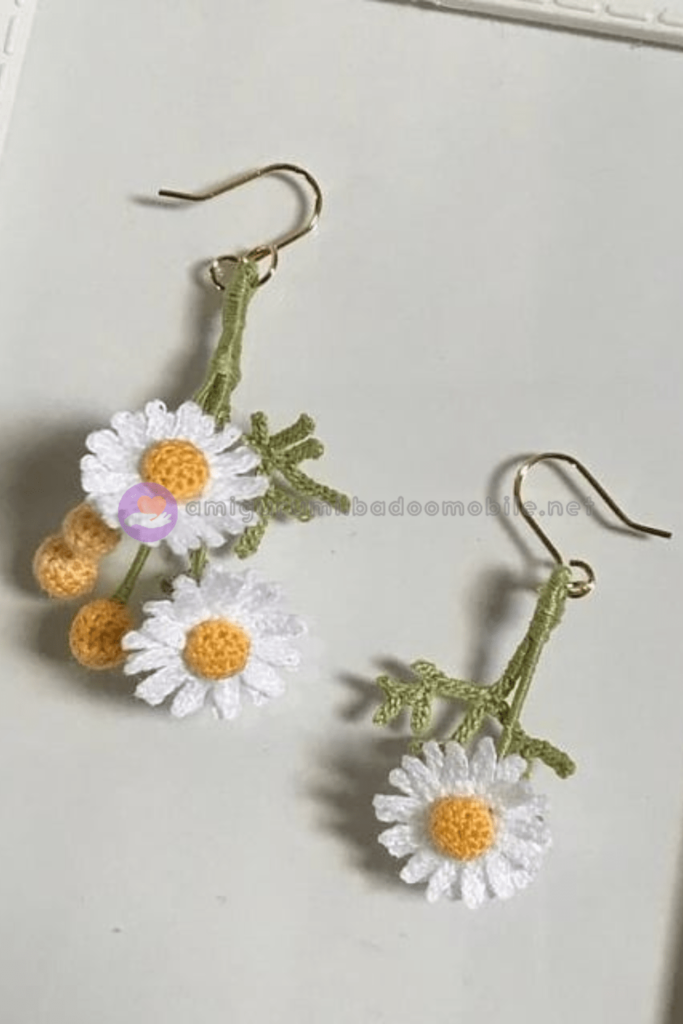
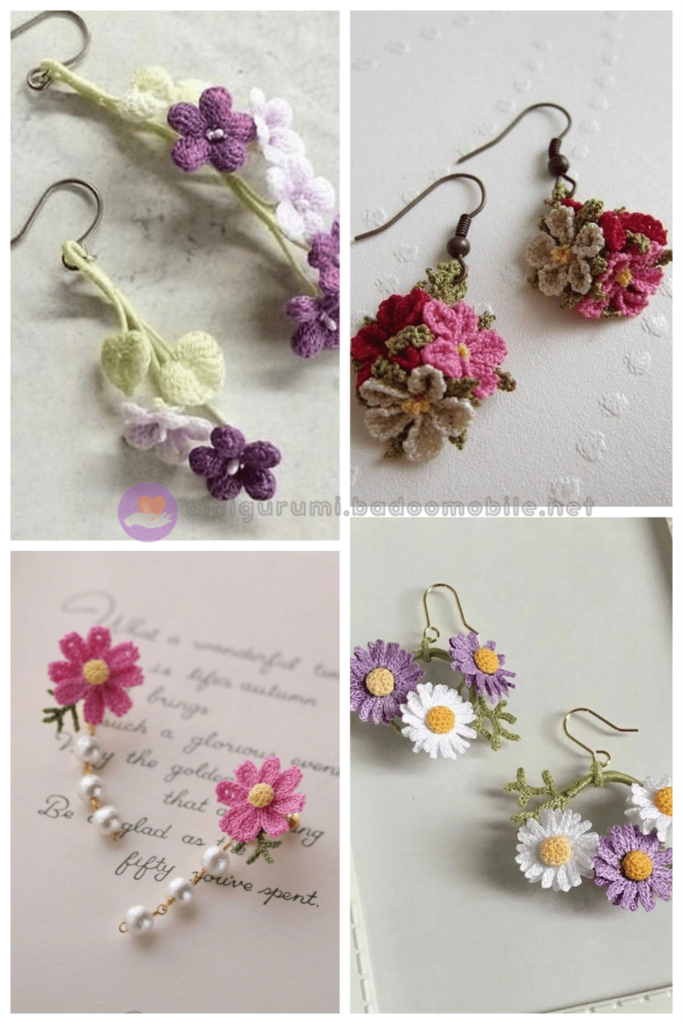
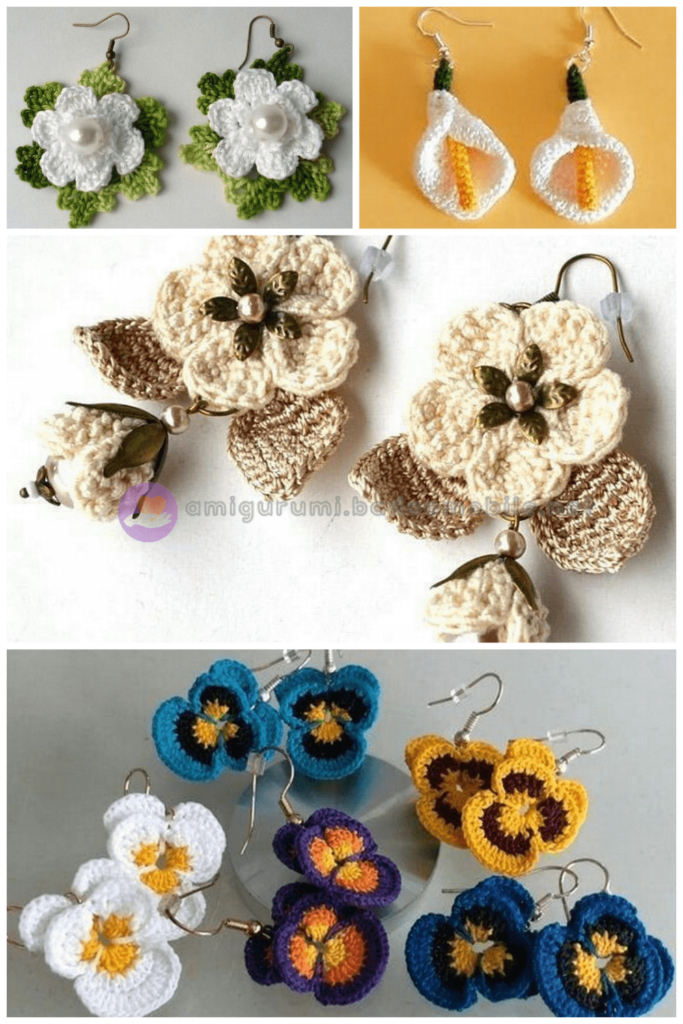
DAISY CHAIN
This pattern for mismatching earrings. The longer earring may require wire if it ends up being very twisty, you will
also need beads for the center of each flower
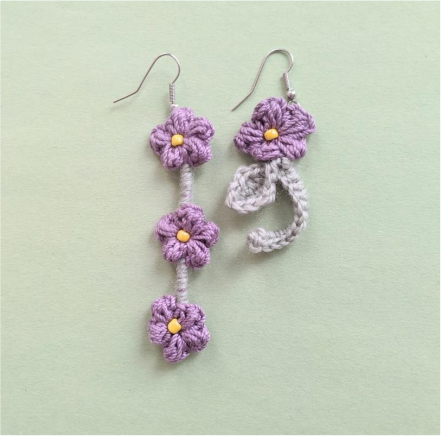
LONG EARRING
Thread 3 beads onto yarn/thread for flowers before starting. Note that the front of the flower as shown in the
picture will actually be the back of the piece as you work on it.
Working in your flower colour yarn/thread:
ROW 1: slip knot, pull bead up to hook, ch1, ch1, puff, ch1, sl st rep 3 times total in one side of ch1 and 2 more
rep in other side of ch1
ROW 2: ch 5, pull up bead, ch1, ch1, puff, ch1, sl st rep 2 times total in one side of ch1, move the ch5 and
previous flower in front of your hook, 3 rep in other side of ch1

ROW 3: ch5, pull up bead, ch1, ch1, puff, ch1, sl st rep 3 times total in one side of ch1, move the ch5 and
previous flowers in front of your hook, 2 more rep in other side of ch1, do not bind off yet, later you will connect
this loop to the green yarn
Before adding the stem, I would recommend adding some wire to give your earring structure and prevent it from
twisting. It also lets you bend it into any position you’d like when you finish!
Adding wire:
Cut a length of wire about 1 to 2 cm longer than the length of your earring and thread it through the beads at the
center of each flower along the back of your piece
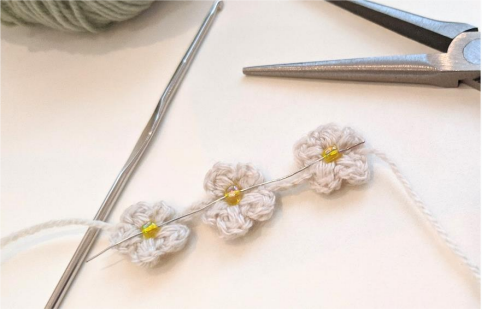
Using pliers, bend one end around a bead as shown below. This end will be the bottom of your earring. Make a
loop at the other end of the wire – this will be where you’ll attach your earrings later.

Working with your stem colour yarn/thread:
ROW 4: slip knot and attach to the loop at the end of row 3, chain along the backs of the flowers and sc around
both the wire and ch5 between the flowers
When you cut your yarn/thread, you may want to leave a longer tail to help sew closed the gaps between the
beads and puff flowers. You can do this by threading your yarn/thread through the puff stitch petals and pulling
the circle tight.
Attach your earring hook to the wire loop at the top of your piece or to a loop at either end of your work.
SHORT EARRING
The short earring only requires one bead, thread it onto your flower yarn before starting.
Working in flower colour yarn:
ROW 1: slip knot, pull bead up to hook, ch1, ch1, puff, ch1, sl st rep 3 times total in one side of ch1 and 2 more
rep in other side of ch1
Cut yarn and bind off. Like for the long earring, you may want to leave a tail to help close the gaps.
Working in stem colour:
ROW 1: slip knot, ch6, turn
ROW 2: sk 1, 1sc, 1hdc, 1dc, 1hdc, 1sc, ch2
ROW 3: continue working in the other side of the base ch6, 1sc, 1hdc, 1dc, 1hdc, 1sc, sl st into first sc from row 2
ROW 4: sl st into the back of the flower near the edge, ch11, sc into 2nd loop from the hook, sc around ch about 13
times, letting it curl naturally, sl st into the first sl st of this row
Again, you may want to leave more of a tail to pull the flower center tight. Attach your earring hook to a loop at
the top of your piece.
28 Crochet Earnings Ideas
