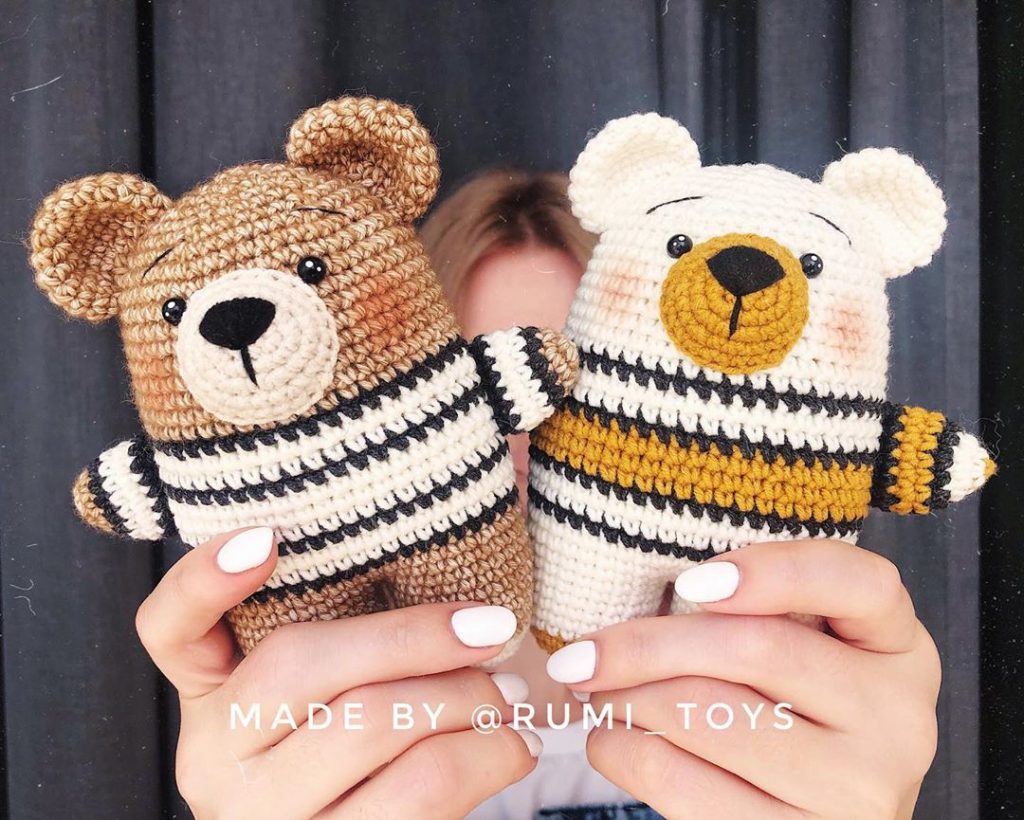
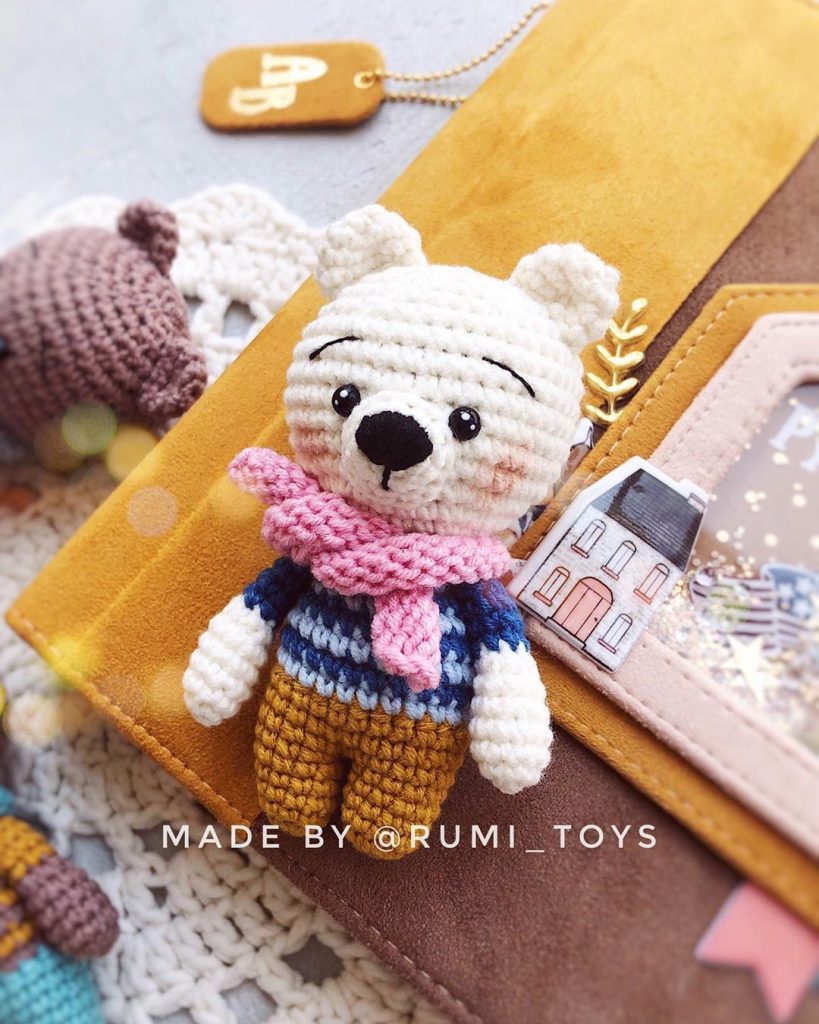
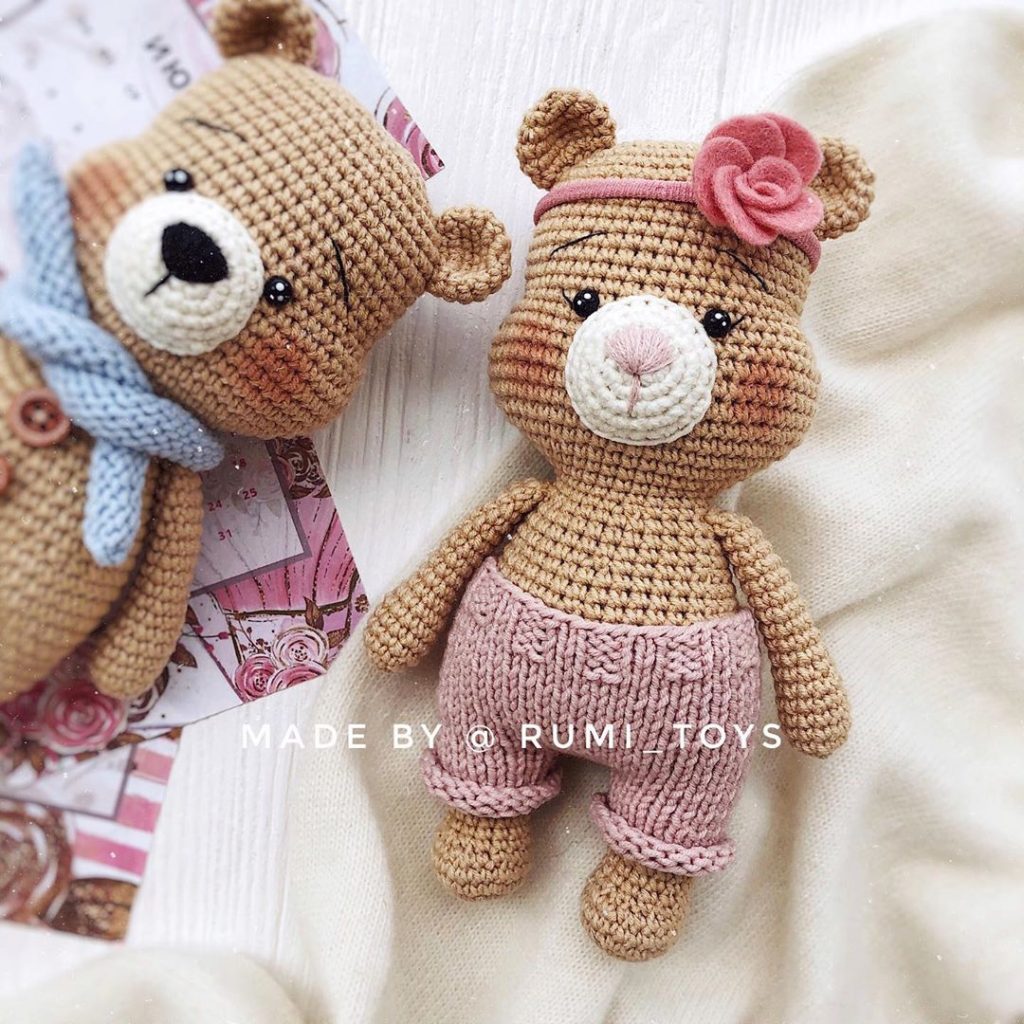
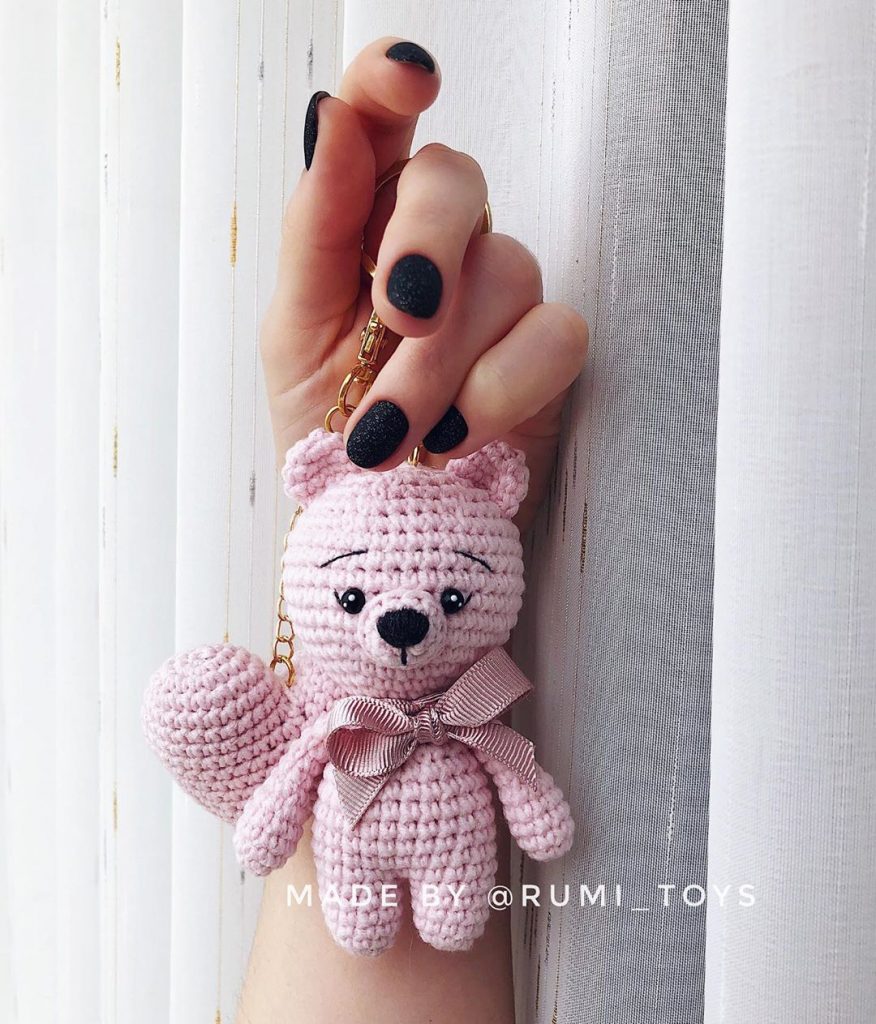
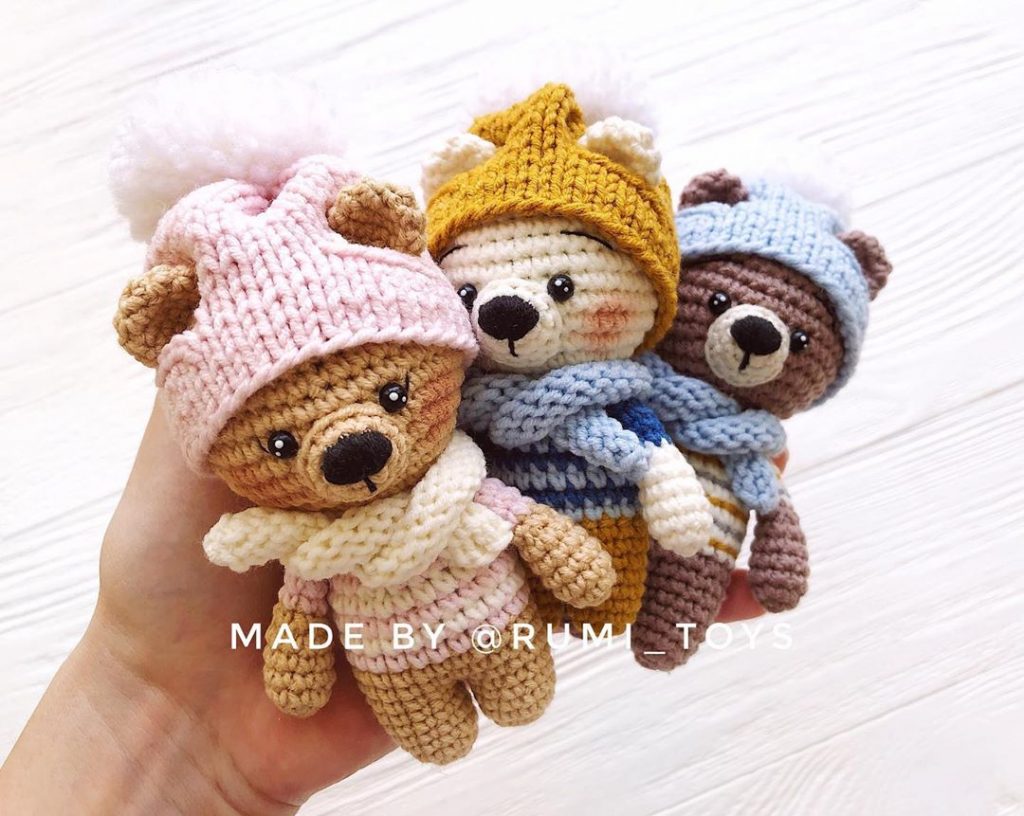
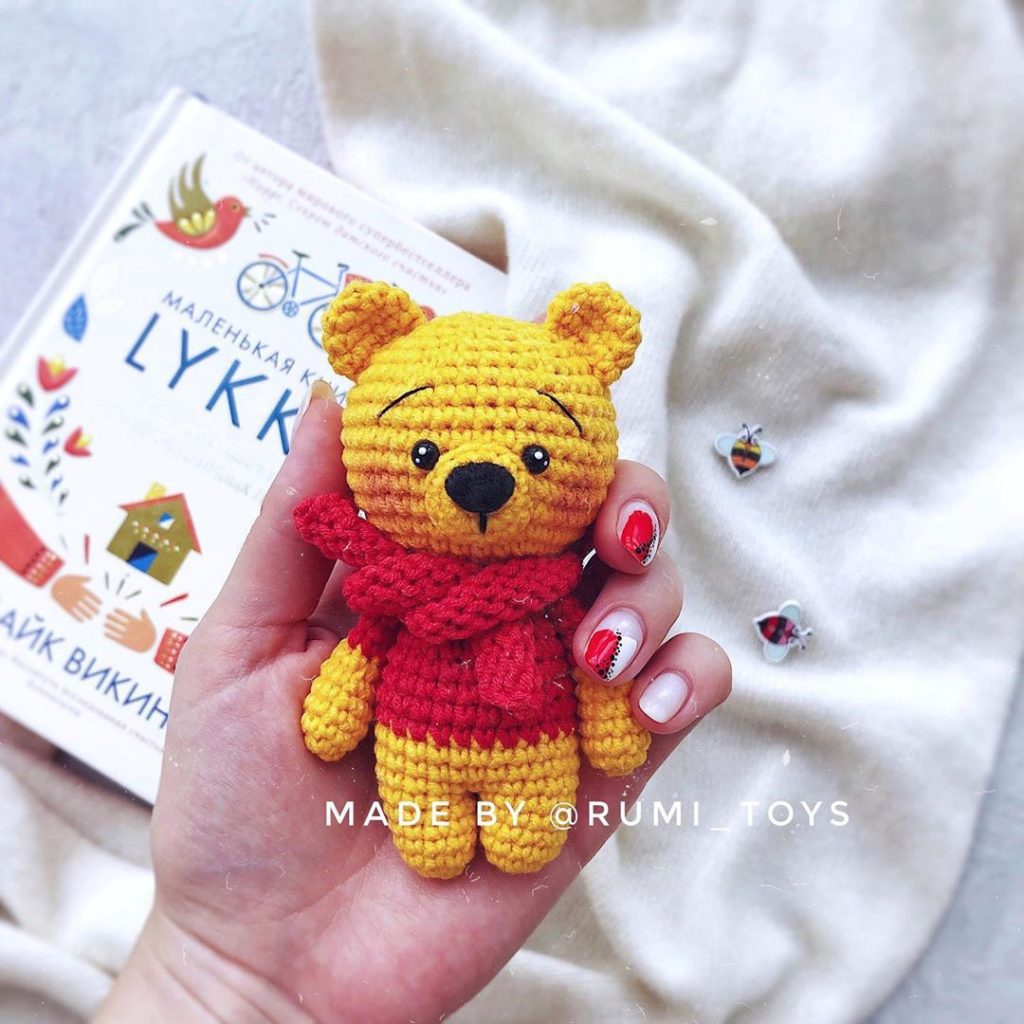
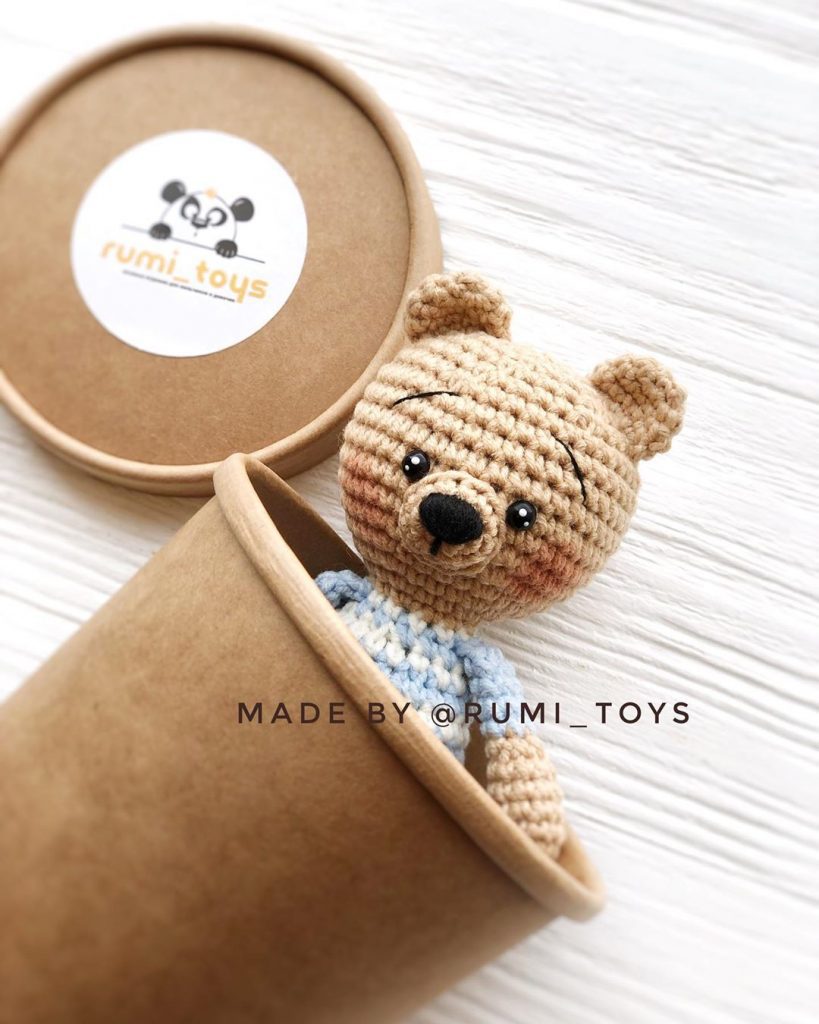
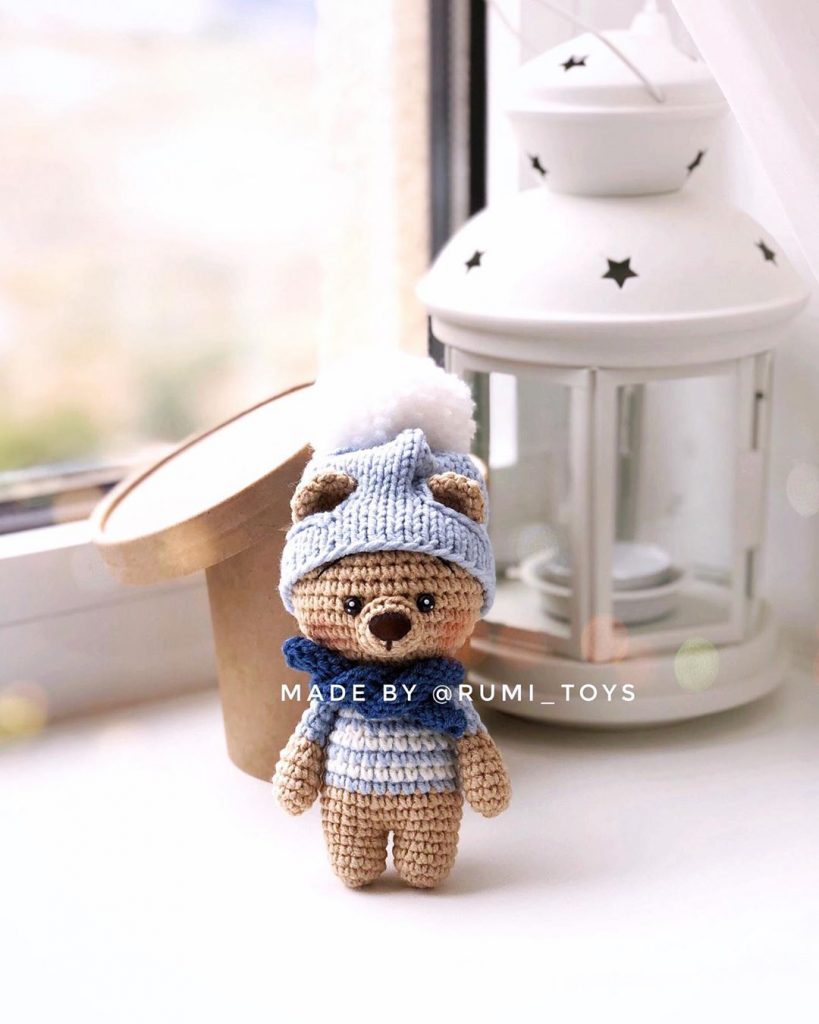
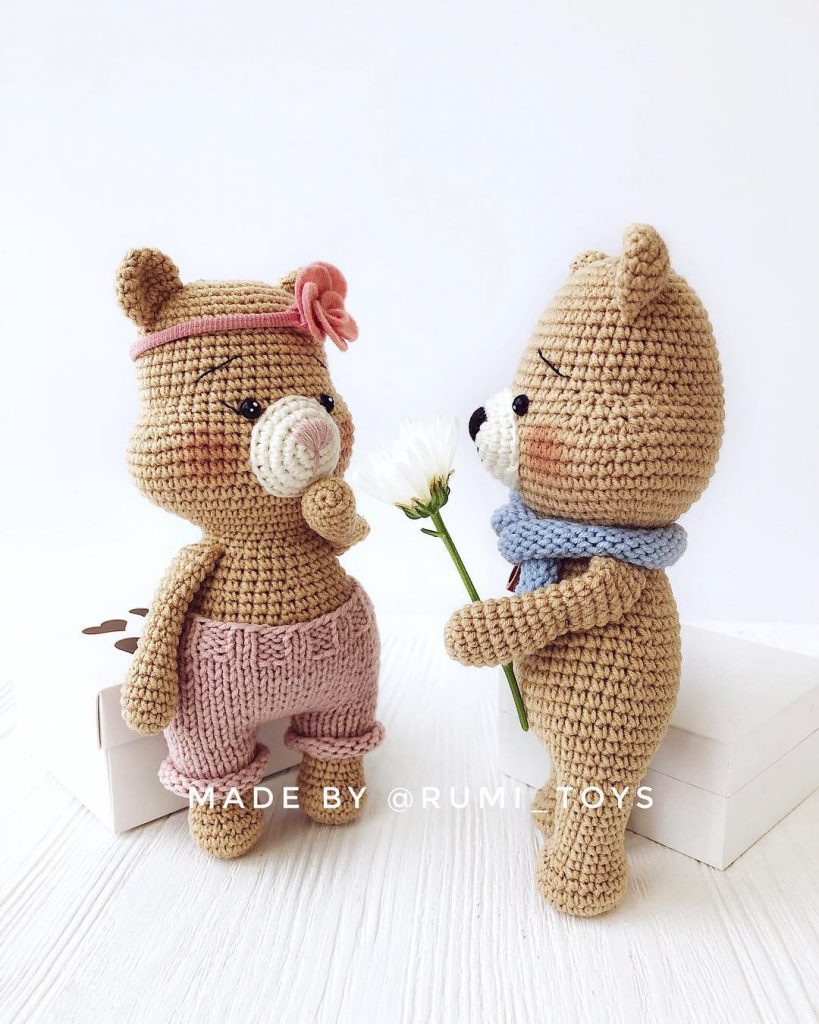
List of Materials: (Bear is 3″ or 7.5cm made from materials on list)
• Kid Merino from Crystal Palace Yarns, sand (or punch thread, sand) for bear
• One ply yarn (or punch thread) in two shades of blue or colors of choice for dress,
hat, and tights (if bear wears tights)
• Kid Merino (or punch thread, white or ivory) for fur trim and hat pompom
• Ivory or white Kid Merino or punch thread for boots
• Silver or gold lame thread for collar and hat lace
• Size 12 (1mm) crochet hook
• Polyester Fiberfill or cotton stuffing
• 2 mm mini onyx eyes
• ½” (12mm) cotter pin and two ¼” (6mm) disks for neck joint
• Black embroidery Floss
• 8-inch piece of silver or gold ¼-inch (6mm) wide ribbon
• 6mm crystal or jewel for front of belt
• Two 4mm crystals or jewels for boots
• Sewing Needles – Nr 7 milliners needles, Nr 10 beading needle, nr 26 tapestry
needle (or needles you are comfortable using)
• Small hemostat, dowel, long tweezers, or other long, narrow tool for stuffing
• Small needle-nose pliers for turning cotter pins
Gage: Gage is not critical as long as you use the same size hook and thread for the bear
and the accessories. You may use larger or smaller thread and hook, just use the same
size thread and same hook for both the bear and the clothes, and adjust the size of the
eyes to fit the proportions of your bear. (A Thread Comparison Chart is provided
below.)
Abbreviations:
List of Abbreviations
beg – begin/beginning
bet — between
BL – back loop
ch – chain stitch
cm – centimeter(s)
cont — continue
Dc – double crochet (UK treble cr)
Dc2tog – double crochet 2 stitches together
dec – decrease, work two stitches together as one; eg, sc2tog
ea – each
FL – front loop(s)
FO – fasten off
hdc – half double crochet
hdc2tog – half double crochet 2 stitches together
inc – increase, work 2 stitches in the same place
lp(s) – loops
mm – millimeter(s)
pl – place
rem – remaining
rnd(s) – round(s)
RS – right side
sc – single crochet (same as UK dc)
sc2tog – single crochet 2 stitches together
sk – skip
Sl st – slip stitch (same as UK sc)
Sp(s) – space(s)
St – stitch
tog — together
WS — wrong side
YO – yarn over
Yoh – yarn over hook
Check for Comparison to Perle Cotton: Wrap the thread you want to use around a
ruler, with each thread wrap touching the last wrap. The number of wraps that fit
inside ¼ inch (.6 cm) is the equivalent size to perle cotton. For instance, if your
thread wraps around 12 times, then it is equivalent to size 12 perle cotton.
Check for Comparison to Crochet Cotton: Wrap the thread you want to use
around a ruler, with each thread wrap touching the last wrap. The number of wraps
that fit inside ½ inch (1.3 cm) is the equivalent size to crochet cotton. For instance, if
your thread wraps around 30 times, then it is equivalent to size 30 crochet cotton.

Head (this bear has a horizontal muzzle):
1. With ivory ch 6, sc in 2nd ch from hook and in next 3 ch; 2 sc in last ch; continuing
around to opposite side of chain, sc in next 4 ch, 2 sc in last ch, do not join – use a
short piece of contrasting thread as a marker. (12 sc)
2. Inc, 10 sc, inc. (14 sc)
3. Inc, 5 sc, 2 inc, 5 sc, inc. (18 sc)
4. 4 sc, inc, 13 sc. (19 sc)
5. Sc around. (19 sc)
6. 3 sc in next sc, 4 sc, 2 inc, 4 sc, 3 sc in next sc, inc, 2 sc, inc, 2 sc, inc. (28 sc)
7. (2 sc, inc) 7 times, 3 sc, inc, 2 sc, inc. (37 sc)
8. 11 sc, dec, 24 sc. (36 sc)
9. 3 sc, move rnd marker here to begin rnd; (inc, sc in next 3) 9 times. (45 sc)
10 – 12. Sc around. (45 sc)
13. (Dec, 3 sc) 9 times. (36 sc)
15. Sc around. (36 sc)
16. (Dec, 2 sc) 9 times. (27 sc)
17 – 18. Sc around. (27 sc)
• Place cotter pin for neck joint: Using a needle with a short piece of contrasting
thread, insert the needle, from the inside of the head, out through the center of the
end of the muzzle; leave a tail end of thread inside the head. Now bring the thread
straight down from the center of the muzzle, and insert the needle back into the head
between rnd 11 and 12, or wherever you want to place the neck joint. Pull the thread
taut, leaving a straight stitch running from the center of the muzzle to the bottom of
the head. This will help you center your joint, so that you (hopefully!) won’t have a
crooked head once you’ve joined it to the body. Now place a disk onto a cotter pin,
and insert it inside the head, pushing out through the bottom of the head in the
location determined by your marking thread. You can remove the thread after you’ve
place the cotter pin in position.
19. (Dec, sc) 9 times. (18 sc)
20. (Dec. sc) 6 times. (12 sc)
• Stuff the head firmly.
21. Dec 5 times; FO with sl st in next sc, leaving the last sc unworked, and a long end for
closing. (11 sc, sl st)
• Thread long end on needle and run a row of gathering stitches in and out of FL of rnd
21 sc; pull gently but firmly to gather; fasten off. Insert needle into head and pull out
another spot elsewhere on the head to hide thread end; repeat to secure.
Eye Sockets (optional): Thread a needle using a doubled strand of nylon, upholstery or
other strong sewing thread similar to the color of the head. Insert the needle up into the
bottom part of the
to make an indentation for left eye. Take a stitch the width of one sc, inserting needle into
head at right eye location, and back out where the first left eye stitch was taken. Pull
tightly to make an indentation for the right eye. Keeping thread taut, insert needle into
left eye socket, and bring it out the bottom of head. Fasten off securely, making sure that
eye sockets remain indented. At this point you may use dark brown eye shadow on a
cotton swab, water color pencil, or other medium to shade the eye area, if desired.
Attach eyes: Using black nylon, upholstery or other strong thread, sew 2 or 3 mm black
beads into eye sockets, depending on the size of your bear. Begin by inserting needle into
bottom of head and out at left eye socket. Sew through bead, and then insert needle back
into left eye socket and out right eye socket. Sew through second bead, then insert needle
back into right eye socket, and bring out at bottom of head. If your needle won’t fit
through the bead hole, pass the thread through the bead before you insert the needle back
into the face, and then rethread the needle. Fasten off securely, making sure that eye
beads are pulled tightly to imbed them into sockets.
• These instructions for facial features are suggestions only. Don’t be afraid to
experiment with eye, brow, nose, and mouth shape and placement, as well as ear
placement. Sometimes the most far-out facial renderings make the cutest bears. Make
each bear an individual!
Nose, Mouth, Eyebrows:
You can use a purchased plastic, resin, or glass nose; or you can embroider the nose in a
triangle shape using satin stitch with 1 or 2 strands of black embroidery floss, depending
on the look you want and the size of your bear. Begin by knotting the thread and inserting
the needle up through the bottom of the head or muzzle, and coming out at center top of
muzzle. Tug to pull knot inside head. Now bring the needle straight down from the exit
point, and insert back into the muzzle where you want the longest point of the nose to be.
This will be the bottom point of the triangle for all the nose stitches. Make another stitch
over the first one, then make the next stitch beginning at the bottom center of the nose,
and ending in the space 1 sc to the right of the center stitch. Repeat to the left. Now fill
in the nose with satin stitch. With the same thread, embroider 1 vertical straight stitch
beginning at bottom center of nose and going downward to the center point of where you
want the mouth to be. Make an inverted v-stitch for mouth, or a smile shape, with center
being at the bottom of the straight stitch that comes down from nose. Embroider a straight
st for each brow, making each 2 or 3 sc long. Don’t be afraid to experiment. I used clear
nail enamel that already has sparkles in it to coat snowflakes nose for a cute, wintry look.

Ears (Make 2):
1. Ch 2, 5 sc in 2nd ch from hook; ch 1, turn. (5 sc)
2. Inc in ea sc; ch 1, turn. (10 sc)
3. Dec, 6 sc, dec; ch 1, turn. (8 sc)
4. Dec, 4 sc, dec, ch 1, turn. (6 sc)
5. Dec, 2 sc, dec, ch 1, turn. (4 sc)
6. Dec twice; FO with sl st in same pl as last st. (2 sc)
• Thread a needle with either the same thread that you used to make the ear, or thread
that is close in color. Round-1 will be toward the back; turn ear so that the side that
is in when you finish crocheting is out. Close up the bottom opening of ear with a
ladder stitch or oversew stitch. Fold ear vertically towards front, bringing ear into a
cup shape with RS forming inside of cup. Move the ears around on the head until you
find a pleasing position, then pin them in place. Sew ears to head, maintaining cup
shape. Shade the inside of the ear cup if you wish.
Body:
1. With dress color ch 2, 6 sc in 2nd ch from hook; do not join; place rnd marker. (6 sc)
2. Inc in ea sc around. (12 sc)
3. (Inc, sc) 6 times. (18 sc)
4. (Inc, 2 sc) 6 times. (24 sc)
5. (Inc, 3 sc) 6 times. (30 sc)
6. 6 sc, 2 inc, 13 sc, 2 inc, 7 sc. (34 sc)
7 – 11. Sc in ea sc around. (34 sc)
• If disk jointing head: At this point push the cotter pin protruding from
the bottom of the head into the center of round 1 of the body. Place a
disk onto the cotter pin and push flush toward head; then, reaching
inside body with small pliers, curl each side of cotter pin toward disk
until the loops rest on the disk (see illustration at right).
12. 11 sc, (inc, sc) 5 times, inc, 12 sc. (40 sc)
13. Sc around. (40 sc)
14. 12 sc, place marker, (inc, 2 sc) 5 times, inc, place marker, 12 sc. (46 sc) Markers will
be used to assist with placement of head, arms, and legs, so be careful not to pull
them out as you work.
15. Sc around. (46 sc)
16. Working in BL this round, 7 sc, 2 dec, 26 sc, 2 dec, 5 sc. (42 sc)
17. Sc around. (42 sc)
18. 6 sc, (dec, 3 sc) 6 times; dec, 4 sc. (35 sc)
19. Sc around. (35 sc)
• If thread jointing head: Stuff upper part of body firmly. Thread a 3-inch needle with
doubled upholstery or other strong thread that matches body. Insert needle up into
body through stuffing, and out center of neck. Take a stitch into the bottom center of
the bear’s head beginning slightly to the right of center, go as deep as you can, and
come out slightly to the left of center. Insert the needle back into the center of neck
on body, back down through the stuffing, and out the bottom. Pull to bring head
snugly against body. Next insert the needle back up through the body, out center
neck opening, and up through center of head, coming out at center top of head
between ears. Reverse the process, inserting the needle into the same place where
you just brought it out on the head, and bringing it out the bottom opening of the
body. Pull firmly but gently on the thread, then tie off inside the body.
20. (Dec, 3 sc) 7 times. (28 sc)
21. Sc around. (28 sc)
22. (Dec, 2 sc) around. (21 sc) Stuff body firmly.
23. Sc around. (21 sc)
24. (Dec, sc) 7 times. (14 sc)
25. Dec 7 times; FO with sl st in next sc, leaving a long end.
• Thread end on needle, then run a gathering row of stitches in and out of the front lps
of row 25; pull to gather and close. Insert the needle into the body through bottom
opening and out elsewhere on body, pulling thread taut. Insert needle into exact spot
where you just brought it out, and then bring needle out again at a different place on
back of body. This will secure thread. Pull on thread firmly and clip close to body. If
done correctly, end of thread should disappear into body.
Legs: (Make 2)
1. Beginning with boot sole color, ch 7, 2 sc in 2nd ch from hook, sc in next 4 ch, 2 sc in
last ch; moving around to work on opposite side of ch, 2 sc in 1st ch, sc in next 4 ch, 2
sc in next ch; do not join; place marker. (16 sc)
2. 5 sc, 6 inc, 5 sc. (22 sc)
3. Inc, 5 sc, (inc, sc) 5 times, inc, 4 sc, inc; FO with sl st in BL of next sc. (30 sc)
4. With RS facing, join boot color with sc in BL of sl st just made in ctr back of rnd 3; sc
in BL of next sc and in BL of ea sc around. (30)
5. Sc in both lps of ea sc around. (30 sc)
6. 7 sc, 8 dec, 7 sc. (22 sc)
7. Sc around; (22 sc)
8. Sc, move rnd marker to begin rnd here; 4 sc, (dec, sc) 4 times, dec; 4 sc; FO boot color
with sl st in BL of next sc. (17 sc)
9. Join bear color (or color to match mittens, if you’d like her to be wearing tights) with
sc in BL of sl st at center back of heel, and, working in BL for this rnd, 4 sc, 3 dec, 6
sc. (14)
10. 6 sc, dec, 6 sc. (13 sc)
11. Sc around. (13 sc) Stuff foot, shaping with fingers to keep sole as flat as possible.
12. 6 sc, 3 sc in next sc, 6 sc. (15 sc)
13. 7 sc, inc, 7 sc. (16)
14. Sc around. (16 sc)
15. Sc, move rnd marker here; (7 sc, inc) twice. (18 sc)
16. 8 sc, inc, 9 sc. (19 sc)
17 – 21. Sc around. (19 sc)
22. Dec, 7 sc, dec, 8 sc. (17 sc)
23. Dec, 6 sc, dec, 7 sc. (15 sc) Stuff leg.
24. Dec, 5 sc, dec 6 sc; FO with sl st in next sc, leaving long end for sewing the leg
opening together.
• Add more stuffing to top of leg if necessary. Leg should be stuffed firmly. Using the
long end left over from the leg, sew the leg opening together, front to back, using the
FL only from each side, and using a ladder stitch.

Boot Tops:
1. With top of leg facing up, attach boot color with sc in rem FL of rnd 8 at center back
of heel; sc again in same pl, (3 sc, inc) twice, inc, sc, (inc, 3 sc) twice; join with sl st
in 1st sc; ch 1, do not turn. (25 sc)
2 – 3. Sc in same st as joining and in ea sc around; join with sl st in 1st sc; ch 1. FO after
row 3 is completed; do not ch 1. (25 sc)
4. With RS facing, attach fur color to center back with sc; sc around; join with sl st in 1st
sc, ch 1, turn. (25 sc)
5. Sc around; join with sl st in 1st sc; FO. (25 sc) Weave ends.
Attach Legs:
Follow same procedure given below for arms to form sockets and attach legs to body
about 6 rows from bottom round of body. Check for position, however. With legs
pinned in position, put bear into sitting position; make sure the legs and bottom of body
are even. Otherwise when your bear is sitting, either there will be an unattractive space
between the table and her tush, or the legs will be hanging in thin air.
Arms (Make 2):
Mitten:
1. Ch 5, sc in 2nd ch from hook, sc in next 3 ch; moving around to work on opposite side
of ch, sc in next 4 ch; do not join; place marker. (8 sc)
2. (Inc, 3 sc) twice. (10 sc)
3. (Inc, 4 sc) twice. (12 sc)
4 – 5. Sc in ea sc around. (12 sc)
6. 2 sc, move rnd marker here for beg of next rnd; (inc, 5 sc) twice. (14 sc)
7. Sc around. (14 sc)t
8. (Dec, 5 sc) twice; FO with sl st in next sc. (12 sc) Stuff mitten.
9. Working in BL for this rnd, join dress color in next sc; sc again in same pl, 5 sc, inc, 5
sc. (14 sc)
10 – 14. Sc around. (14 sc)
15 – 16. 3 sc, 4 sl st, 7 sc. (10 sc, 4 sl st) Begin stuffing arm.
17 – 21. Sc. (14 sc)
22. 2 sc, dec, 5 sc, dec, 5 sc. (12 sc)
23. Sc, dec, 4 sc, dec, 3 sc; FO with sl st in next sc, leaving long end for sewing. (10 sc )
• Finish stuffing. The slip stitches should be toward the inside of the elbow. Use the
long end to close the top of the arm, adding more stuffing as necessary.
Cuff:
1. With white chain 15 or number needed to fit around wrist; join with sl st in 1st ch; ch
1, sc in ea ch around; do not turn. (15 sc)
2 – 4. Sc around; do not join. FO at end of rnd 4, leaving long end for sewing. (15 sc)
• Slip the cuff onto the arm over the hand and sew to wrist.
Attach arms:
Thread a two-inch needle with a 30-inch length of upholstery thread, doubled to 15
inches; do not knot end. Insert needle into shoulder where arm will go, and push through
body and out the opposite side where arm placement has been determined; leave a 4 inch
tail of thread protruding from first side. Insert the needle back into the body one sc to the
left or right, and push back through body, coming out one sc to the left
or right of the protruding tail. Then insert the needle back into the same
place from which the tail is protruding, push back through to opposite
side of shoulder, and back out same place as before. Pull to indent arm
sockets slightly, then insert needle into first arm from inner arm. * With
needle angled upward, push out other side; next insert needle back into
arm in same place, dip needle down and back up to catch some stuffing to anchor the
thread, then back out arm in same place as entry. Go back into body in same place as
thread joint, through body and back out opposite side in same place,** then into 2nd arm
from inner side of arm. Pull to force arms against shoulders. Repeat * to ** for this arm.
Go back into 1st arm, (this time straight through, then back into arm, dipping needle
slightly to catch some stuffing, out arm and back into body at joint, out opposite side of
body) and back into 2nd arm. Repeat within ( ). Tighten arms. Do not go back into arm
again; cut thread, leaving 5-inch tail. Make sure arms are snug against body, then tie
both sets of tails, using a surgeon’s knot (see illustration at right). Thread the ends onto a
needle, and pull through the body to hide ends; clip close to body. If done correctly, end
of thread should disappear into body.
Skirt:
1. With bear’s head facing you, join skirt color with sc in 1st rem FL at back of waist; sc
in same pl, sc in next 4 sc, (inc, 4 sc) 8 times; join with sl st in 1st sc. (54 sc)
2. Ch 1; sc in same st as joining and in ea sc around; join with sl st in 1st sc. (54 sc)
3. Ch 1; (Inc, 5 sc) 9 times; join with sl st in 1st sc. (63 sc)
4. Ch 1, sc around; FO dress color. (63 sc)
5. Join white with sc in BL of next sc at back of skirt bottom; 7 sc, inc; (8 sc, inc) 6
times; join with sl st in 1st sc; ch 1, turn. (69 sc)
6 – 7. Sc in same st as joining and in ea sc around; FO at end of row 7. (69 sc)
8. Join gold lame with sl st in BL of sc at center back of row 5; (ch 2, sl st in BL of next
sc) around; FO. Weave ends.

Collar:
1. With white ch 21; (sl st, sc) in 2nd ch from hook, hdc in next ch, 2 dc in next ch, dc in
next 2 ch, 2 dc in next ch, dc in next 3 ch, 2 dc in next 2 ch, dc in next 3 ch, 2 dc in
next ch, dc in next 2 ch, 2 dc in next ch, hdc in next ch, (sc, sl st) in last ch; FO white.
2. Leaving 5-inch tail at beginning and with WS facing, join lace color with sl st in 1st sl
st; (ch 2, sl st in next st) across; FO, leaving 5-inch tail at end.
Place the collar around the bear’s neck; using the tail ends from row 2, tie together under
bear’s chin, then tie into a small bow. Knot the end of each bow tail, and clip about 1/8″
from knot. Treat with fray stop if desired.
Hat:
1. With hat color, ch 2, 8 sc in 2nd ch from hook; do not join; place marker. (8 sc)
2. Inc in ea sc around. (16 sc)
3. (Inc, 3 sc) 4 times. (20 sc)
4. (Inc, 3 sc) 5 times; FO with sl st in next sc. (25 sc)
5. Join contrasting color with sc; sc around; join with sl st in 1st sc. (25 sc)
6. Join lace color with sl st in BL of 1st sc; (ch 2, sl st in BL of next sc) around; join with
sl st in 1st sl st; FO.
Optional Pompom:
1. Leave 6 inch thread at beg for attaching pompom to hat; ch 2, 8 sc in 2nd ch from
hook; do not join. (8 sc)
2. Inc in ea sc around. (16 sc)
3 – 4. Sc around. (16 sc)
5. (Dec, sc) 5 times; dec over last sc and 1st sc of next rnd; rnd marker will go here for
beg of next rnd. Push a little stuffing into pompom through bottom opening.
6. 5 dec; FO with sl st in next sc, leaving a 6-inch tail. (10 sc)
• Run a gathering st around FL of rnd 6. Pull tightly to close. Pull thread to inside of
hat through pompom.
• Sew pompom over center of hat.
• Decorate hat with bows, beads, flowers, etc.
Finish:
• Wrap a piece of 1/8 to ¼” (4 – 6mm) wide ribbon around the bears waist, and tie into
a pretty bow at the back.
• Sew a tiny jewel to the front of each boot, just below the “fur” trim. Put a little rose
or pink blush on the bear’s cheeks.
Mini-Bear Stand
Materials:
y Round soft plastic cap from a milk bottle as shown in photo at
right. They can also be found on gallon jugs of distilled water.
y White punch thread
y Size 12 (1mm) crochet hook
y Sparkly white or silver nail polish (I used “Diamond Dazzle” by
Milani.)

Work in BL unless otherwise instructed.
1. Ch 2, 6 sc in 2nd ch from hook; do not join; place marker. (6 sc)
2. Inc in ea sc around. (12 sc)
3. (Inc, sc) 6 times. (18 sc)
4. (Inc, sc) 9 times. (27 sc)
5. (Inc, 2 sc) 9 times. (36 sc)
6. (Inc, 2 sc) 12 times. (48 sc)
7. Sc around. (48 sc)
8. (Inc, sc) 24 times. (72 sc)
9. Sc around. (72 sc)
10. (Inc, 5 sc) 12 times. (84 sc)
11. Sc around, continue 20 additional sc into next rnd; place marker. (84 sc)
Begin working in both loops.
Top should now be the same size as your milk bottle top. If it is not, add or subtract rnds
to get to the size needed.
12. Sc around. (84 sc)
13. (Dec, 2 sc) around. Stretch cover over lid and work remainder with cover on lid.
14. (Dec, 2 sc) around. (48 sc)
15 – 16. Sc around; FO. (48 sc)
• If you wish, paint the stand in random places with glitter nail polish to look like snow
and ice. . You may also use white glue, with white or silver glitter sprinkled over it.
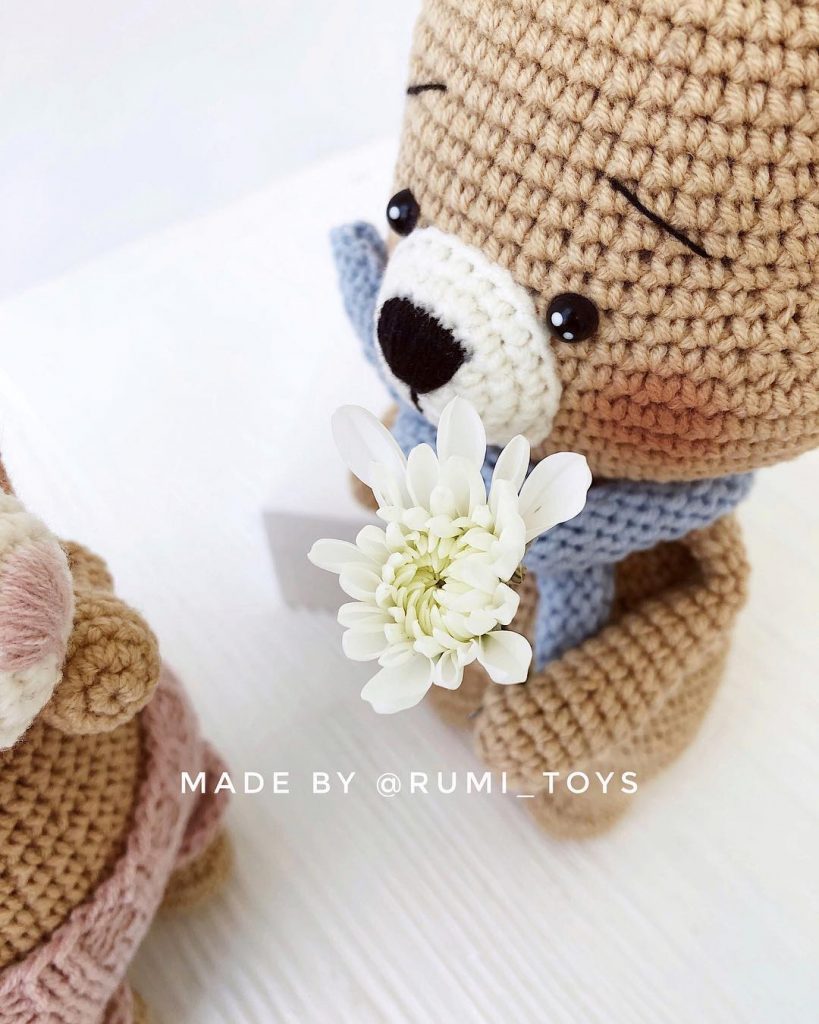
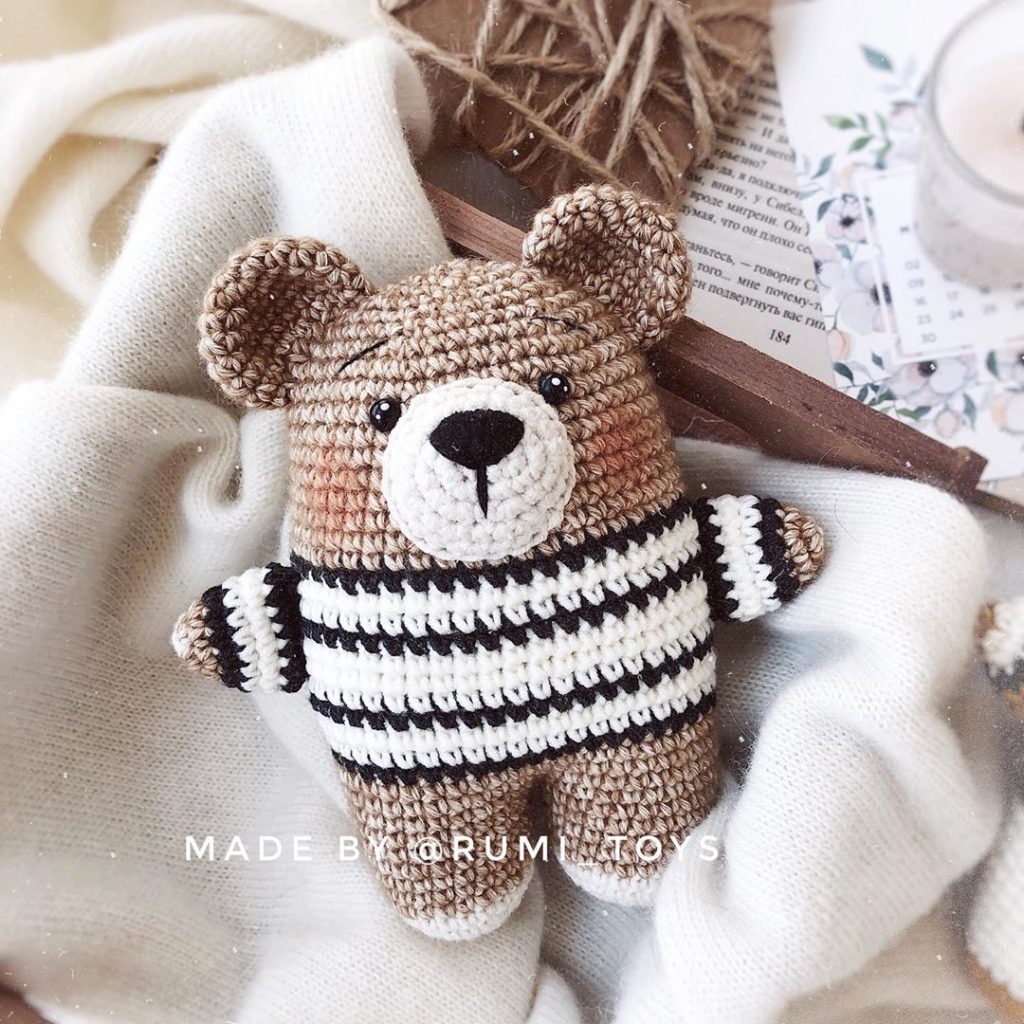
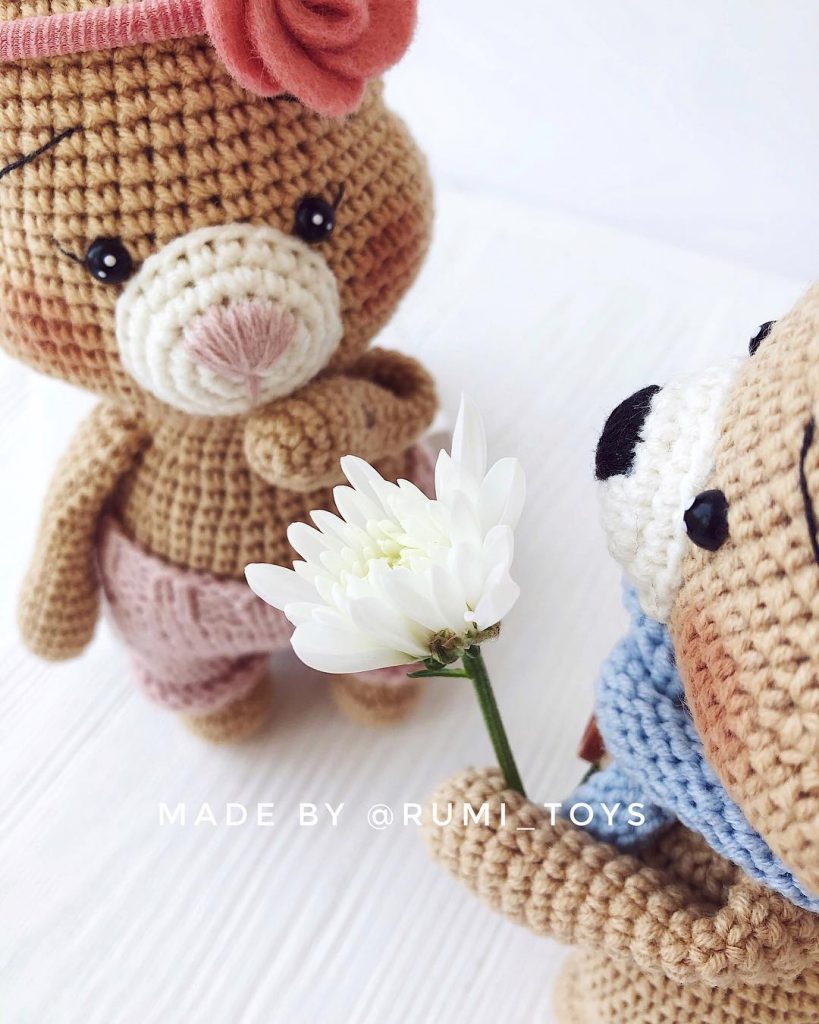
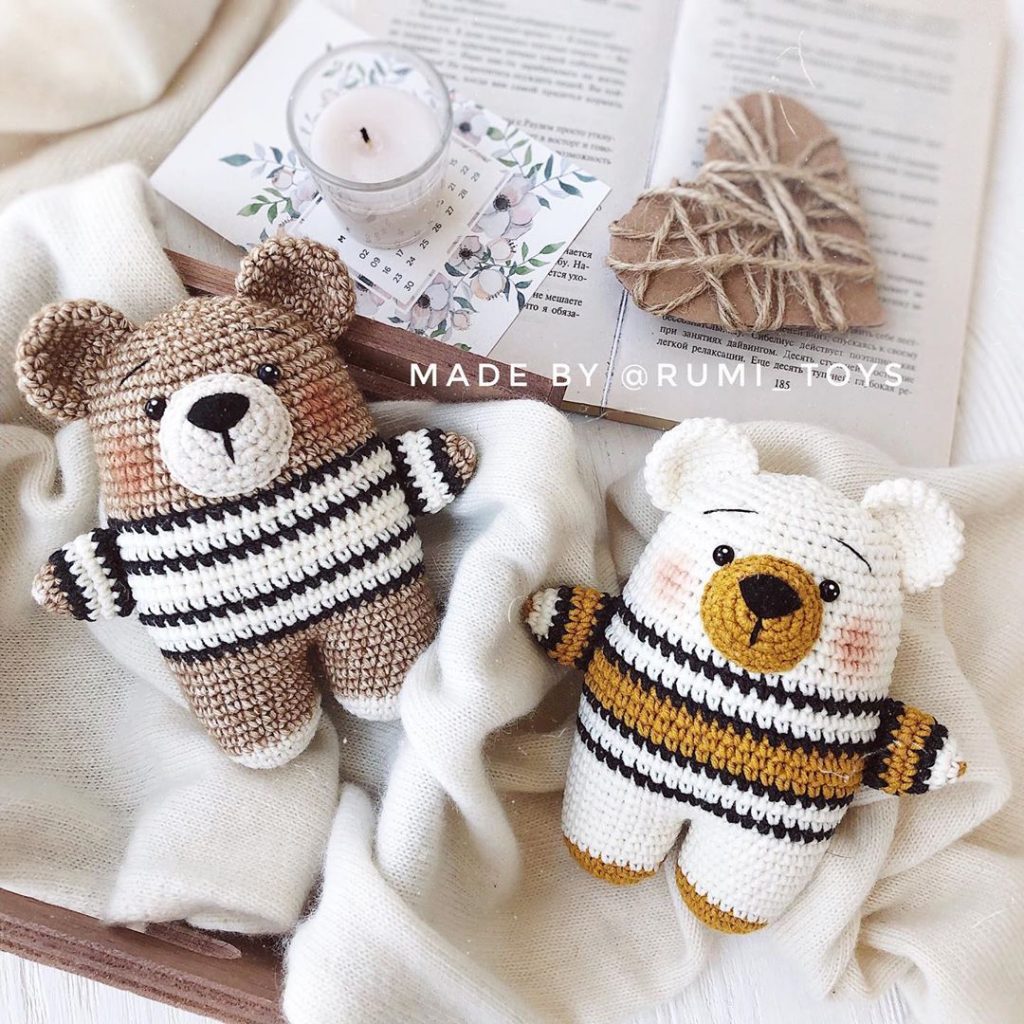
More Amigurumi Bear Pattern İdeas from : rumi_toys

