Hello dear Amigurumi Followers
Today we share Amigurumi The Sleepy Fox Free Pattern for you. As you know we share new free amigurumi pattern every day. The main crochets are gazelle, amigurumi bear, pola, crochet panda, penguin, giraffe, llama, pig, bunny, clown, lamb, bee, crochet unicorn, amigurumi doll, fox, penguin, dinosaur, crochet elephant, hippo, monkey, crochet cat, crochet dog and more …
Todays daily new amigurumi free crochet pattern is Amigurumi The Sleepy Fox.
I want to give you some informations about this amigurumi free pattern ; The Sleepy Fox.
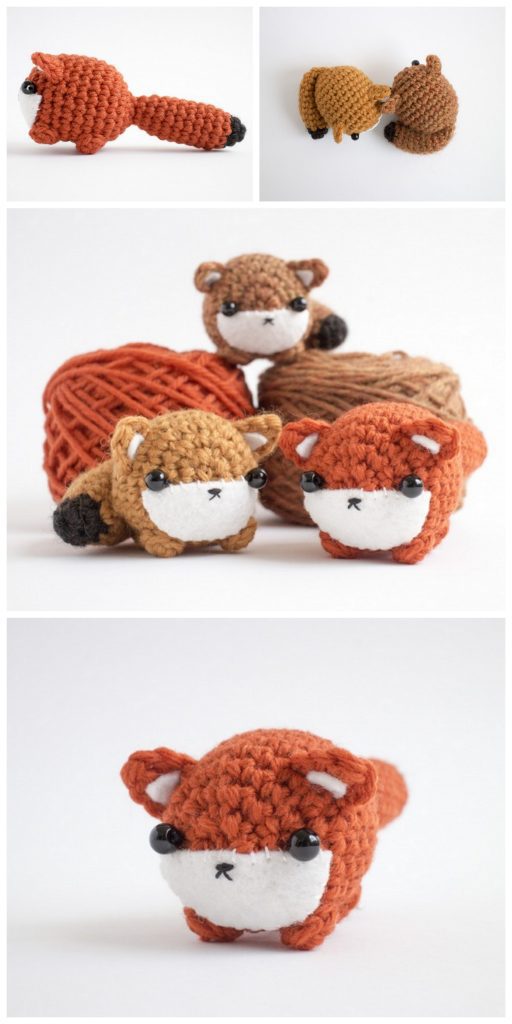
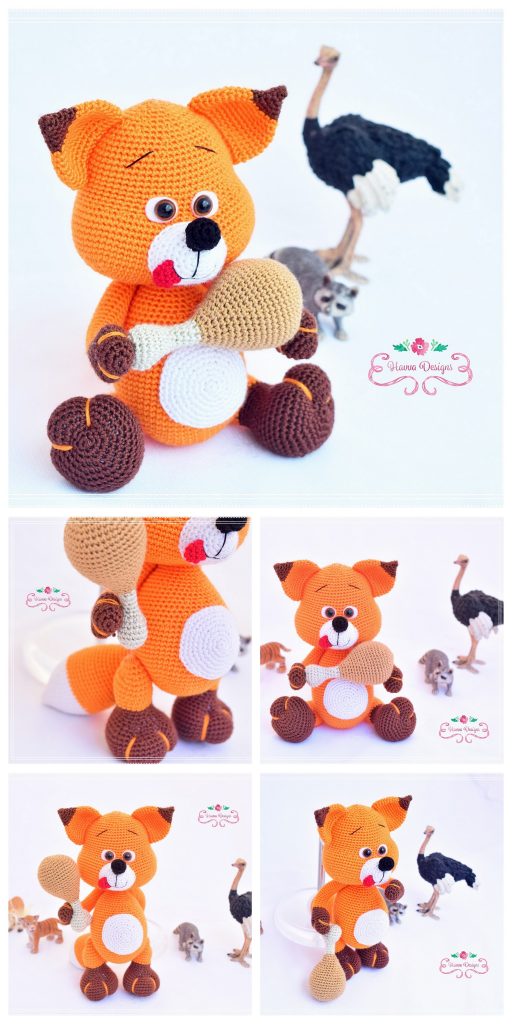
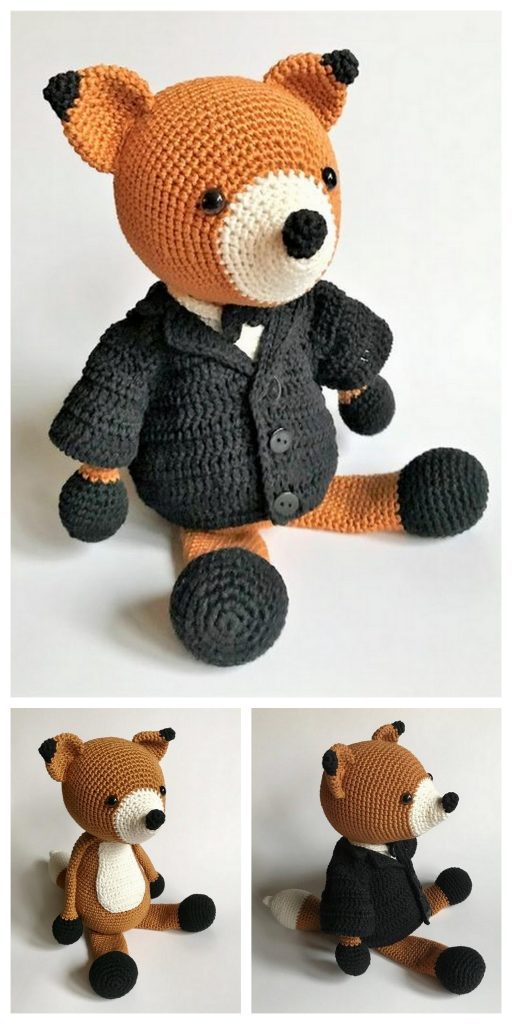
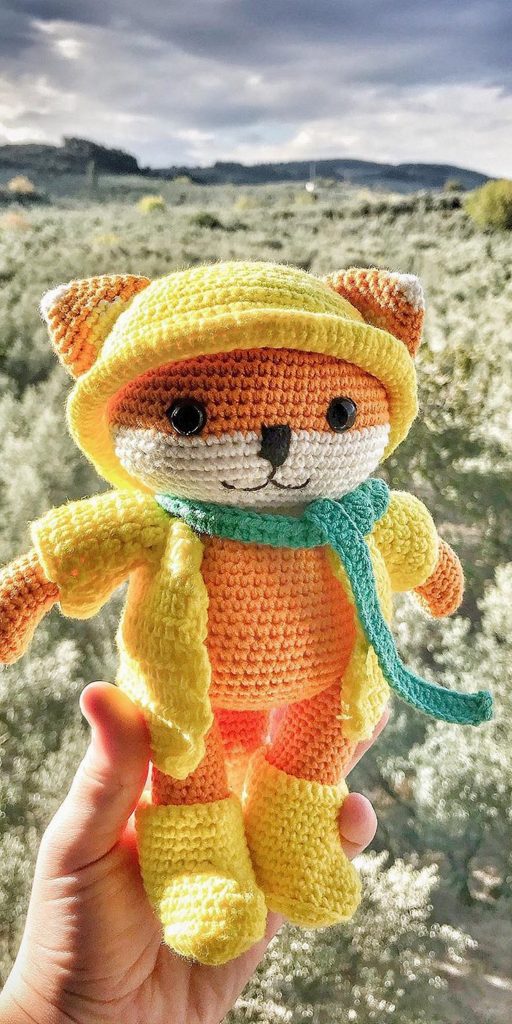
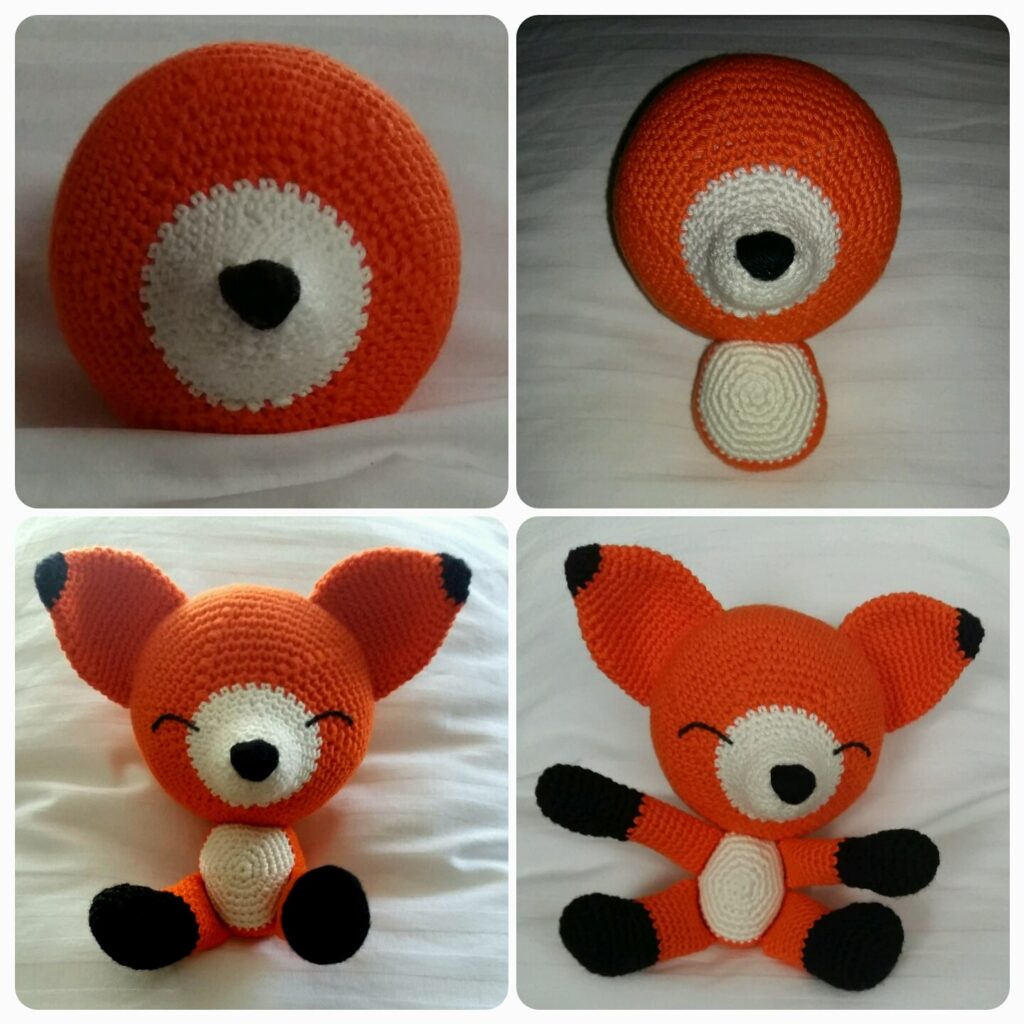
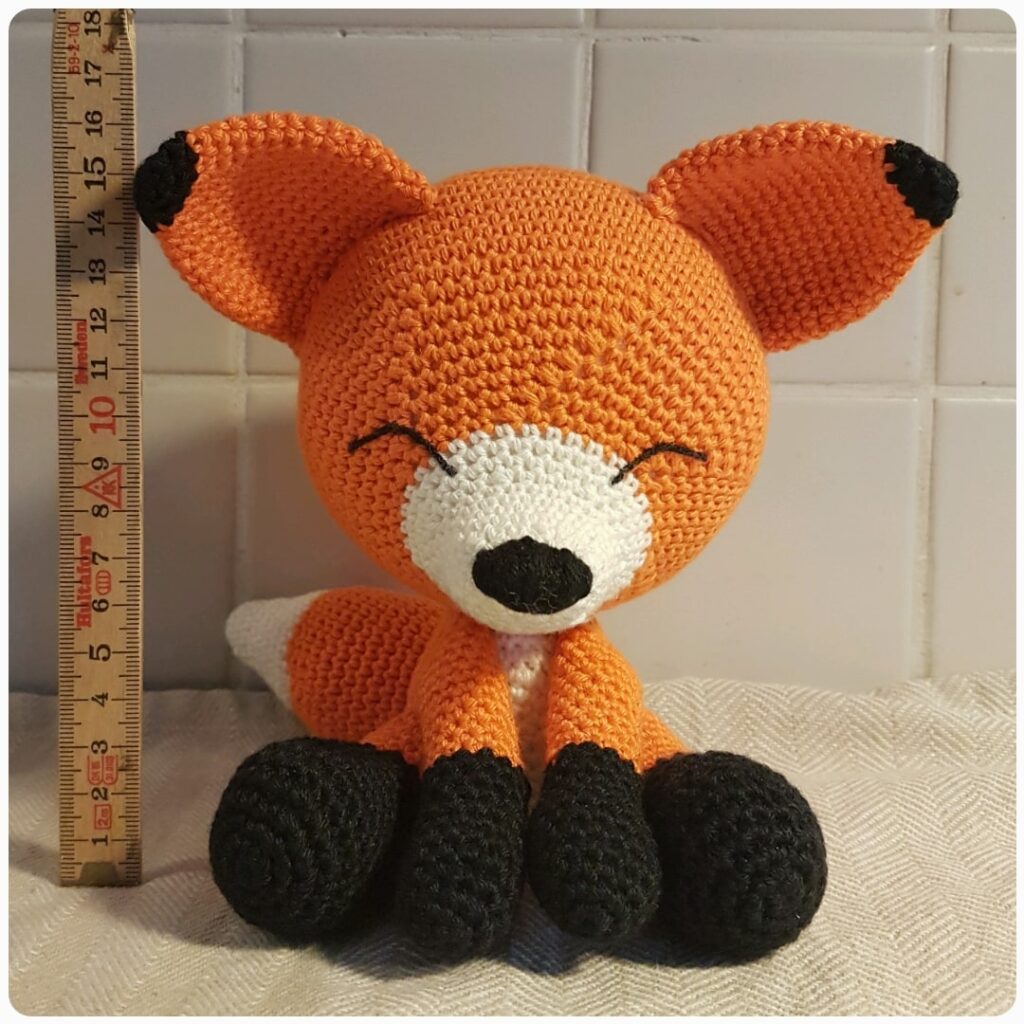
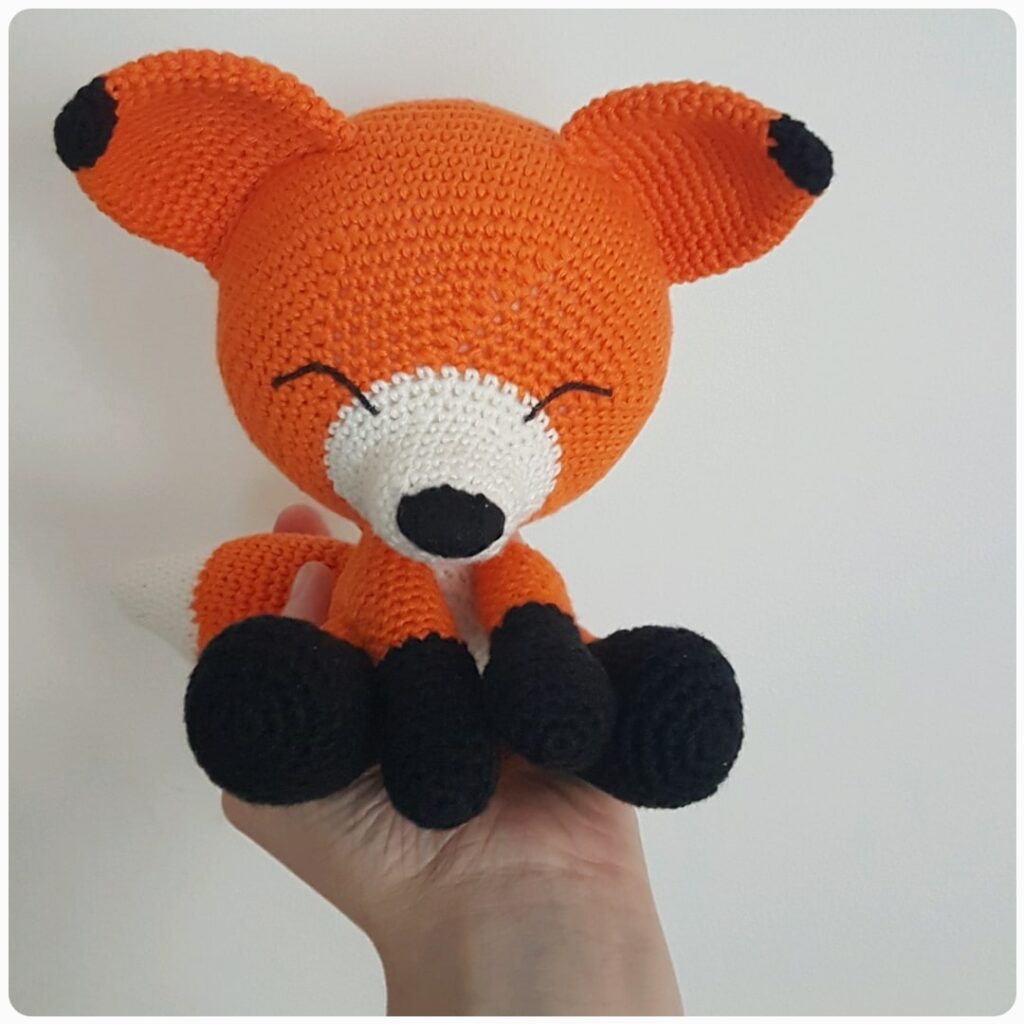
I’ve realized some of you have some trouble understanding how large the head of the fox should be. I’ve tried to visualize this by adding two new pictures at the end of this pattern. As you can see, the head is quite large – most of the fox consists of the head part. Another thing: when I crochet the muzzle, I usually crochet harder/firmer than I do when I crochet the rest of the body parts. This makes the muzzle firmer and narrower. Now, back to the orignal text:
So, this is the pattern for my design the Sleepy Fox. As you may have predicted, you can use any yarn and colour you want. I use the yarn “Tilda” from Svarta fåret, and needle size 2,5. It’s a thin yarn and using that with the mentioned needle will make the fox about 17 centimeters high (ears included). The stuffing of the amigurumi fox is made little by little – once you start making it, you will probably know when and where to put the stuffing.
How you stuff your fox (or other amigurumi) usually has a huge impact on the result. Try to pay attention to each body part while you stuff it. For the head of this particular fox, I try to make the face more wide than high, and so forth. In other words: the shaping while stuffing is essential to the final result. If you’re an absolute beginner and stumble upon difficulties – please let me know by leaving a comment and I’ll try to guide you!
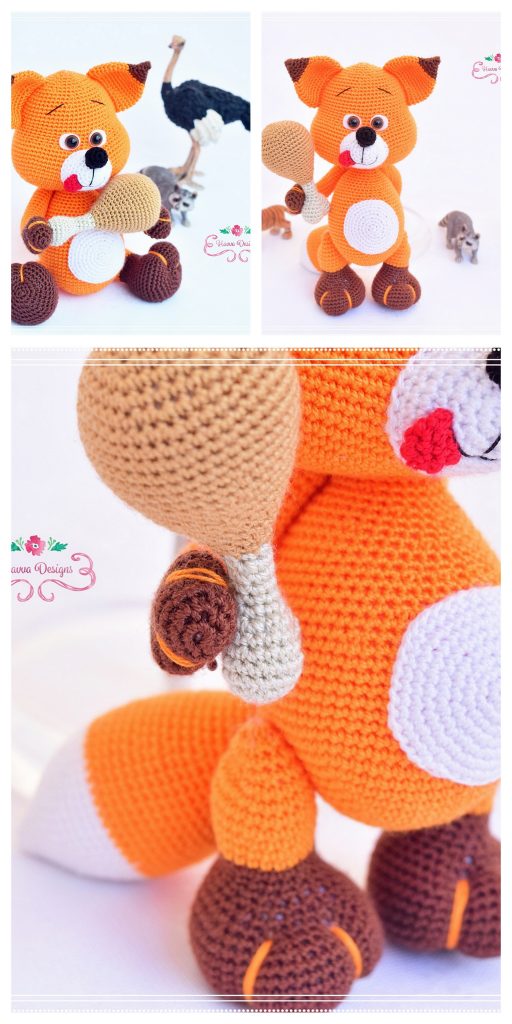
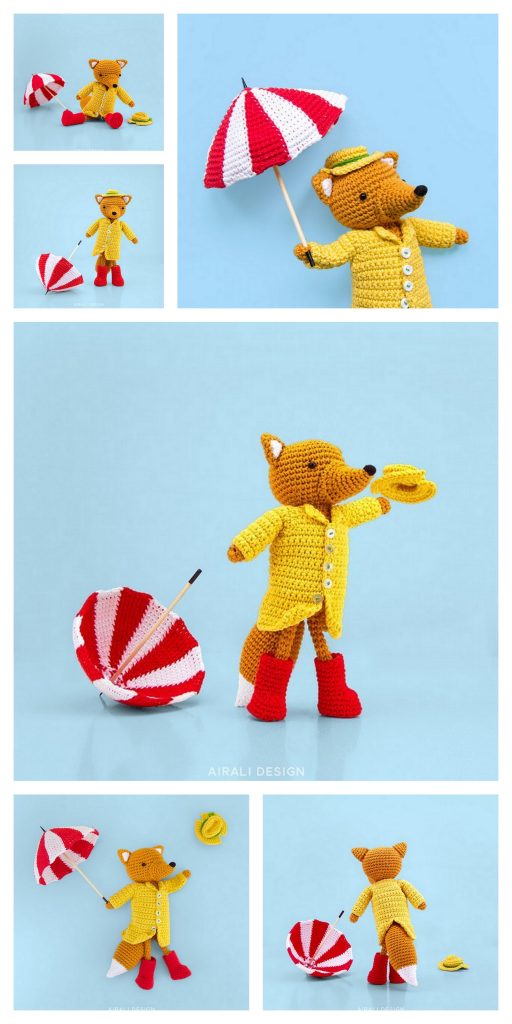
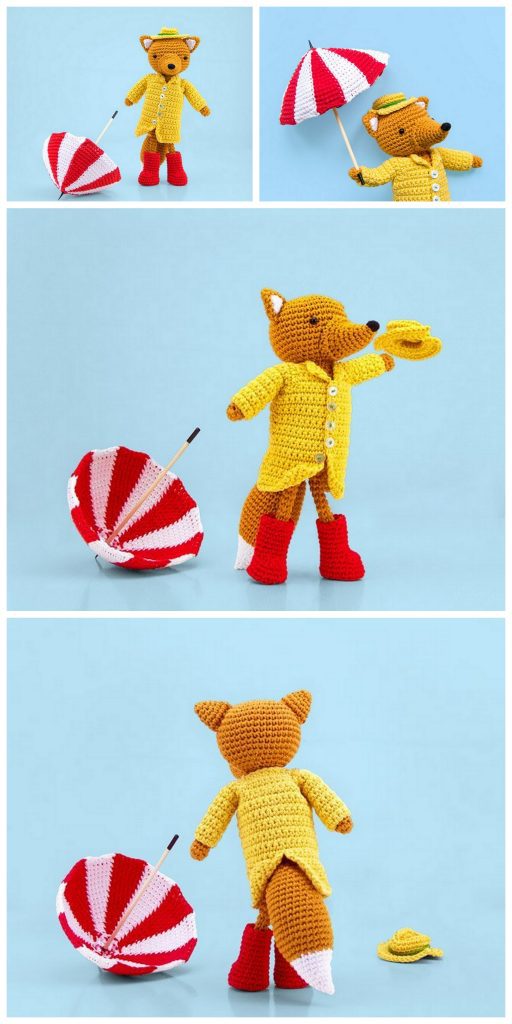
Further down this page you will find pictures of the fox during the working process and from different sides.
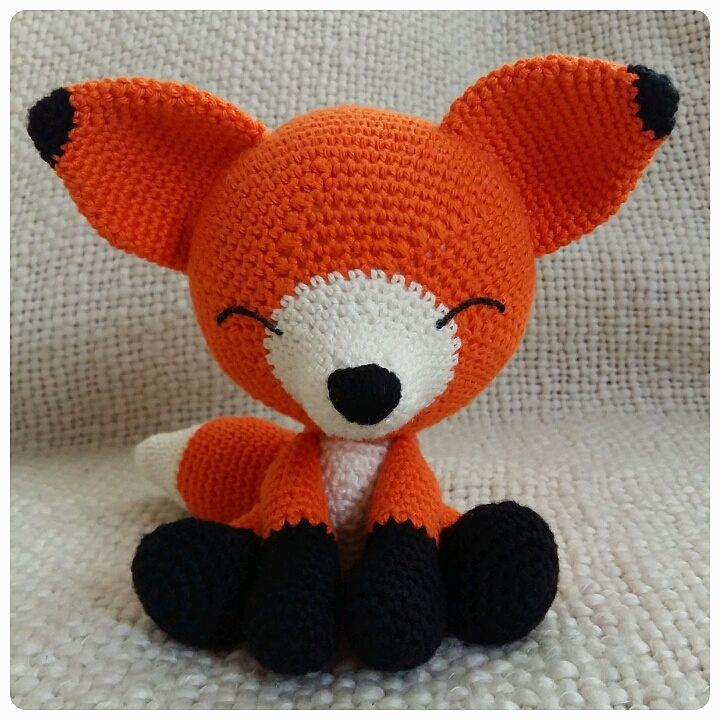
Amigurumi The Sleepy Fox Free Pattern
Part I: The Head (start from the back of the head and work your way all the way to the muzzle)
1) Magic circle (6)
2) 2 sc in each st (12)
3) 1 sc then 2 in the next st (18)
4) 1 sc in the next 2 st then 2 in the next st (24)
5) 1 sc in the next 3 st then 2 in the next st (30)
6) 1 sc in the next 4 st then 2 in the next st (36)
7) 1 sc in the next 5 st then 2 in the next st (42)
8) 1 sc in the next 6 st then 2 in the next st (48)
9) 1 sc in the next 7 st then 2 in the next st (54)
10) 1 sc in the next 8 st then 2 in the next st (60)
11) 1 sc in the next 9 st then 2 in the next st (66)
12) 1 sc in the next 10 st then 2 in the next st (72)
13) 1 sc in the next 11 st then 2 in the next st (78)
14-23) I sc in each st for 10 rows (78)
24) 1 sc in the next 11 st then 2 tog (72)
25) 1 sc in the next 10 st then 2 tog (66)
26) 1 sc in the next 9 st then 2 tog (60)
27) 1 sc in the next 8 st then 2 tog (54)
28) 1 sc in the next 7 st then 2 tog (48)
29) 1 sc in the next 6 st then 2 tog (42)
30) 1 sc in the next 5 st then 2 tog (36) (Stuff the head)
31) 1 sc in the next 4 st then 2 tog (30) – change colour on last st (white) Tip: crochet the muzzle part harder/firmer than the rest of the head. It makes the muzzle more narrow.
32-34) 1 sc in each st for 3 rows (30)
35) 1 sc in the next 3 st then 2 tog (24)
36-39) I sc in each for 4 rows (24)
40) 1 sc in the next 2 st then 2 tog (18) (Stuff the muzzle)
41) I sc in each st for one row (18)
42) 1 sc then 2 tog (12)
43) 1 sc in the next st then 2 tog (8) (Stuff the rest of the muzzle)
44) 2 tog twice then
f/o and weave in and out of the remaining stitches and close the gap.
– Now, pull out a long thread of black yarn. Sew a muzzle on the top of the nose.
Part II: The Body (start from the belly and work your way to the back)
1) Magic circle (6)
2) 2 sc in each st (12)
3) 1 sc in the next st then 2 in the next st (18)
4) 1 sc in the next 2 st then 2 in the next st (24)
5) 1 sc in the next 3 st then 2 in the next st (30)
6) 1 sc in the next 4 st then 2 in the next st (36)
7) 1 sc in the next 5 st then 2 in the next st (42) – change colour on last st
8) 1 sc in the next 6 st then 2 in the next st (48)
9-12) I sc in each st for 4 rows (48)
13) 1 sc in the next 6 st then 2 tog
14) 1 sc in the next 5 st then 2 tog
15) 1 sc in the next 4 st then 2 tog
16) 1 sc in the next 3 st then 2 tog (Stuff the body)
17) 1 sc in the next 2 st then 2 tog
18) 1 sc then 2 tog
19) 1 sc in the next 2 st then 2 tog
f/o and weave in and out of the remaining stitches and close the gap. Pull the thread through the body so it enters the top of the body (aka “the neck”). Leave a long thread for sewing the body to the head. I mean, really long. Like longer than you can believe.
Now – sew the body to the head. There are no rules, just make it happen.
Part III: The Ears (start from the top of the ear)
1) Magic circle (6)
2) 1 sc in each st (6)
3) 2 sc in each st (12) – change colour on last st
4) 1 sc in each st for 1 row (12)
5) 1 sc in the next 3 st then 2 in the next st (15)
6) 1 sc in the next 4 st then 2 in the next st
7) 1 sc in the next 5 st then 2 in the next st
8) 1 sc in the next 6 st then 2 in the next st
9) 1 sc in the next 7 st then 2 in the next st
10) 1 sc in the next 8 st then 2 in the next st (30)
11-17) 1 sc in each st for 7 rows
f/o and leave a long thread for sewing. Not quite as long as the one you left for the body/head-thing, but still long.
Part IV: The Legs (start from the foot/paw)
1) Magic circle (6)
2) 2 sc in each st (12)
3) 1 sc then 2 in the next st (18)
4) 1 sc in the next 2 st then 2 in the next st (24)
5-6) 1 sc in each st for 2 rows (24)
7) 2 tog twice then 1 sc in the following stitches (22)
8) 1 sc in each st for 1 row (22)
9) 2 tog twice then 1 sc in the following stitches (20)
10) 1 sc in each st for 1 row (20)
11) 2 tog twice then 1 sc in the following stitches (18)
12) 1 sc in each st for 1 row (18) – change colour on last st
13-20) 1 sc in each st for 8 rows (18)
Stuff the foot and leg, then crochet the sides of the leg together and f/o, leaving a thread for sewing. I don’t think I have to tell you how long this thread should be – by this point I think you get it.
Part V: The Arms (start from the hand/paw)
1) Magic circle (6)
2) 2 sc in each st (12)
3) 1 sc in the next 5 st then 2 in the next st (14)
4) 1 sc in the next 6 st then 2 in the next st (16)
5) 1 sc in each st for 2 rows (16)
6) I sc in the next 6 st then 2 tog (14)
7) I sc in the next 5 st then 2 tog (12)
8) 1 sc in each st for 3 rows (12) – change colour on last st
9-20)1 sc in each st for 12 rows (12)
F/o, leaving a thread for sewing (not going to mention the lenght now), stuff the arms lightly.
Part VI: The Tail (start from the tip of the tail)
1) Magic circle (6)
2) I sc then 2 sc in the next st (9)
3) 1 sc in the next 2 st then 2 in the next st (12)
4) 1 sc in each st for one row (12)
5) 1 sc in the next 3 st then 2 in the next st (15)
6) 1 sc in the next 4 st then 2 in the next st (18)
7) 1 sc in each st for one row (18)
8) 1 sc in the next 5 st then 2 in the next st (21)
9) 1 sc in the next 6 st then 2 in the next st (24)
10) 1 sc in each st for one row (24) – change colour on last st
11) 1 sc in the next 7 st then 2 in the next st (27)
12) 1 sc in the next 8 st then 2 in the next st (30)
13-20) 1 sc in each st for 8 rows (30)
21) 1 sc in the next 8 st then 2 tog (27)
22) 1 sc in the next 7 st then 2 tog (24)
23) 1 sc in each st for one row (24)
24) 1 sc in the next 6 st then 2 tog (21)
25) 1 sc in the next 5 st then 2 tog (18)
26) 1 sc in each st for one row (18) (stuff most of the tail)
27) 1 sc in the next 4 st then 2 tog (15)
28) 1 sc in the next 3 st then 2 tog (12) (stuff the rest of the tail)
29) 1 sc in each st for one row (12)
f/o leaving a thread for sewing
Part VII: The Final Fox
Sew all the parts of your Sleepy Fox together. For the eyes, use black yarn and sew the eyes on with regular sewing thread.
IMAGE TUTORIAL (sort of)
In these images you can see how to assemble the different parts of the fox:
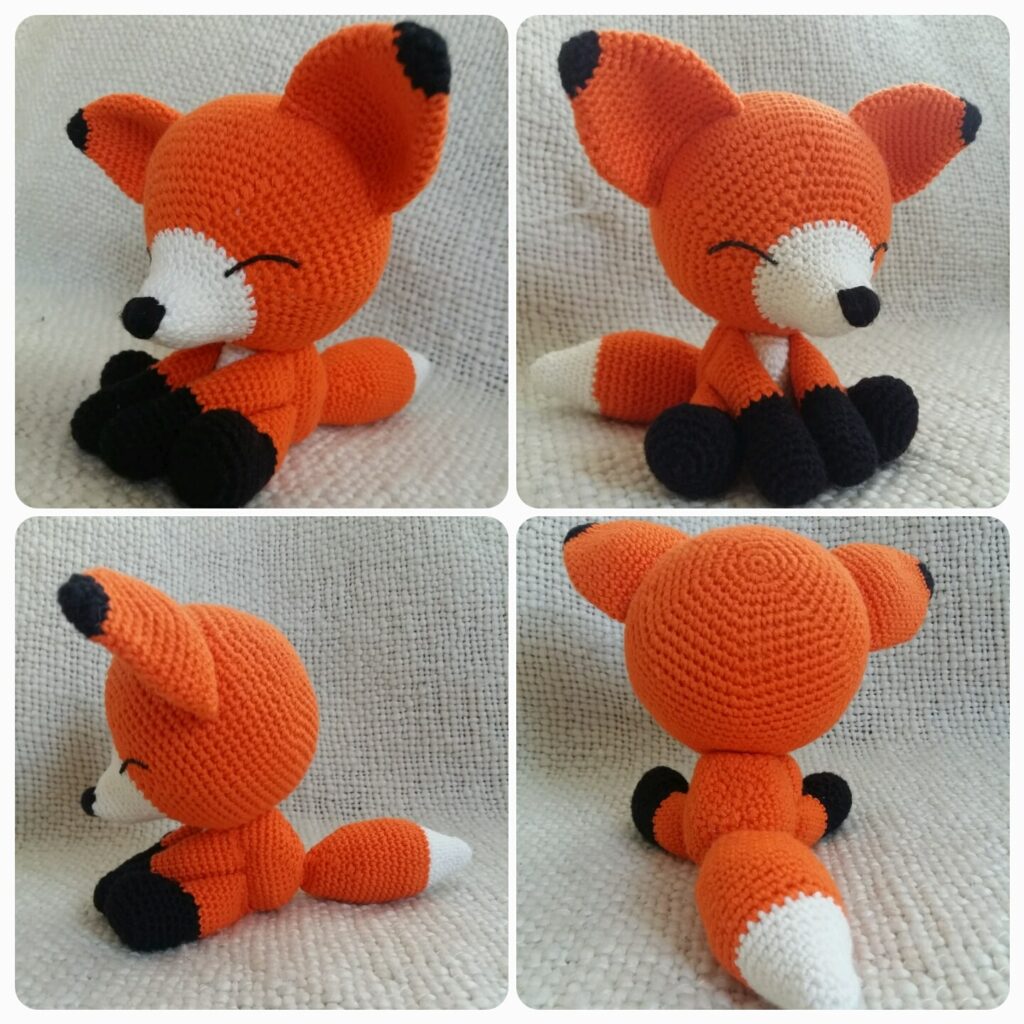
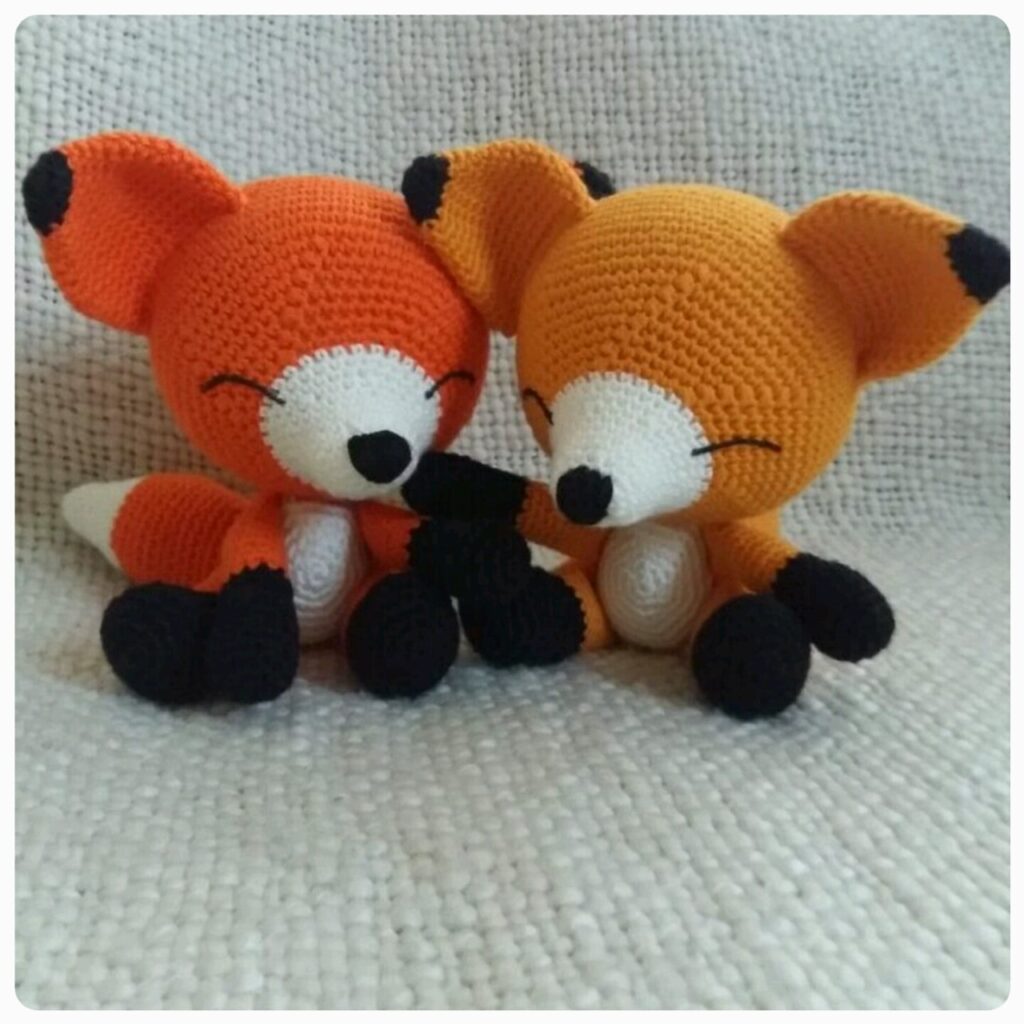
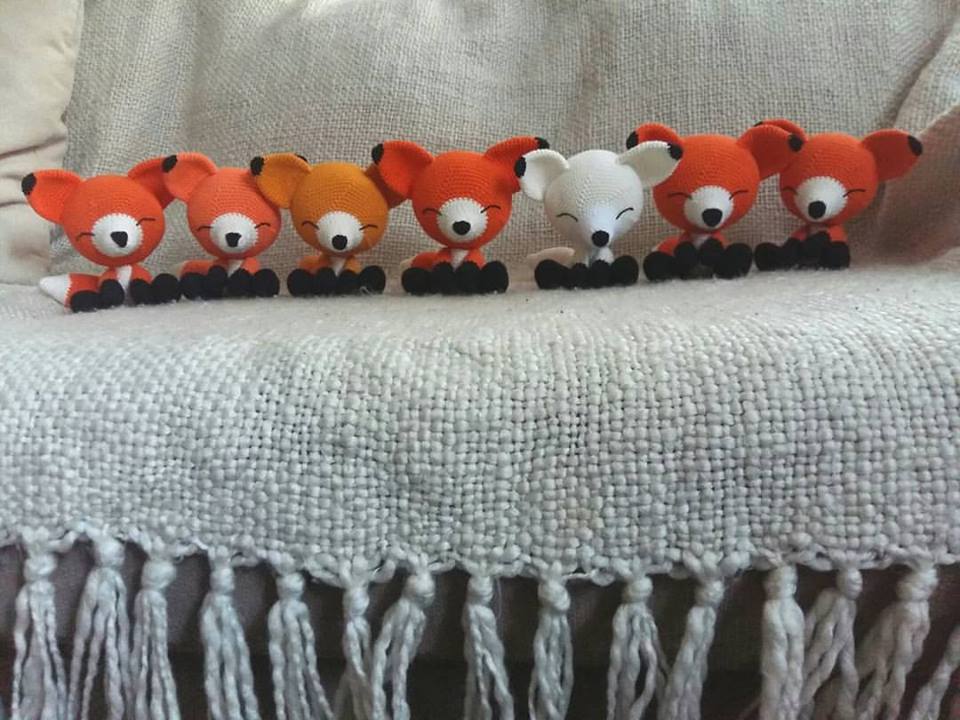
Finally. You can make one Sleepy Fox, or two, but I suggest you just make a bunch of them while you´re at it! The more, the merrier, they say.
More Amigurumi Fox Ideas:
