Hello dear Amigurumi Followers
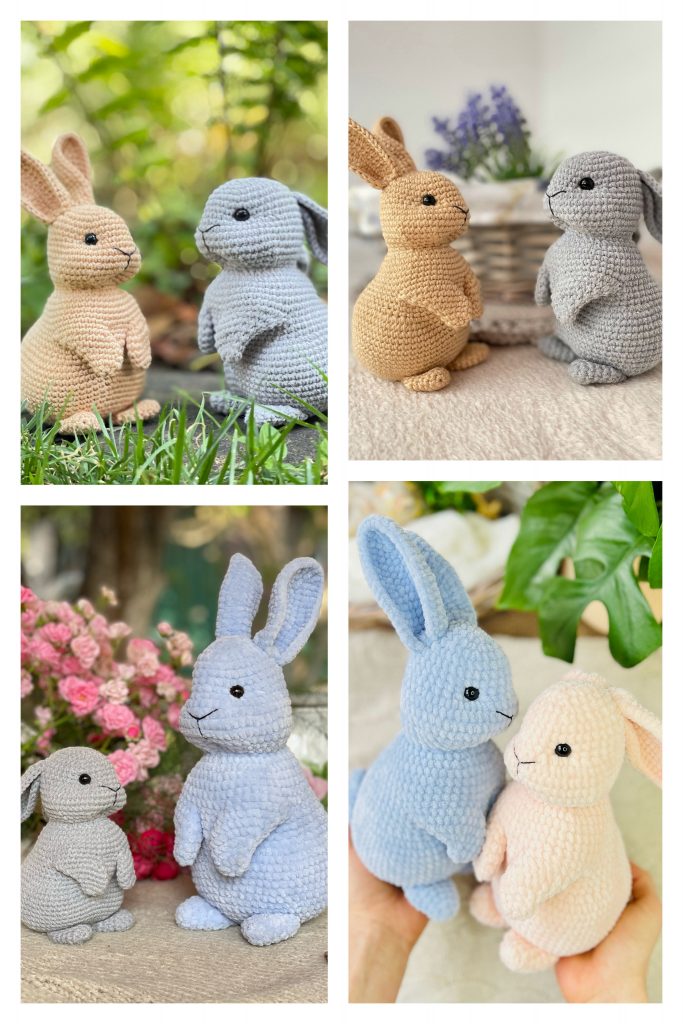
Today we share Amigurumi The Little Bunny Free Pattern for you. As you know we share new free amigurumi pattern every day. The main crochets are gazelle, amigurumi bear, pola, crochet panda, penguin, giraffe, llama, pig, bunny, clown, lamb, bee, crochet unicorn, amigurumi doll, fox, penguin, dinosaur, crochet elephant, hippo, monkey, crochet cat, crochet dog and more …
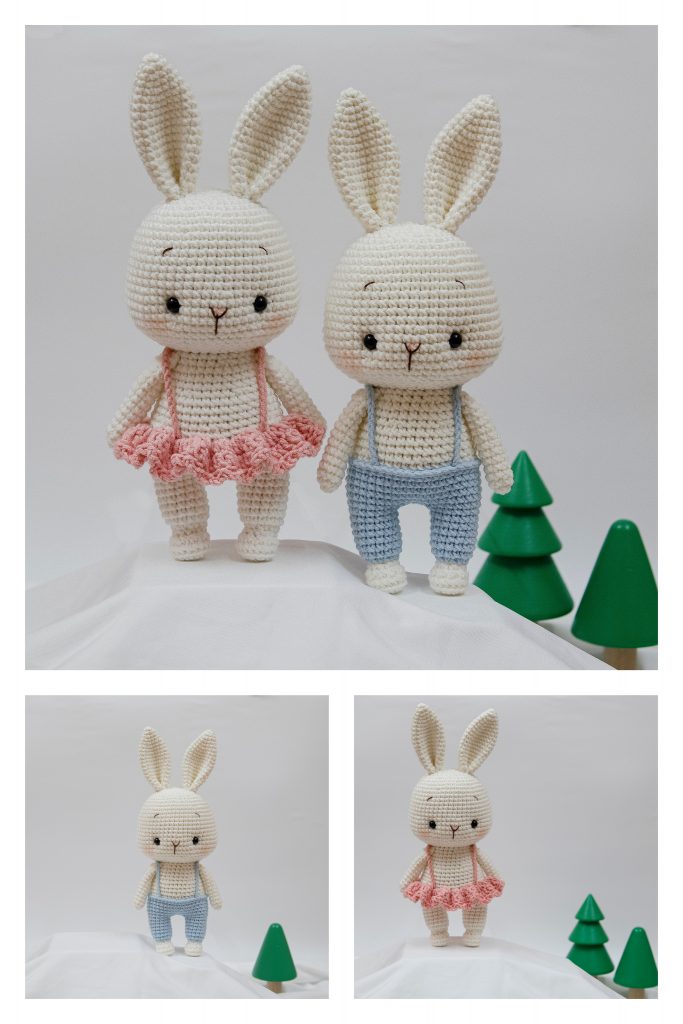
Todays daily new amigurumi free crochet pattern is Amigurumi The Little Bunny.
I want to give you some informations about this amigurumi free pattern ; The Little Bunny.
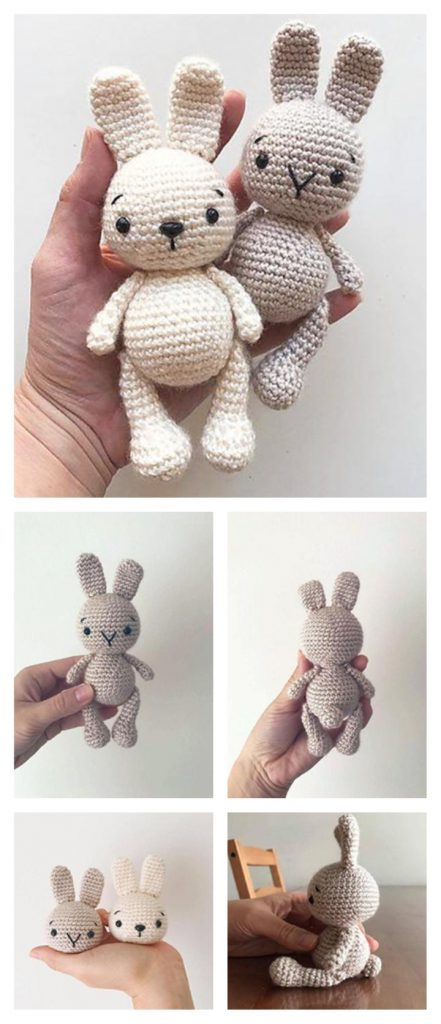
You can tie this little bunny from any cotton or acrylic yarn and any number
hook at your request. What do I mean when I say “at will”? You should take this
A hook to make the knitting look dense enough. This hook is on average 1 number smaller than the number recommended on the yarn label.
Yarn
I knitted a rabbit from Kartopu Flora (acrylic), but successfully tested the bunnies from yarn: Alize Bahar,
Alize Bella, Alize Cotton Gold, Schachermayr Catania, Schachenmayr Bravo, Himalaya Dolphin Baby,
Fibranature
Cotton, Barka Menta, Gombolyda Guru.
Abbreviations
Knit in a spiral. Do not join the rows unless specified in the description.It is recommended to use a marker for loops. Place it on the first row of the row andmove while working in the first column of each next row.
Bn – air loop
Sbn – a column without a crochet
Arrange 2 sb in one loop
Ub – knit 2 sb together (insert the hook into the stem and pull out the loop.)
Insert the hook in the next step andpull out the loop.
Fold the thread on the hook and tie together 3 loops on the hook).
I used 6 mm safety eyes and a 9 mm safety spout, but you can just embroider them.
Amigurumi The Little Bunny Free Pattern
Head
1 row: tie 6 sbn into a magic ring of amigurumi.
2 rd: 2 sb in each st in a circle (12)
3 rd row: (sb, 2 sb in the next stage) * 6 (18)
4th row: (2 sb, 2 sb in the next stage) * 6 (24)
5 series: (3 sb, 2 sb in the next stage) * 6 (30)
6 row: (4 sb, 2 sb in the next stage) * 6 (36)
Pull the magic ring of amigurumi and fasten it.
7 series: (11 сбн, 2 сбн в next article) * 3 (39)
8th row: (12 cf., 2 sb in the next stage) * 3 (42)
9-13 series: in a circle in a circle (42)
14 series: (5 sb, 2 sb together) * 6 (36)
15 series: (4 sb, 2 sb together) * 6 (30)
Place safe eyes and nose if you use them. I arranged my eyes between the 11th and the 12thnext to the head at a distance of 9 degrees, and the nose – between 12 and 13th row.
16th row: (3 sb, 2 sb together) * 6 (24)
17 series: (2 sb, 2 sb together) * 6. (18)
18 series: (sb, 2 sb together) * 6 (12)
Convey ss in the following. and cut the thread.
Nabeyte tight head.
Embroider facial features.
Ears (2 parts)
1 row: tie 7 sb into the magic ring amigurumi
2-3 series: in a circle (7)
Convey ss in the following. and cut the thread, leaving a sufficient length of thread for stitching.
4 series: (2 sb together) * 2, 3 sb (5)
5-8 series: sbn in a circle (5)
Convey ss in the following. and cut the thread, leaving a sufficient length of thread for stitching.Do not stuff your paws, just hide inside the thread pieces after knitting a magic ringamigurumi.
Hind feet (2 pieces)
1 row: tie 6 sbn into a magic ring of amigurumi.
2 rd: 2 sb in each st in a circle (12)
3rd row: (sb, 2 sb in the next stage) * 3, 6 sb (15)
Pull the magic ring of amigurumi and fasten it.
4-5 series: in a roundabout (15)
6 ranks: 3 sb, (2 sb together) * 3, 6 sbn (12)
Start stuffing your paw.
7 series: (sb, 2 sb together) * 4 (8)
8-13 a series: a croak in a circle (8)
Fit the paw until the 13th row, the top of the stuffing is less tight.
14 row: (2 sb together) * 4 (4)
Convey ss in the following. and cut the thread, leaving a sufficient length of thread for stitching.
Sew the front and back legs on the sides of the body. I sewed my hind paw in the 6-7th rowtorso.Tail
1 row: tie 6 sbn into a magic ring of amigurumi.
2 rd: 2 sb in each st in a circle (12)
Pull the magic ring of amigurumi and fasten it.
3 rd: in a circle in a circle (12)
4 row: (2 sb together) * 6 (6)
Fit the tail before you tie the last row.
Convey ss in the following. and cut the thread, leaving a sufficient length of thread for stitching.
Sew a tail to the trunk.
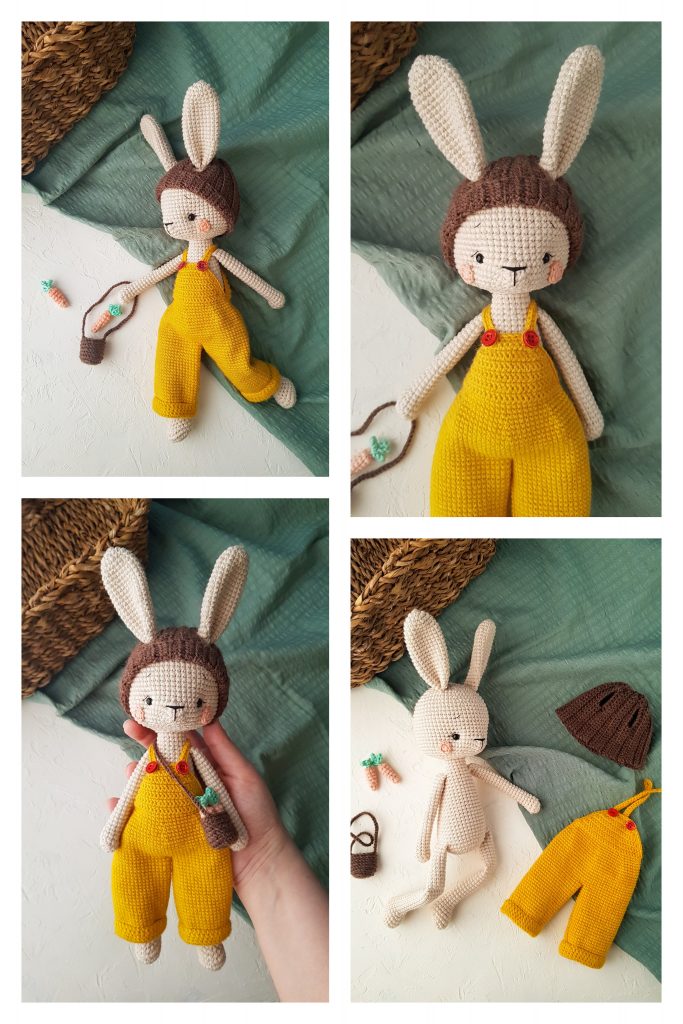
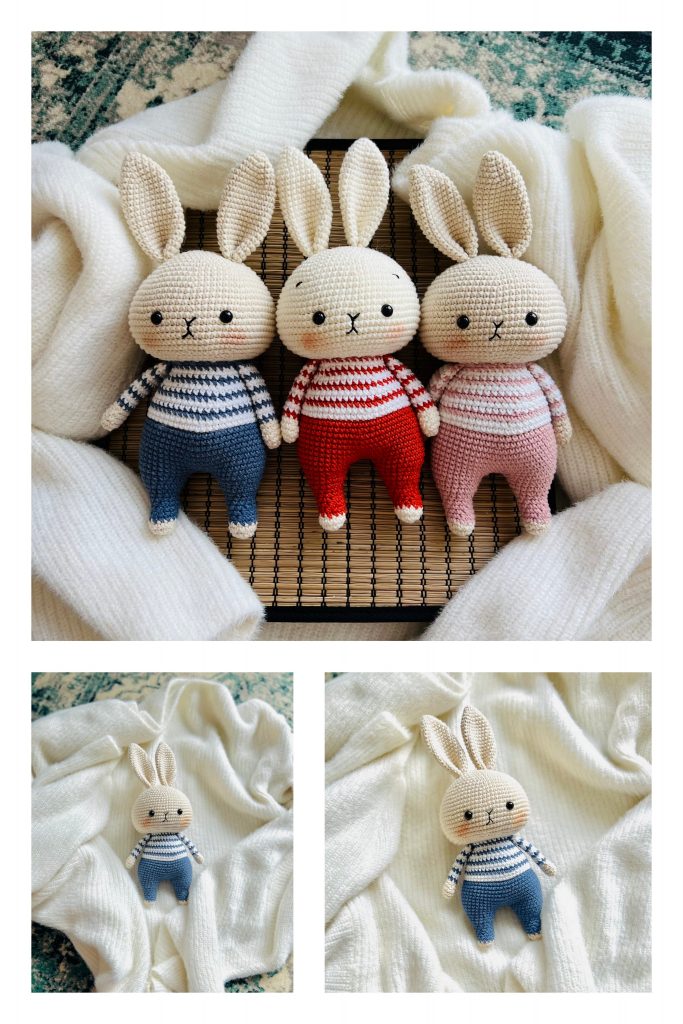
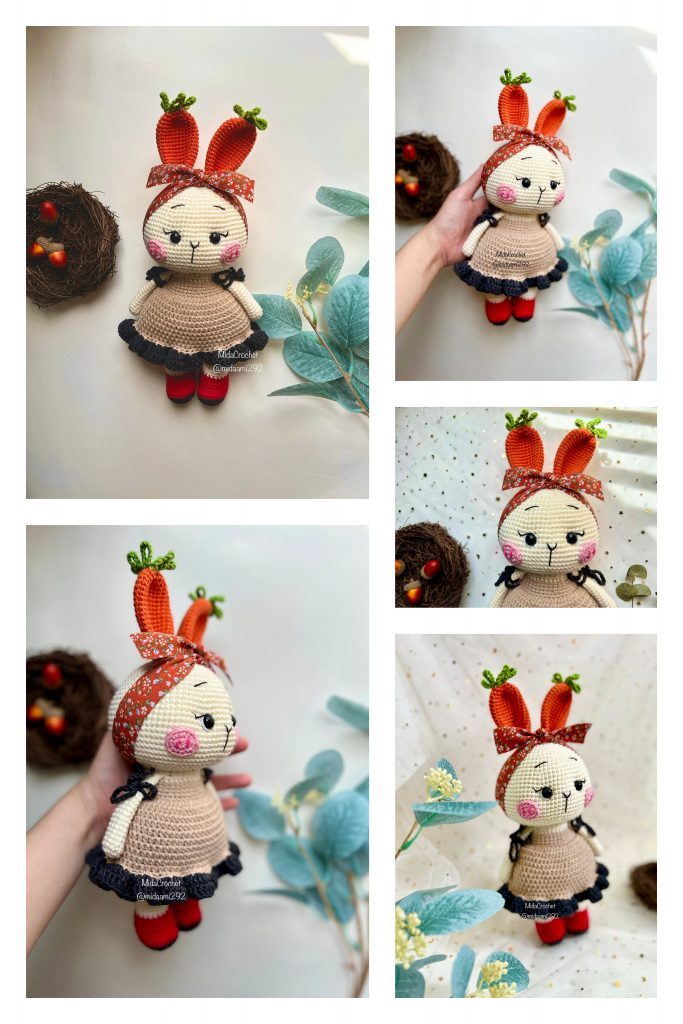
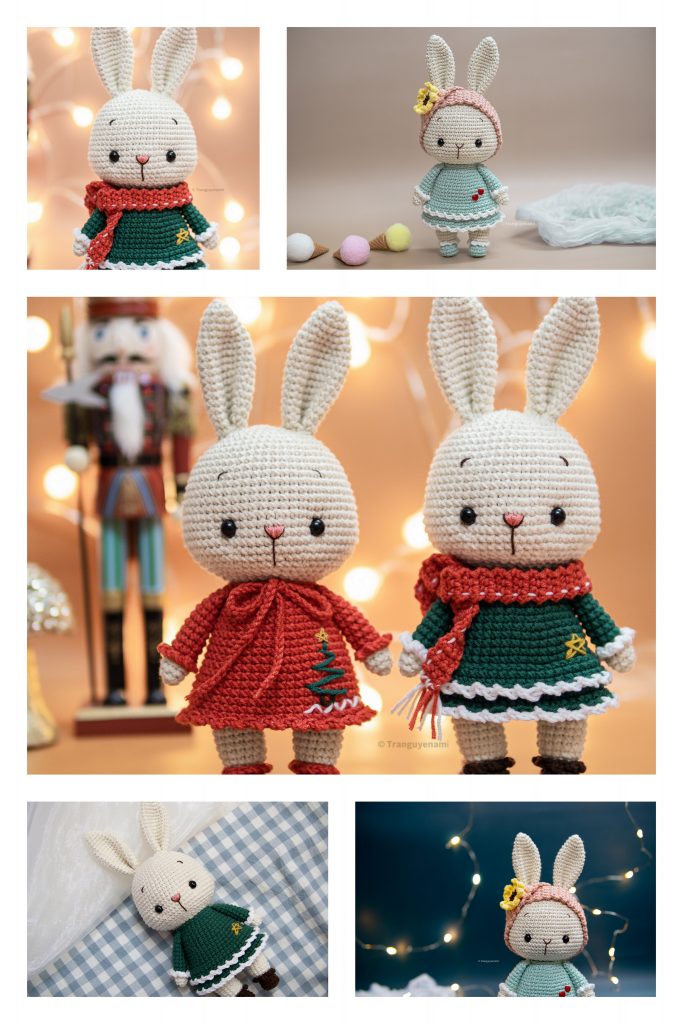
Your bunny is ready, you can dress it up at will
More Amigurumi Bunny Ideas:
