Hello dear Amigurumi Followers
Today we share Amigurumi The Just Happy To Be Here Panda Free Pattern for you. As you know we share new free amigurumi pattern every day. The main crochets are gazelle, amigurumi bear, pola, crochet panda, penguin, giraffe, llama, pig, bunny, clown, lamb, bee, crochet unicorn, amigurumi doll, fox, penguin, dinosaur, crochet elephant, hippo, monkey, crochet cat, crochet dog and more …
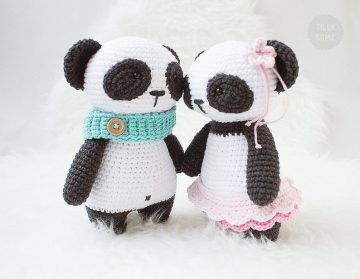
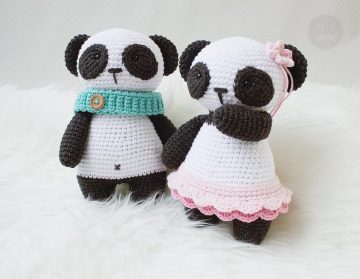
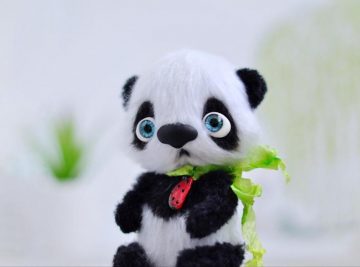
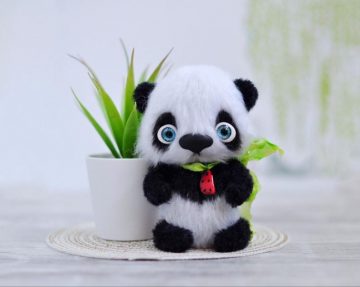
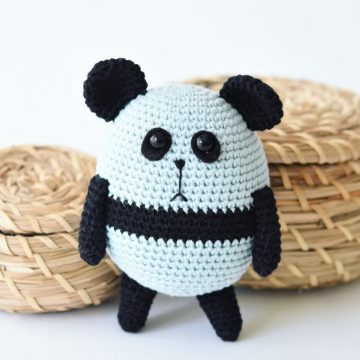
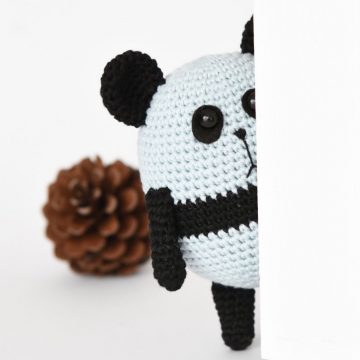
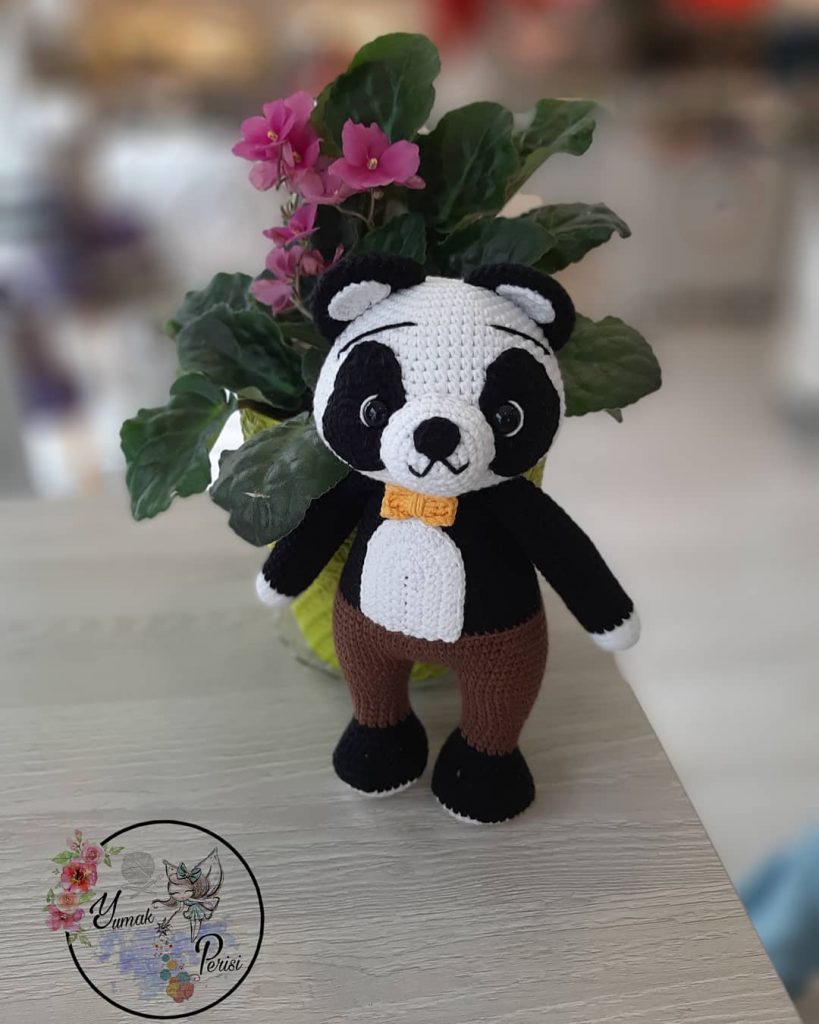
Todays daily new amigurumi free crochet pattern is Amigurumi The Just Happy To Be Here Panda.
I want to give you some informations about this amigurumi free pattern ; The Just Happy To Be Here Panda.
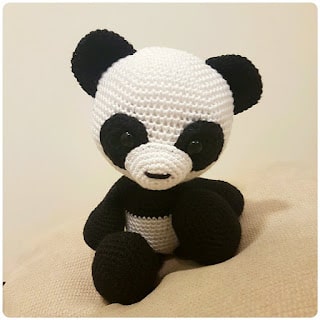
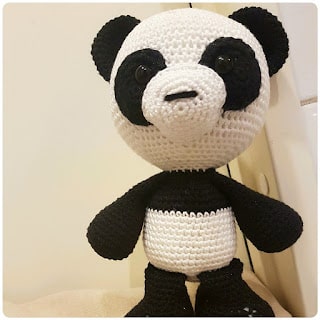
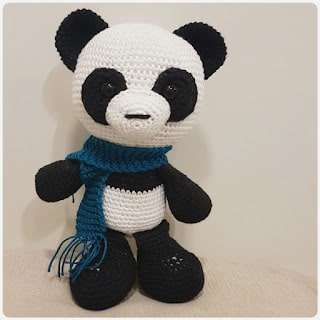
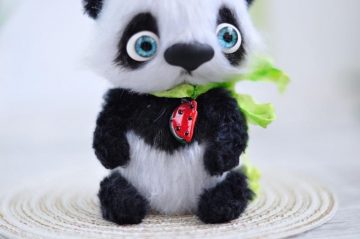
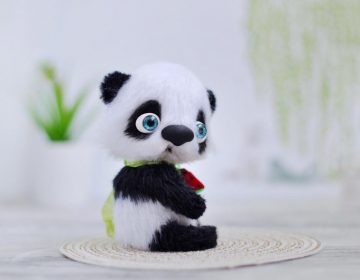
Amigurumi The Just Happy To Be Here Panda Free Pattern
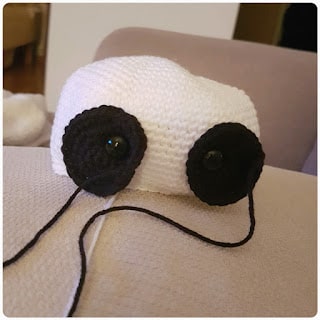
Part I. The Eyes (Black yarn and safety eyes)
1) Magic circle (6)
2) 2 sc in each st (12)
3) 3 sc in each of the next 2 sts then 1 sc in the remaining sts (16)
4) 3 sc in each of the next 3 sts then 1 sc in the remaining sts (22)
5) 3 sc in each of the next 4 sts then 1 sc in the remaining sts (30)
f/o, leave a thread for sewing
– attach the safety eyes on the “plates”, but do not lock them (lock them once you place them on the head.
Part II. The Head/body (Start with white)
1) Magic circle (6)
2) 2 sc in each st (12)
3) 1 sc then 2 in the next st (18)
4) 1 sc in the next 2 sts then 2 in the next st (24)
5) 1 sc in the next 3 sts then 2 in the next st (30)
6) 1 sc in the next 4 sts then 2 in the next st (36)
7) 1 sc in the next 5 sts then 2 in the next st (42)
8) 1 sc in the next 6 sts then 2 in the next st (48)
9) 1 sc in the next 7 sts then 2 in the next st (54)
10) 1 sc in the next 8 sts then 2 in the next st (60)
11) 1 sc in the next 9 sts then 2 in the next st (66)
12) 1 sc in the next 10 sts then 2 in the next st (72)
13-23) I sc st in each st for 11 rows
24) 1 sc in the next 10 sts then 2 tog (66)
25) 1 sc in the next 9 sts then 2 tog (60)
26) 1 sc in the next 8 sts then 2 tog (54) – attach the back of the eyes (with safety eyes) between rows 17-18. Now – lock them! I place them so it’s 4 sts between them.
27) 1 sc in the next 7 sts then 2 tog (48)
28) 1 sc in the next 6 sts then 2 tog (42)
29) 1 sc in the next 5 sts then 2 tog (36)
30) 1 sc in the next 4 sts then 2 tog (30)
31) 1 sc in the next 3 sts then 2 tog (24) – stuff the head
32) 1 sc in the next 4 sts then 2 tog (20)
33) I sc in each st for 1 row – change colour on last st – black
34) 1 sc in the next 4 sts then 2 in the next (24)
35) 1 sc in the next 3 sts then 2 in the next (30)
36) 1 sc in the next 4 sts then 2 in the next (36)
37) 1 sc in the next 5 sts then 2 in the next (42)
38-40) 1 sc in each st for 3 rows – change colour on last st – white
41- 45) 1 sc in each st for 5 rows (42)
46) I sc in the next 6 sts then 2 in the next st (48)
47-50) 1 sc in each st for 4 rows (48)
51) 1 sc in the next 6 sts then 2 tog (42)
52) 1 sc in the next 5 sts then 2 tog (36)
53) 1 sc in the next 4 sts then 2 tog (30)
54) 1 sc in the next 3 sts then 2 tog (24)
55) 1 sc in the next 2 sts then 2 tog (18) – stuff the body
56) 1 sc in the next st then 2 tog (12)
57) 1 sc in the next 2 st then 2 tog (9)
58) 2 tog x 3 times then f/o – weave in and out of the remaining stitches and close the gap.
Part III. The Feet (Black)
1) Magic circle (6)
2) 2 sc in each st (12)
3) 1 sc then 2 in the next st (18)
4) 1 sc in the next 2 sts then 2 in the next st (24)
5) 1 sc in the next 3 sts then 2 in the next st (30)
6) 1 sc in the next 4 sts then 2 in the next st (36)
7) 1 sc in the next 5 sts then 2 in the next st (42)
8) 1 sc in the next 6 sts then 2 in the next st (48)
9-10) 1 sc in each st for 2 rows
11) 1 sc in the next 6 sts, then 2 tog (42)
12) 1 sc in the next 5 sts, then 2 tog (36)
13) 2 tog x 6, then 1 sc in each sc in each of the remaining sts (30)
14) 2 tog x 4, then 1 sc in each sc in each of the remaining sts (26)
15) 2 tog x 2, then 1 sc in each sc in each of the remaining sts (24)
16) 1 sc in the next 4 sts then 2 tog (20)
17-22) 1 sc in each st for 6 rows
Crochet the sides of the leg together , f/o, and leave a thread for sewing
Part IV. The Arms (Black)
1) Magic circle (6)
2) 2 sc in each st (12)
3) 1 sc then 2 in the next st (18)
4) 1 sc in the next 2 sts then 2 in the next st (24)
5) 1 sc in the next 3 sts then 2 in the next st (30)
6-10) 1 sc in each st for 5 rows
11) 1 sc in the next 3 sts then 2 in the next (24)
12-13) 1 sc in each st for 2 rows
14) 1 sc in the next 2 sts then 2 in the next st (18)
15-24) 1 sc in each st for 10 rows – stuff the arm lightly
f/o and leave a thread for sewing.
Part V. The Ears (black)
1) Magic circle (6)
2) 2 sc in each st (12)
3) 1 sc then 2 in the next st (18)
4) 1 sc in the next 2 sts then 2 in the next st (24)
5) 1 sc in the next 3 sts then 2 in the next st (30)
6-10) I sc in each st for 5 rows
f/o and leave a long thread for sewing.
Part VI. The Muzzle (white)
1) Magic circle (6)
2) 2 sc in each st (12)
3) 1 sc then 2 in the next st (18)
4) 1 sc in the next 2 sts then 2 in the next st x 3, then 1 sc in the reamaing sts (21)
5) 1 sc in the next 3 sts then 2 in the next st x 3, then 1 sc in the reamaing sts (24)
6) 1 sc in the next 4 sts then 2 in the next st x 3, then 1 sc in the reamaing sts (27)
7) 1 sc in the next 5 sts then 2 in the next st x 3, then 1 sc in the reamaing sts (30)
f/o, leave a thread for sewing
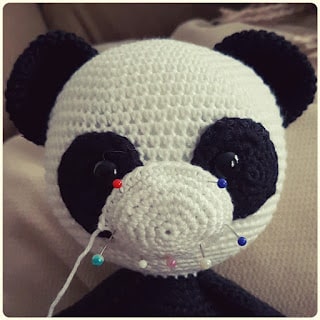
– stuff the muzzle while you sew it on.
Sew 2 wide sts on the muzzle (black).
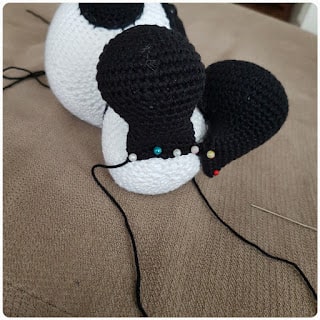
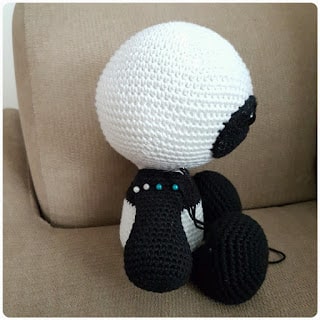
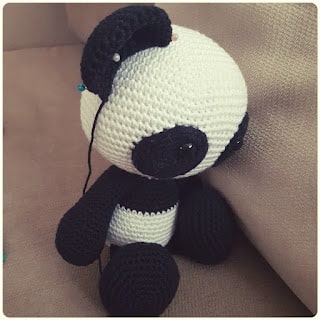
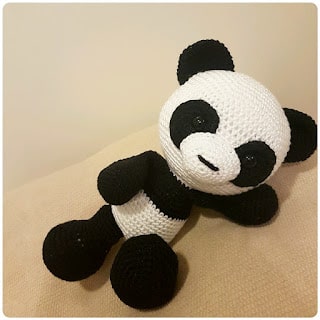
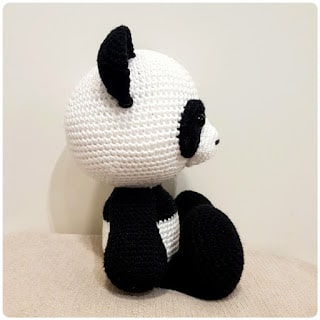
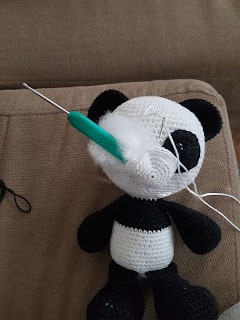
Part VII. Assemble the Panda!
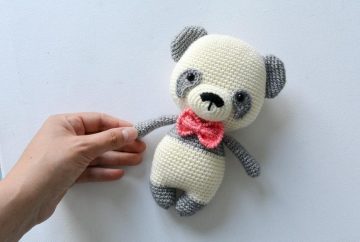
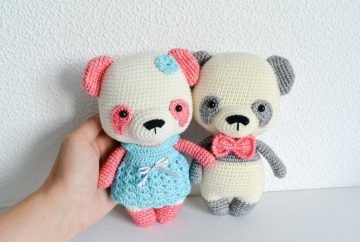
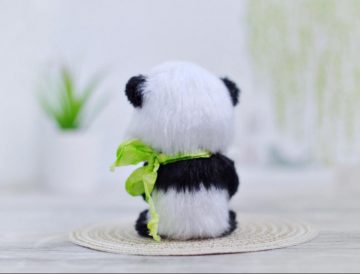
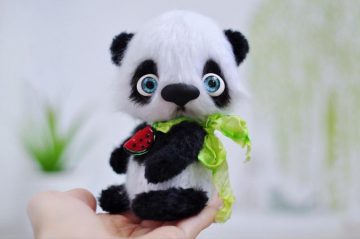
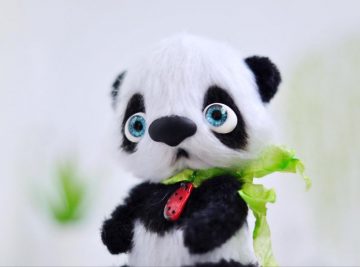
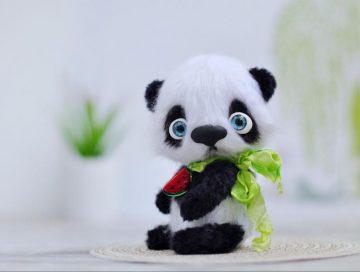
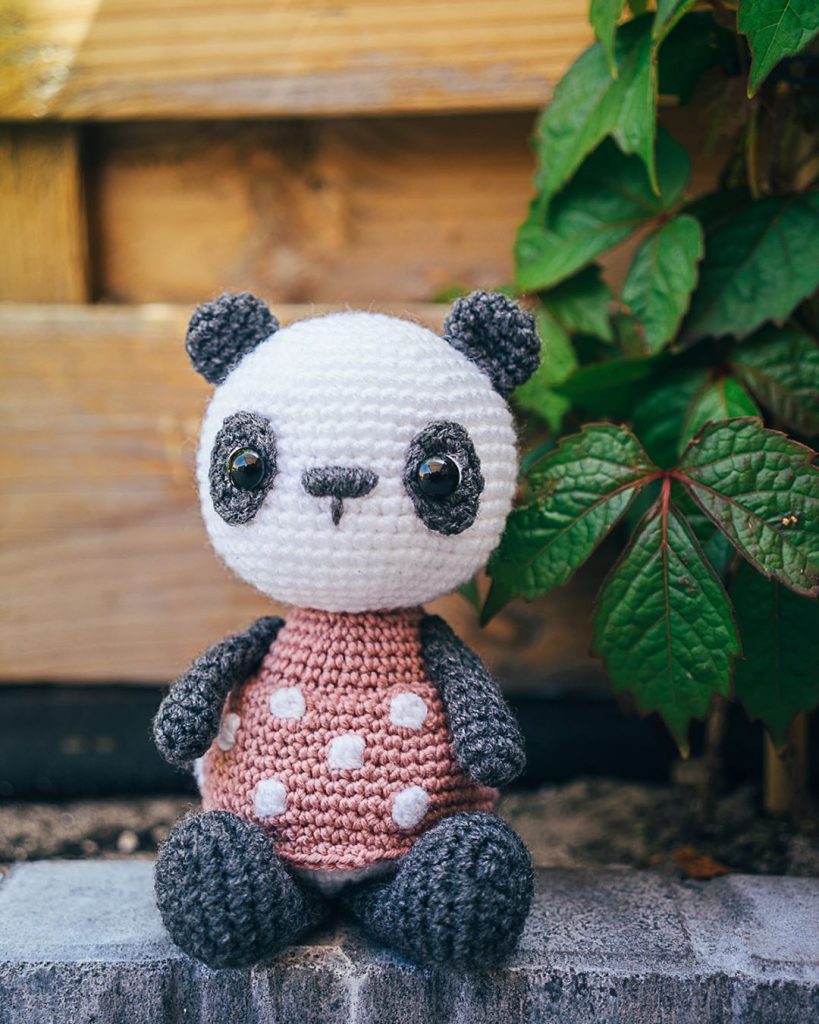
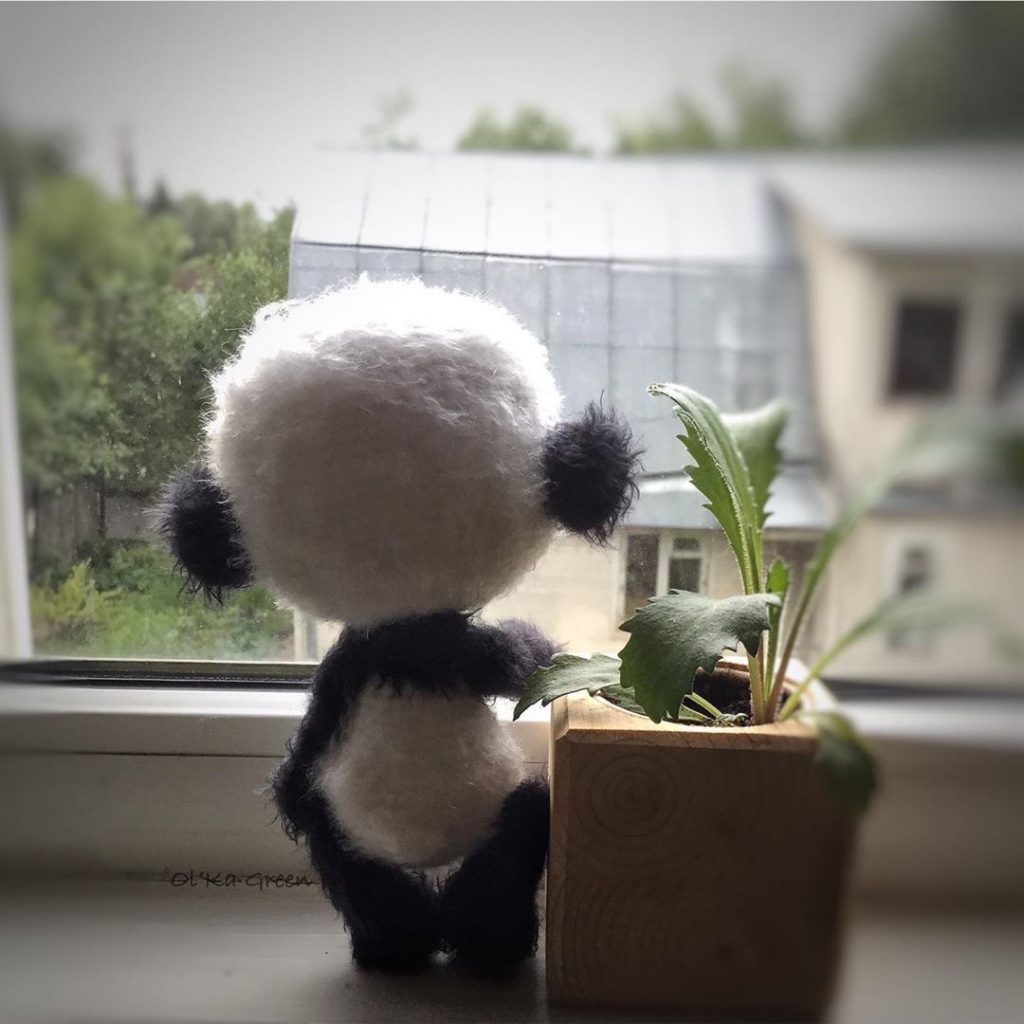
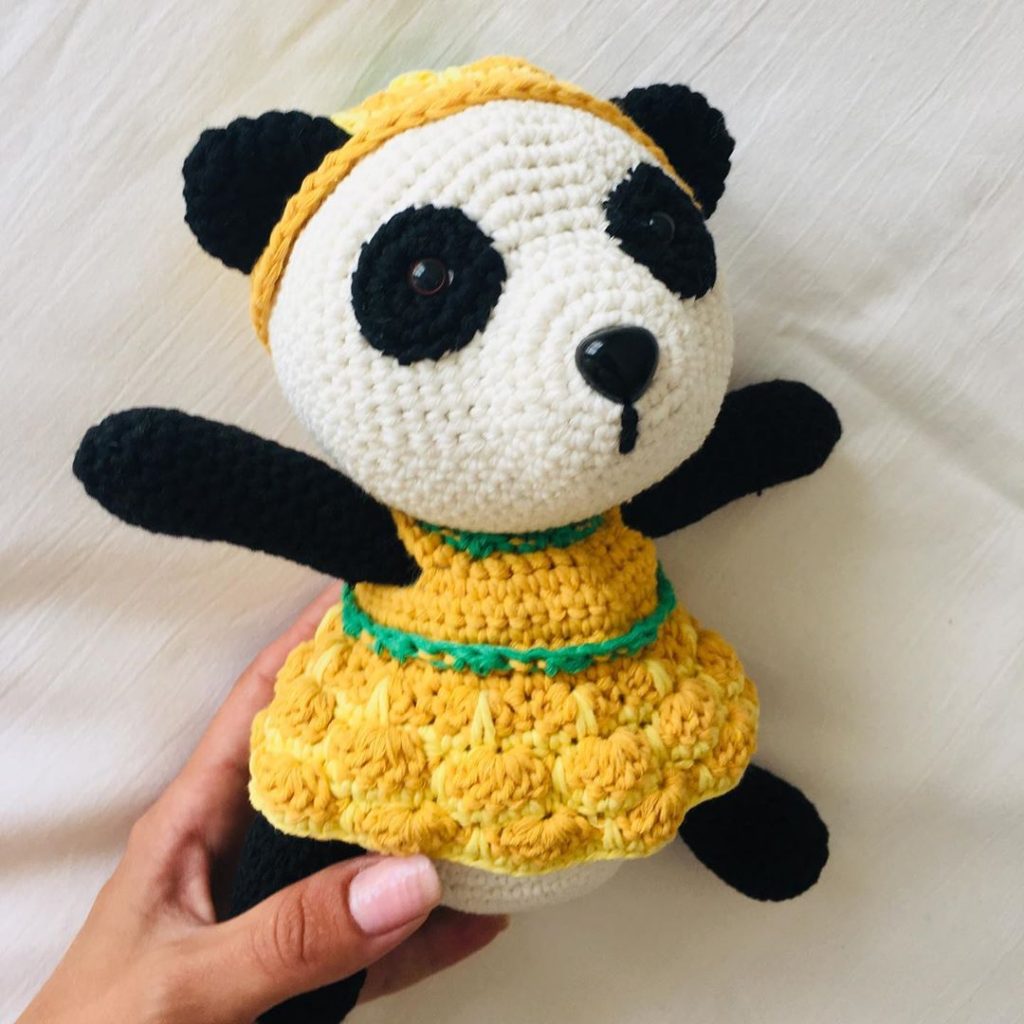
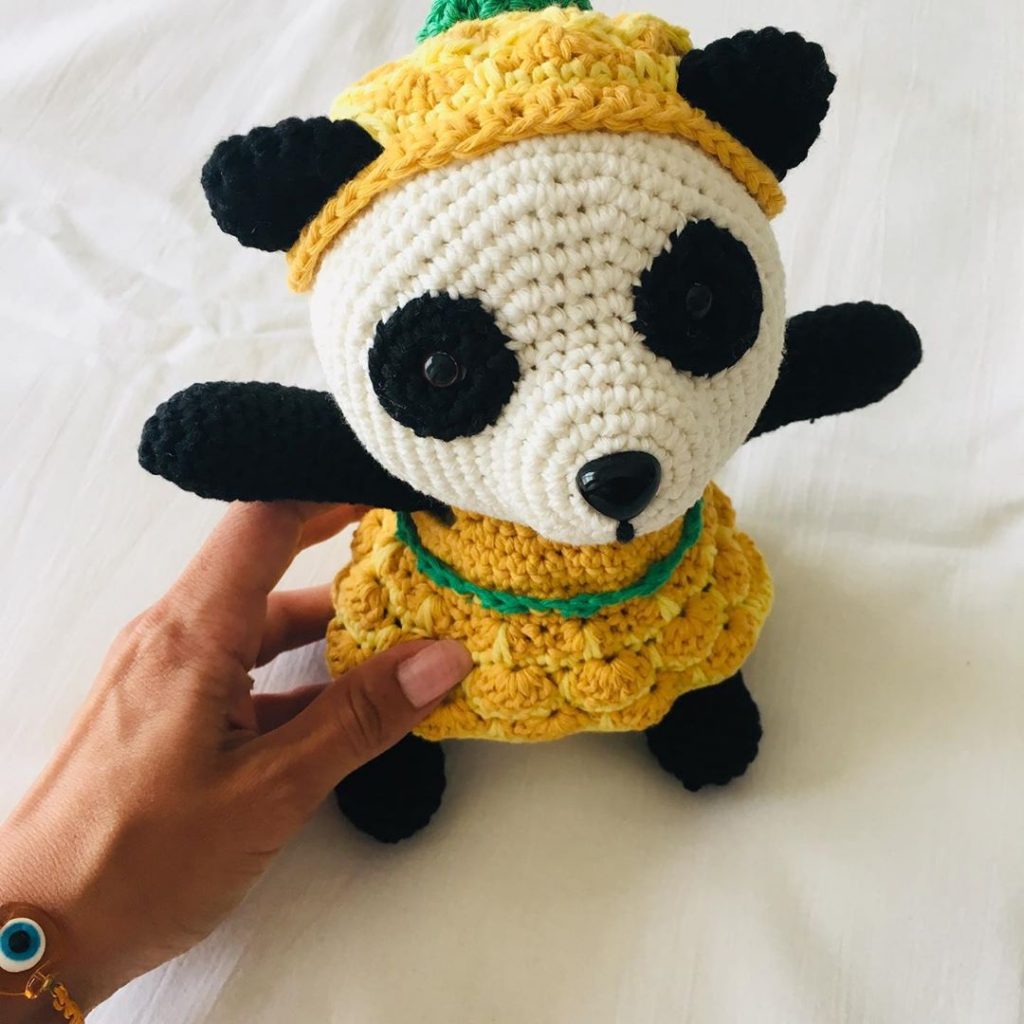
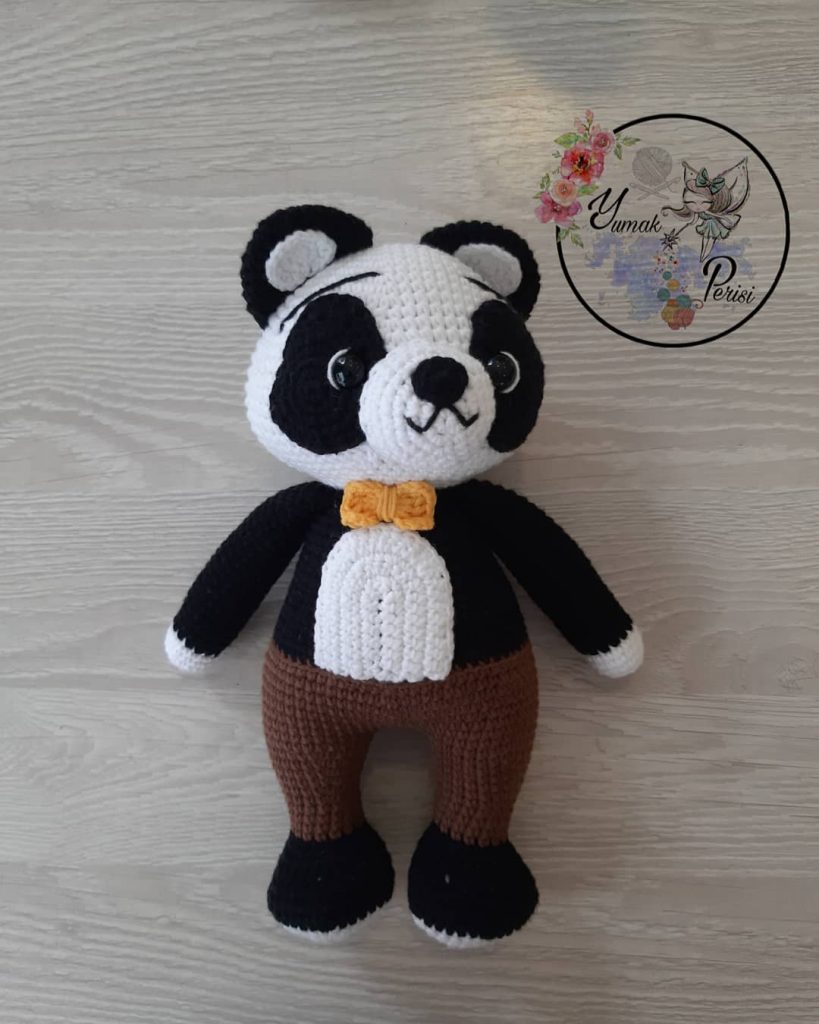
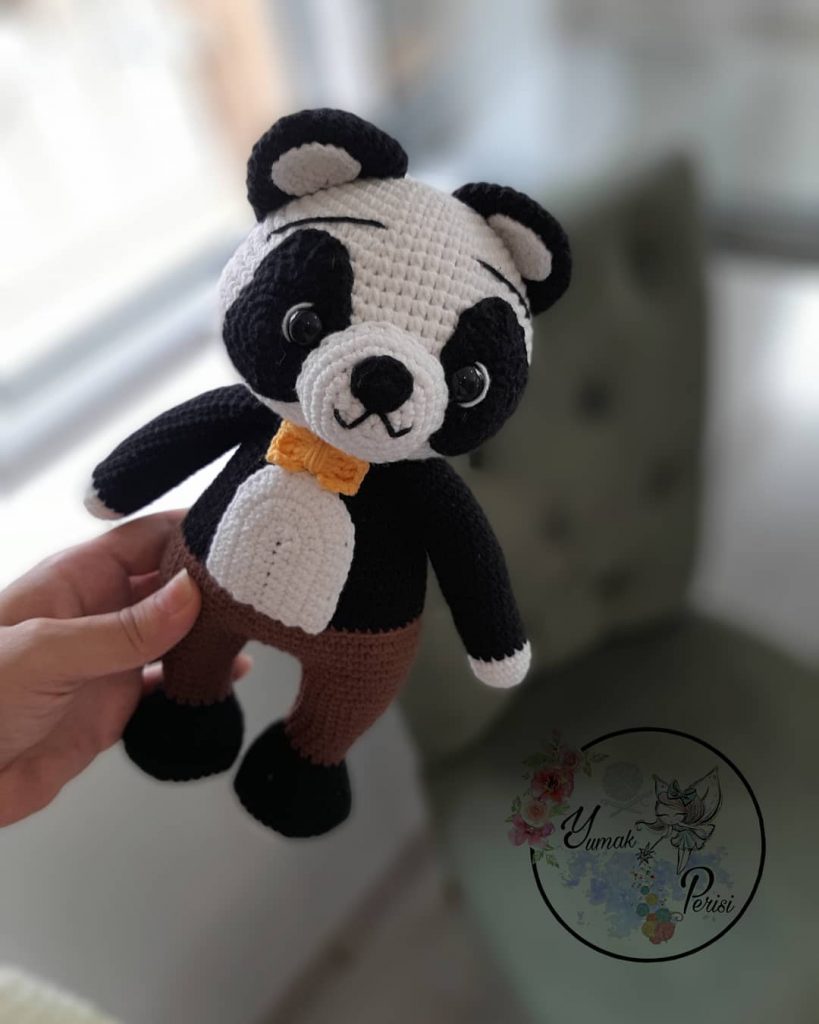
More Amigurumi Panda Ideas :
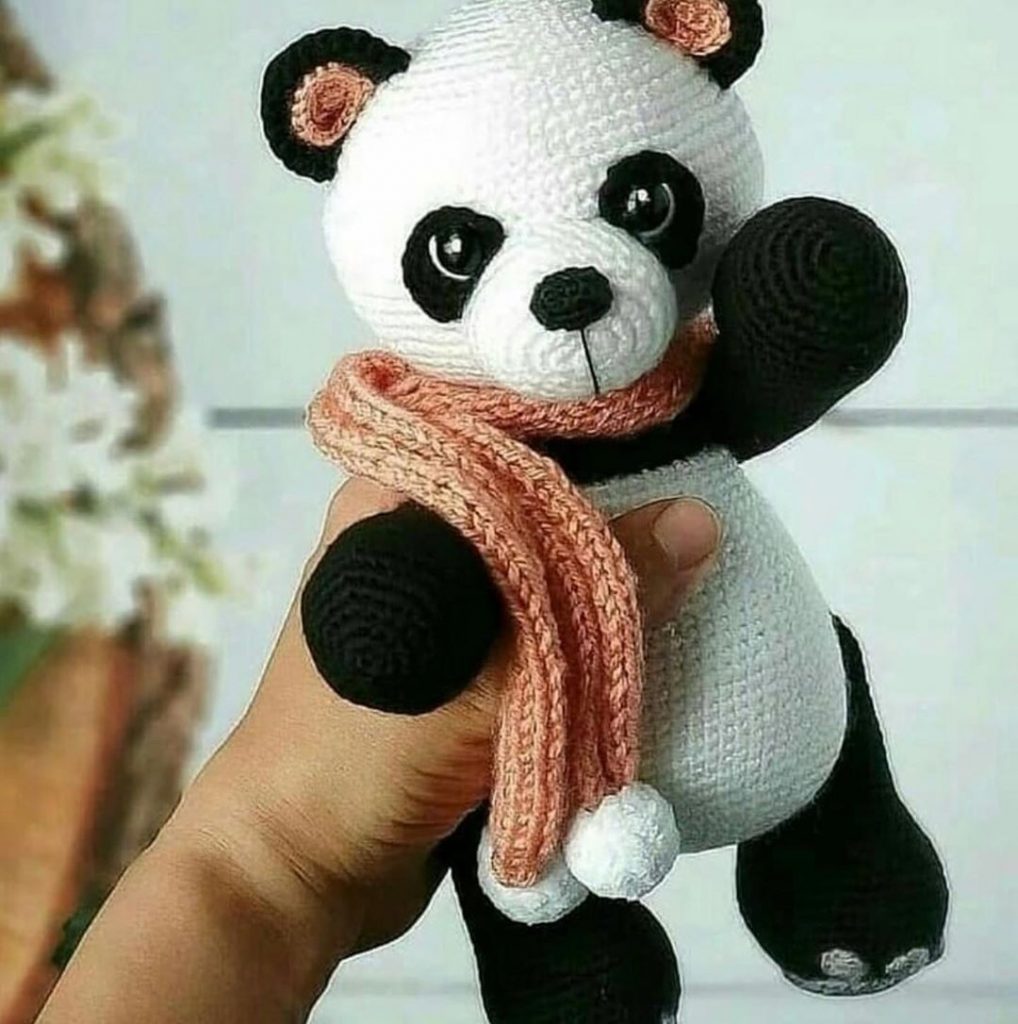
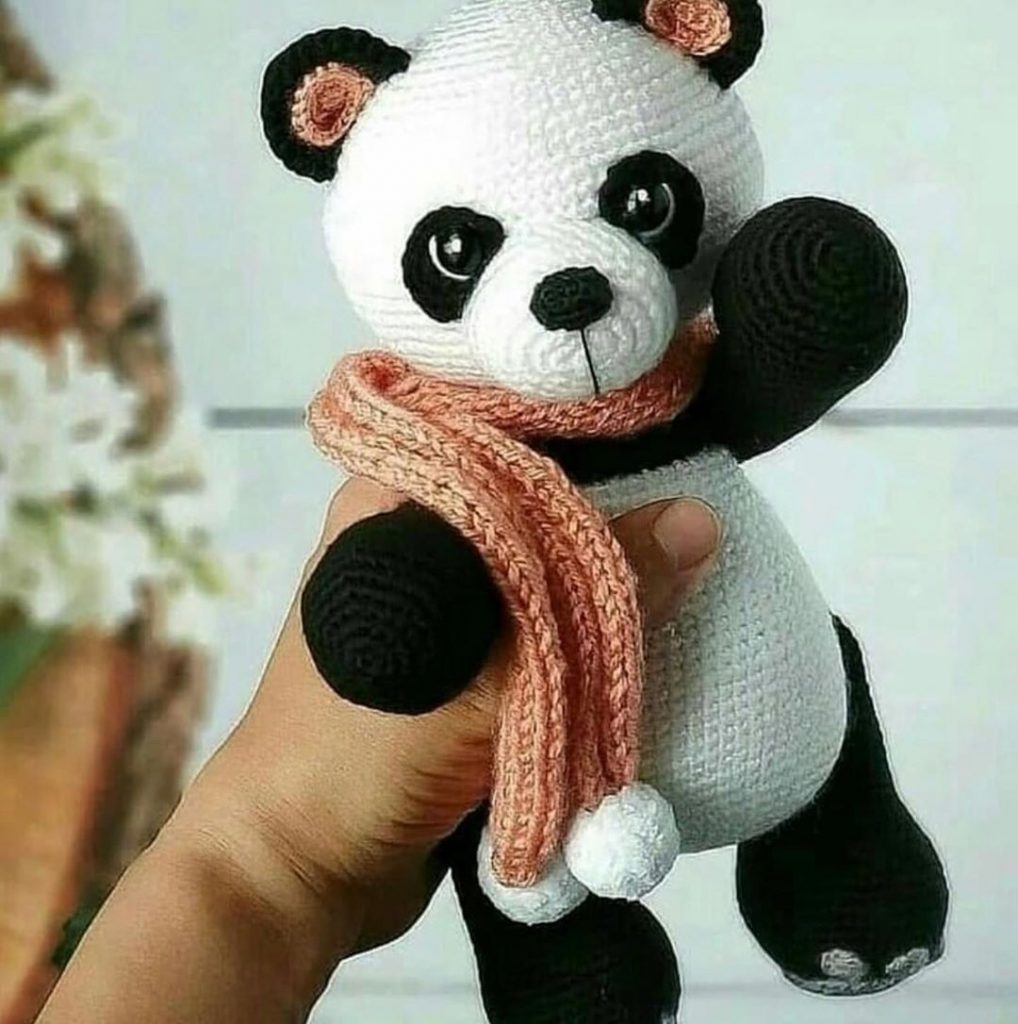
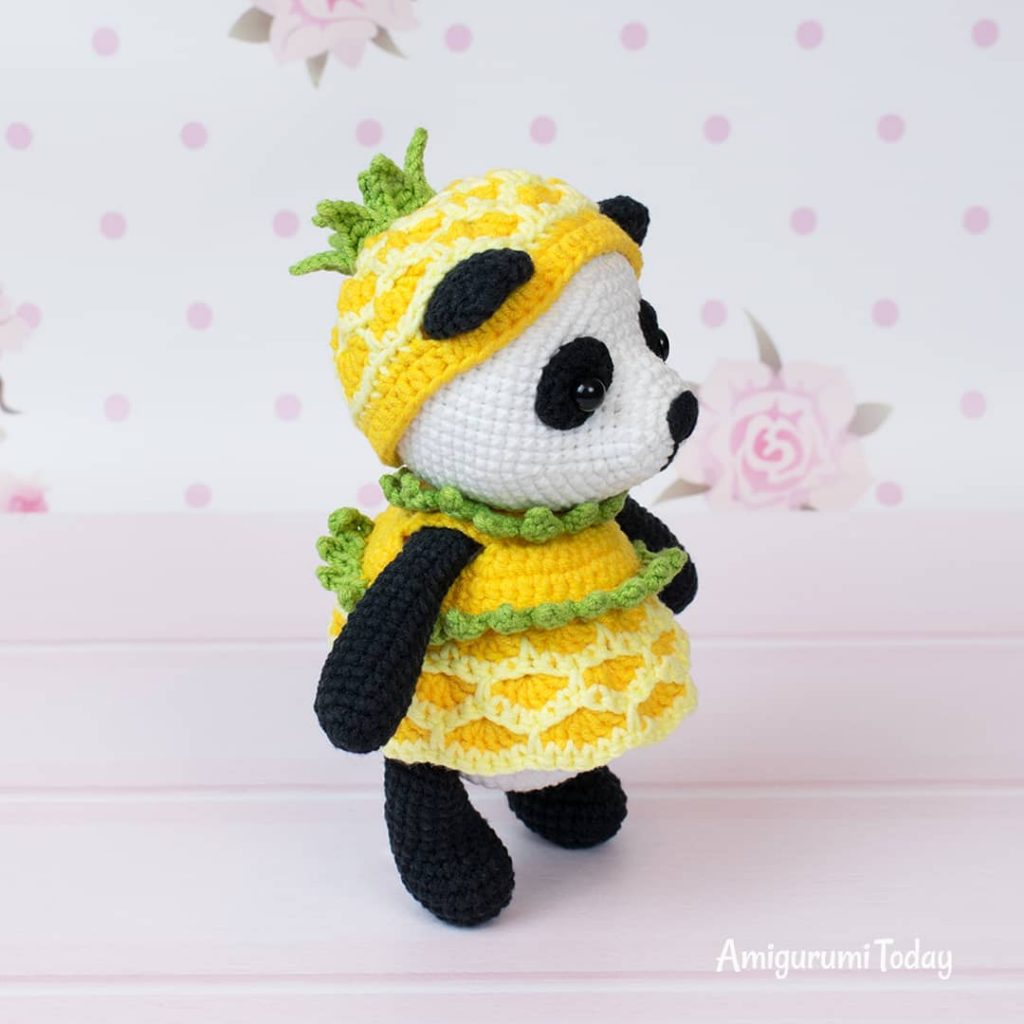
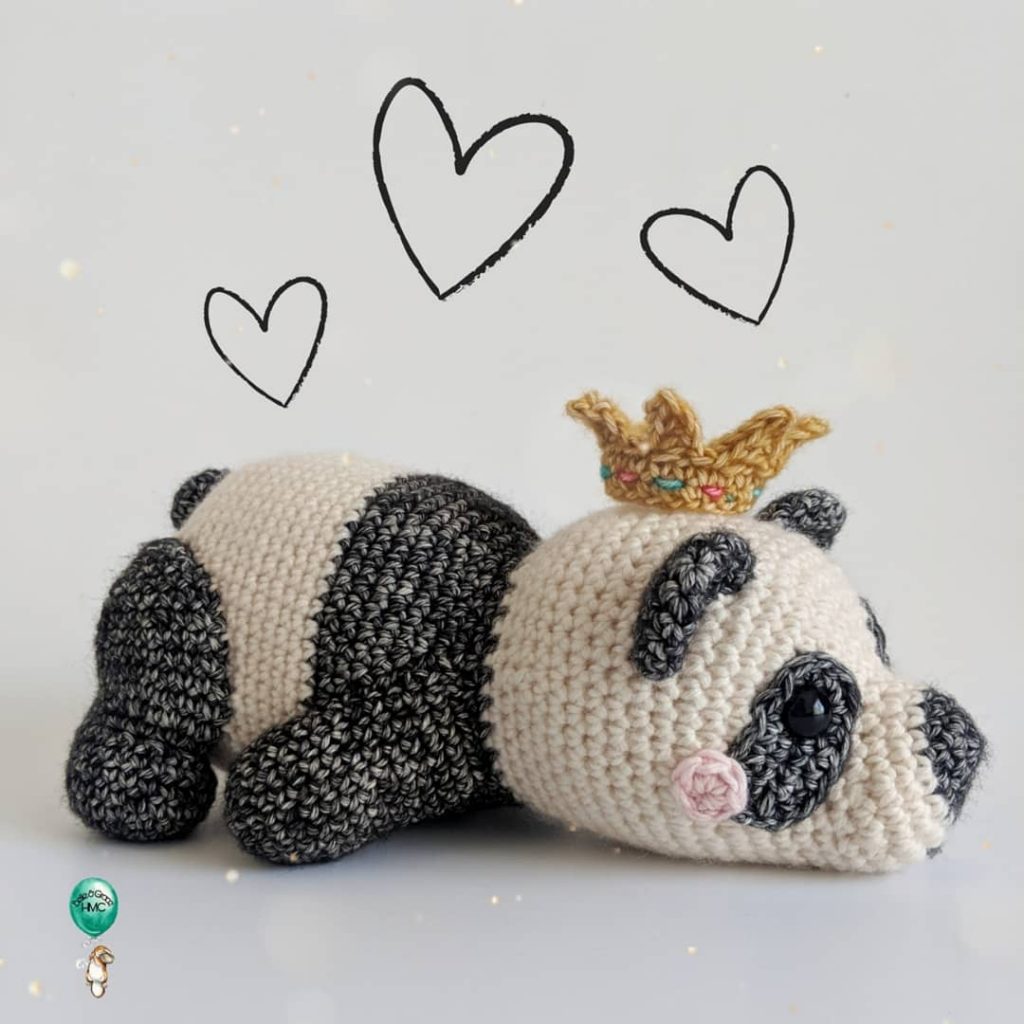
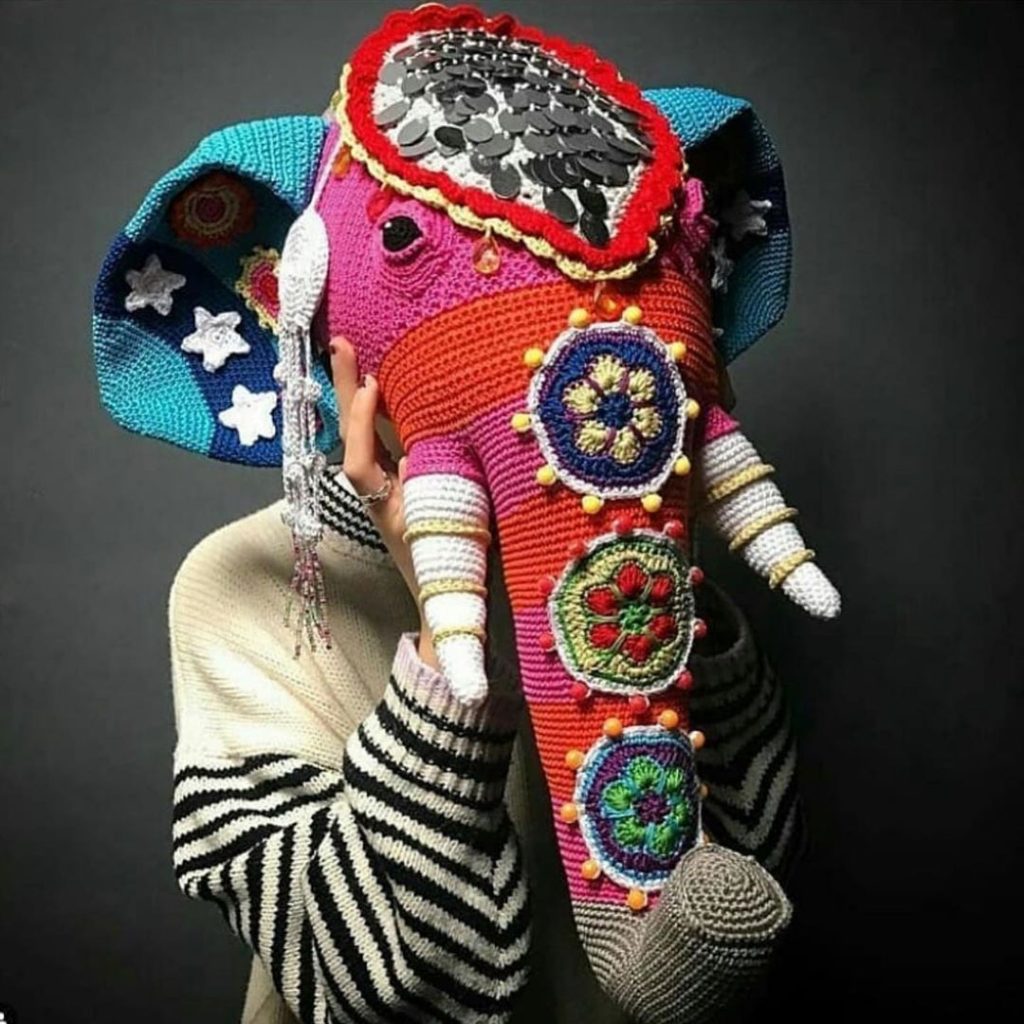
Bonus : Amigurumi Elephant Mask
