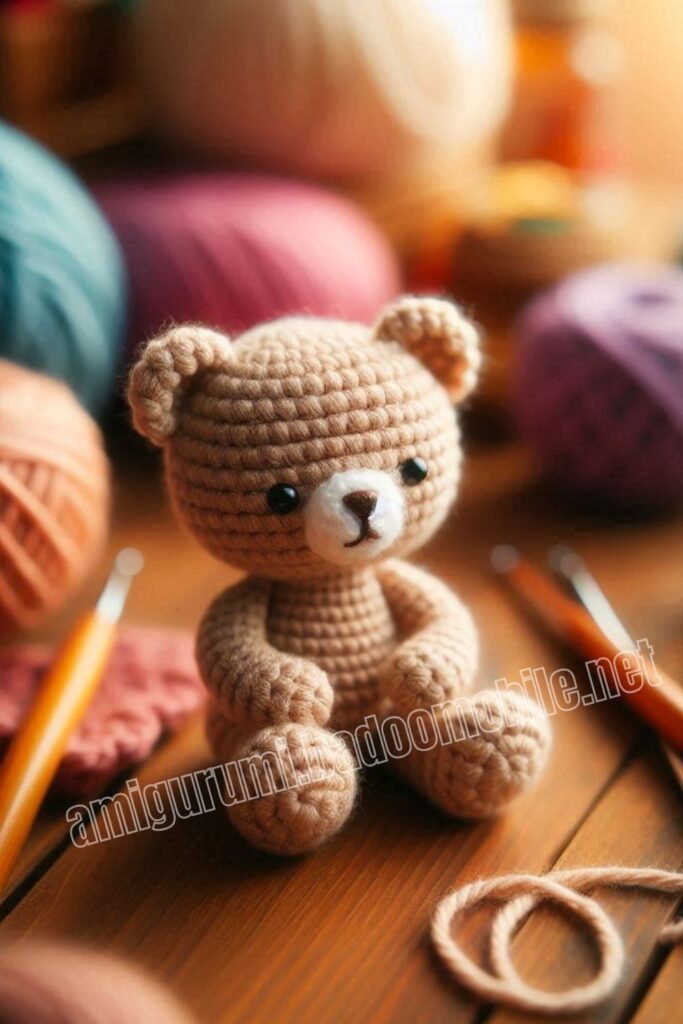
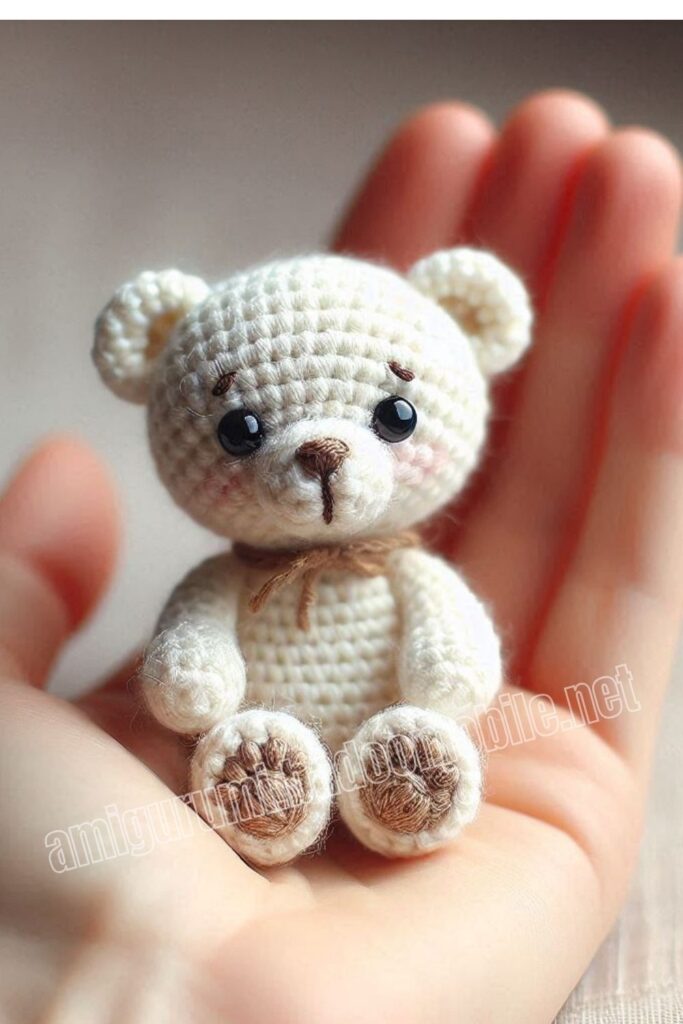
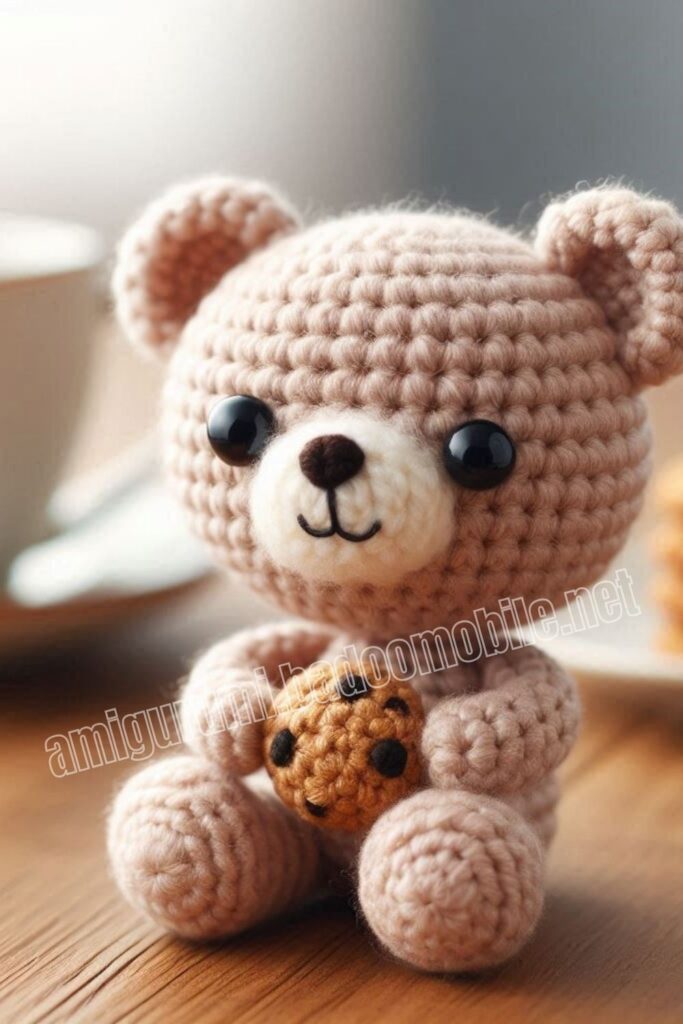
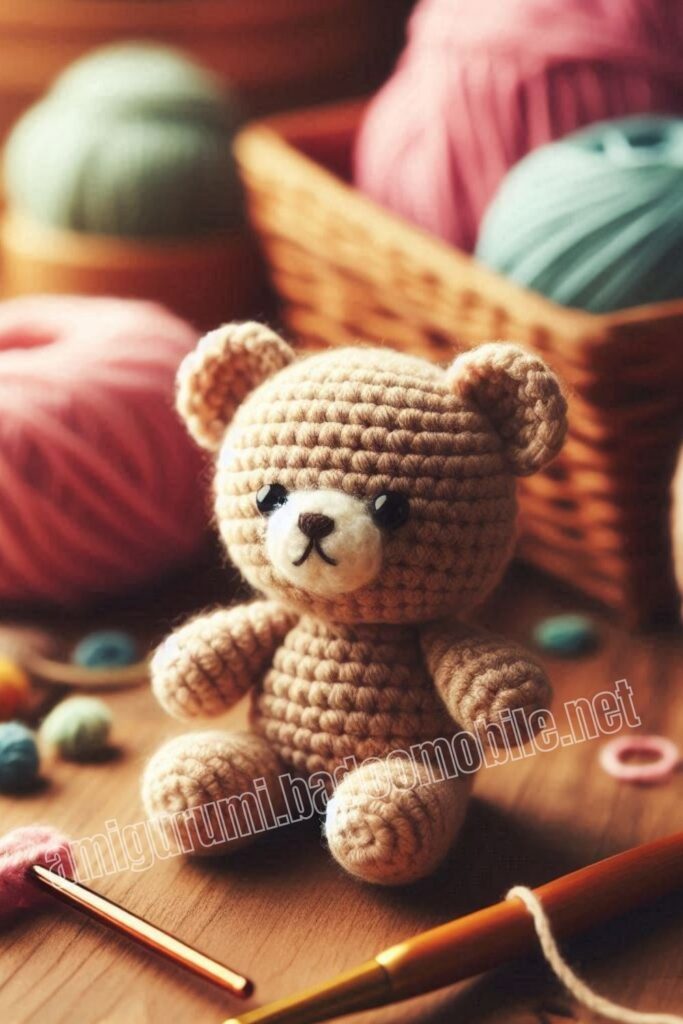
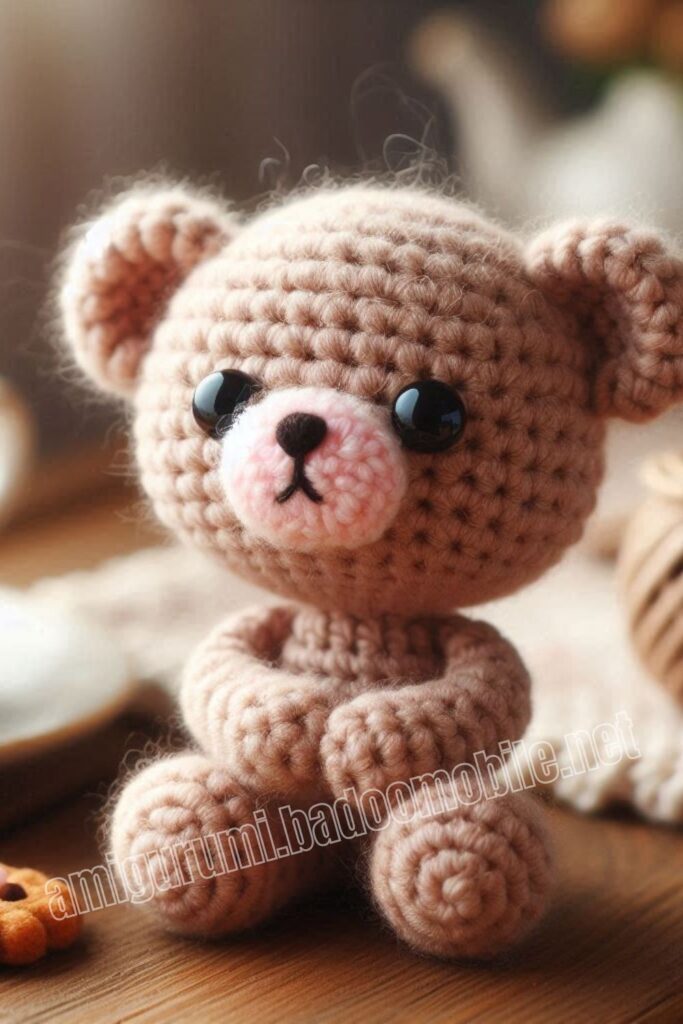
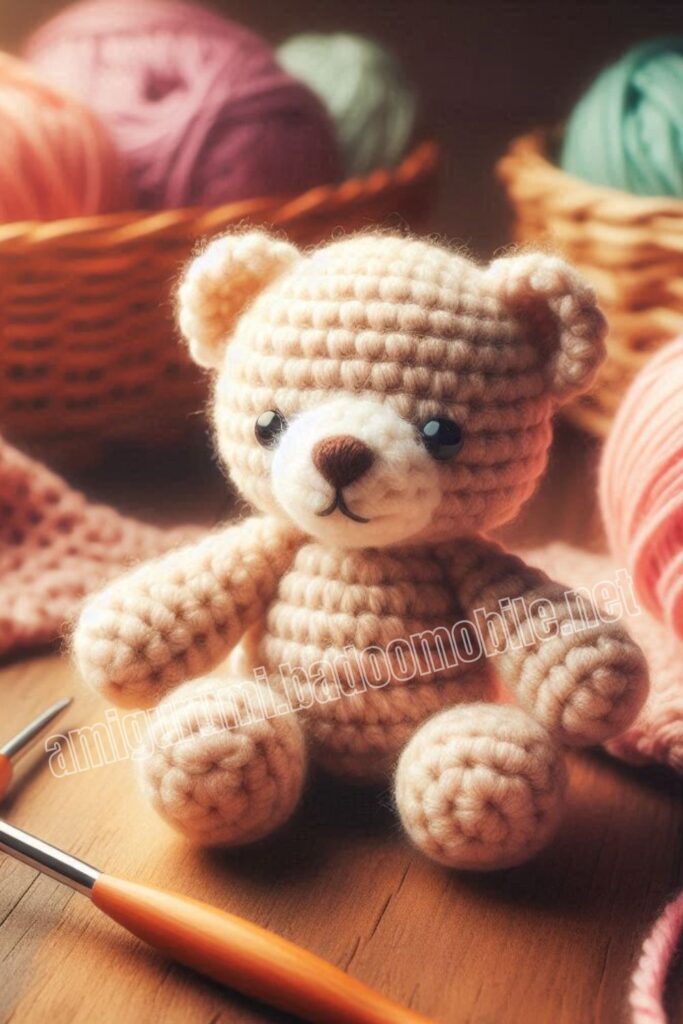
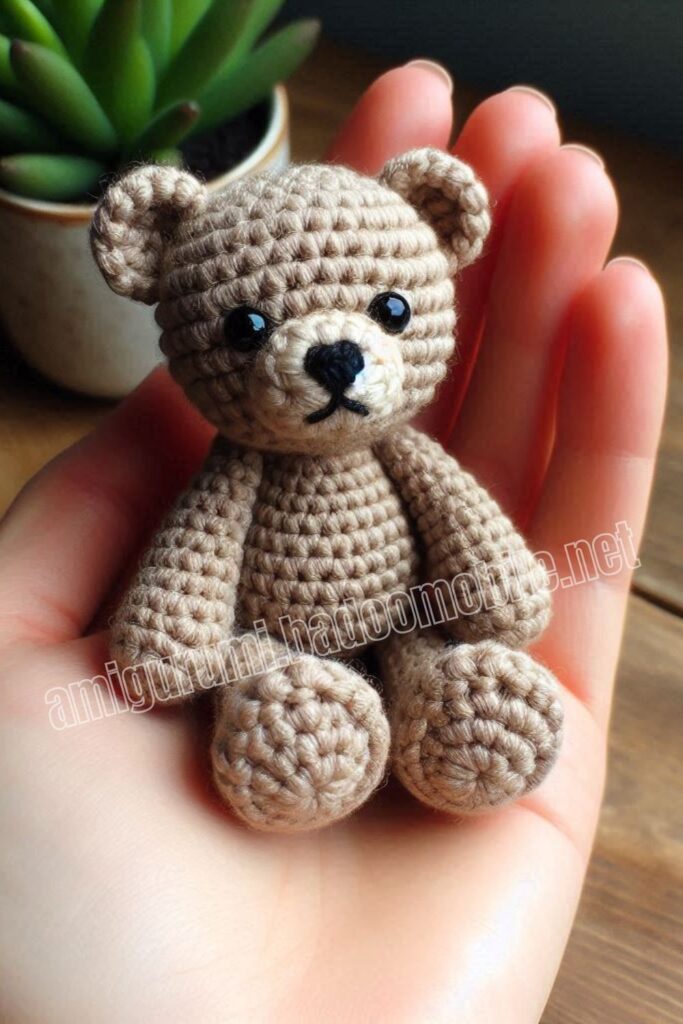
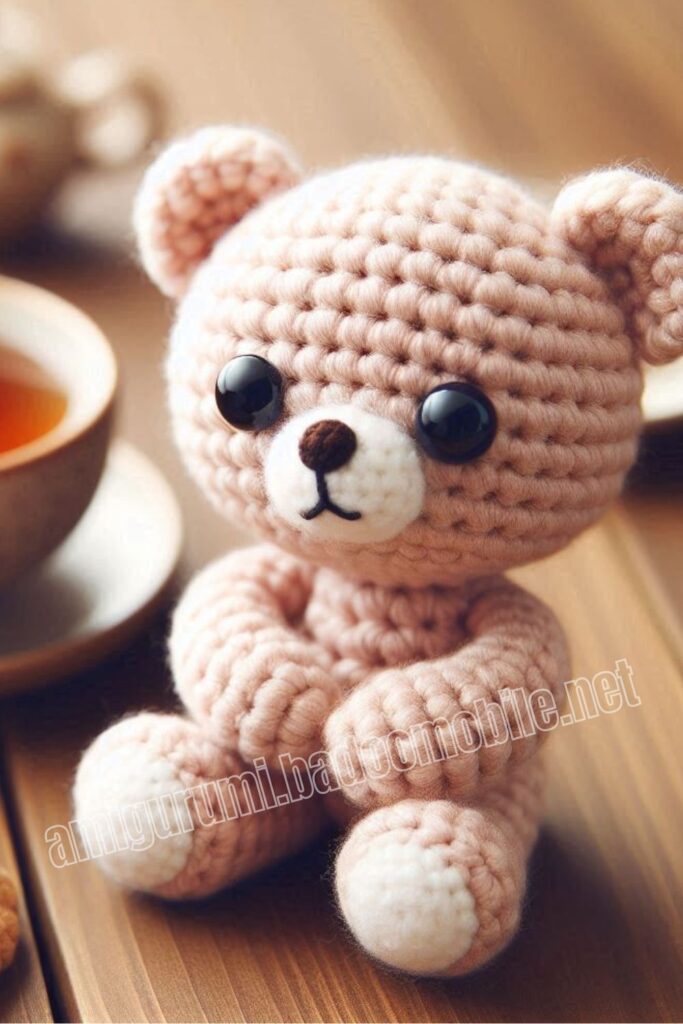
Hello dear Amigurumi Followers
Today we share Amigurumi Plush Teddy Bear Free Pattern for you. As you know we share new free amigurumi pattern every day. The main crochets are gazelle, amigurumi bear, pola, crochet panda, penguin, giraffe, llama, pig, bunny, clown, lamb, bee, crochet unicorn, amigurumi doll, fox, penguin, dinosaur, crochet elephant, hippo, monkey, crochet cat, crochet dog and more …
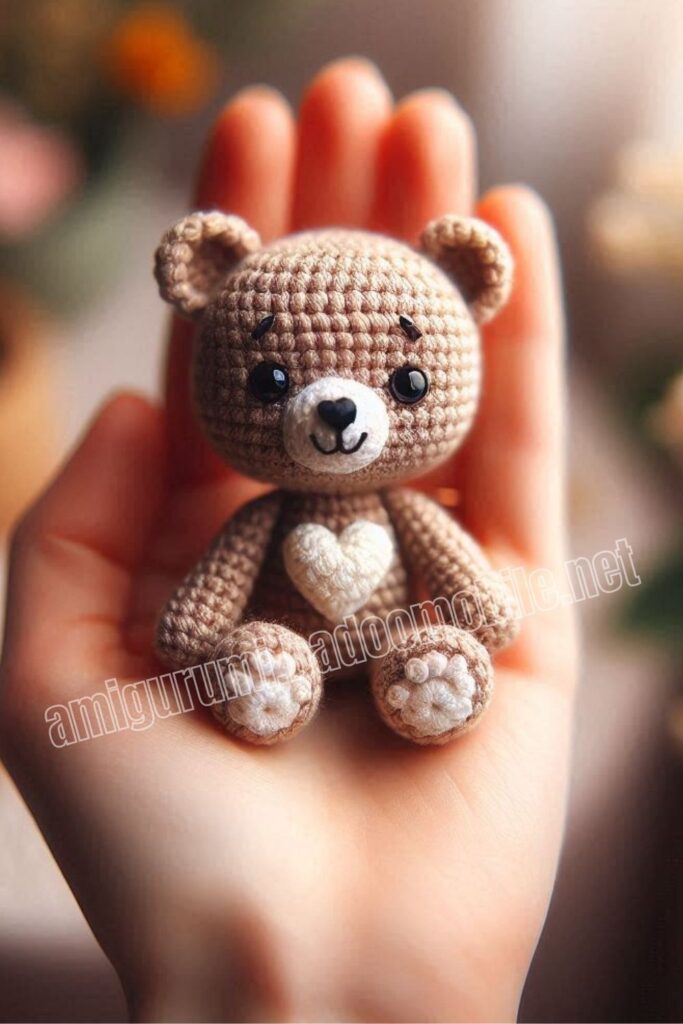
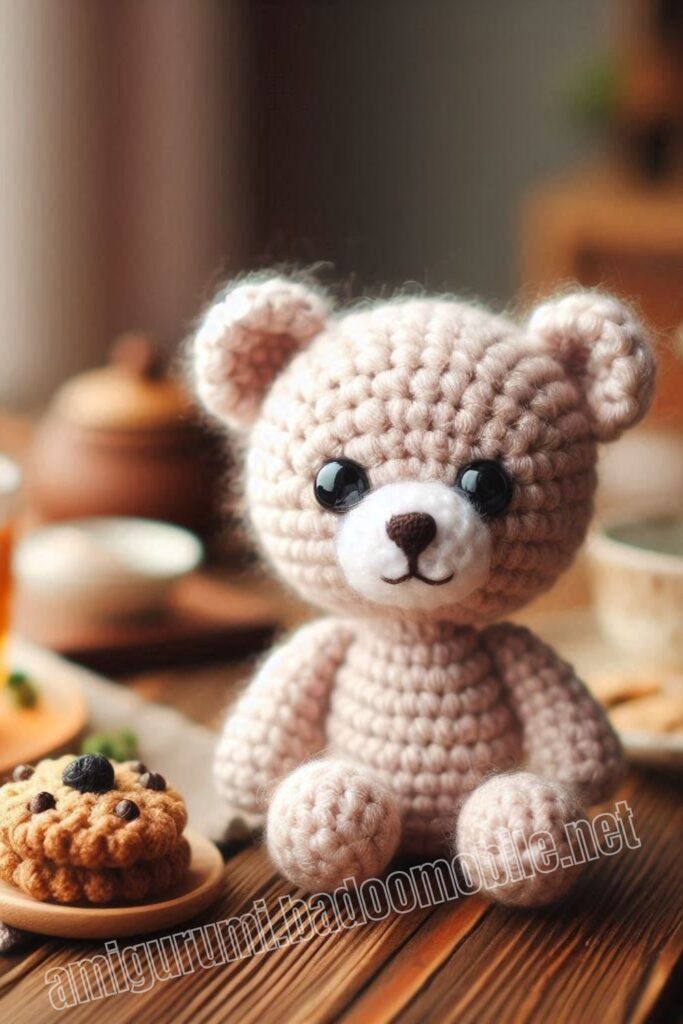
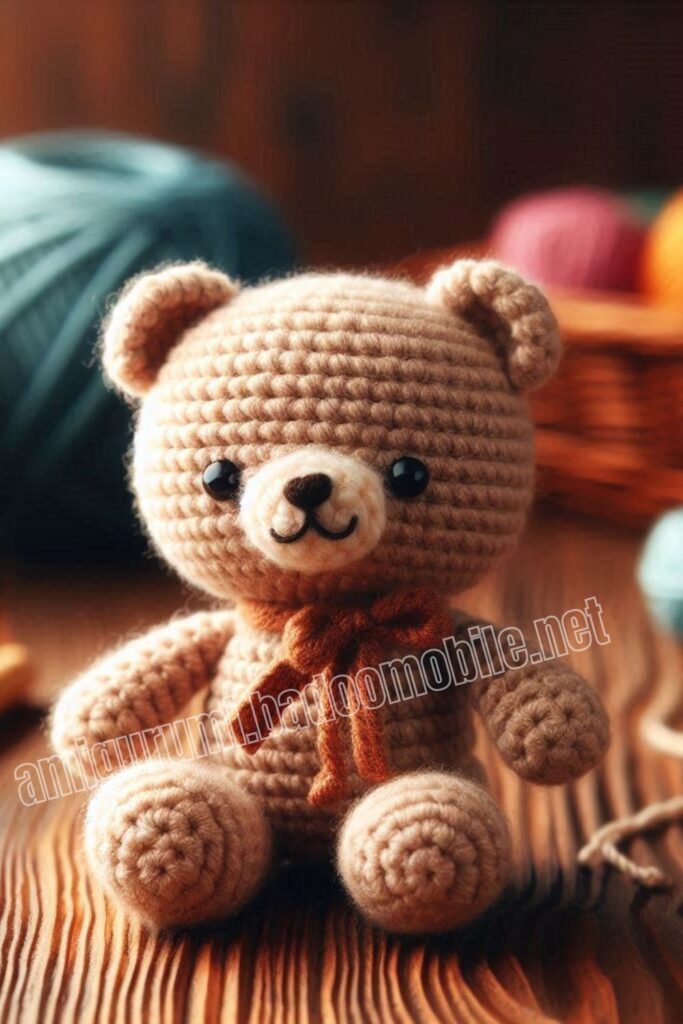
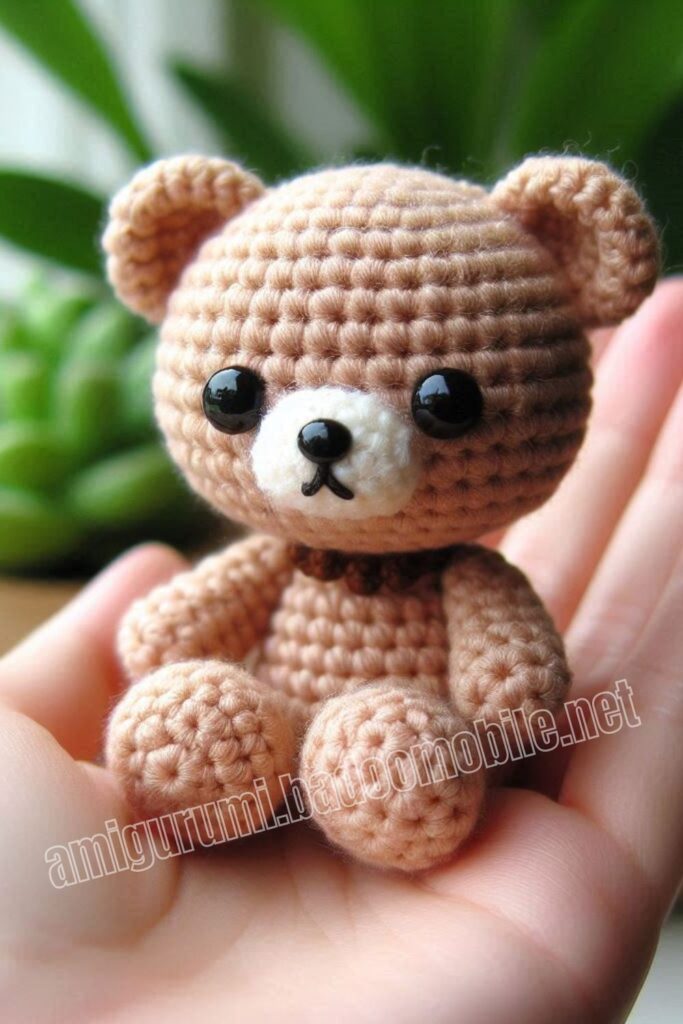
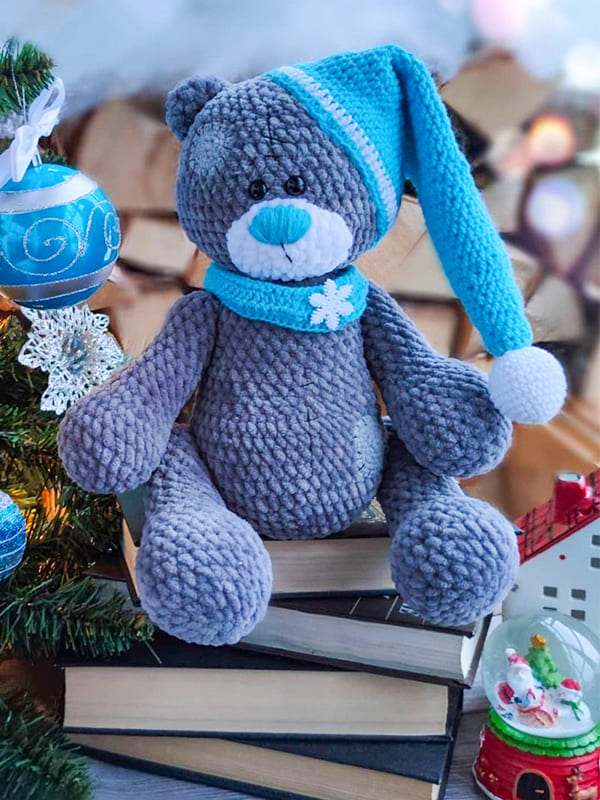
Todays daily new amigurumi free crochet pattern is Amigurumi Plush Teddy Bear.
I want to give you some informations about this amigurumi free pattern ; Plush Teddy Bear.
Materials
• Himalaya dolphin baby yarn dark gray (320) – suitable any shade of gray (yarn consumption indicated by the hook, 1.5 skeins)
• Yarn Himalaya dolphin baby white (muzzle)
• YarnArt Jeans. Blue (1 skein) and white – a scarf and cap. Gray – patches.
• Hook number 3.75mm for toys
• Hook 2, 75 mm for scarf and cap
• Filler (synthetic winterizer, etc.)
• Joint for toys – 25 (Handles – legs) – 4 pcs, 40 mm – 1 pc (neck)
• Needle and thread for sewing. Black sewing thread for
design.
• Eyes on a secure mount (9-10mm)
• Decorative scarf button (optional)
Choose the size of the eyes in proportion to the size of your toy.
The size of the toy will depend on the density of your crocheting, chosen yarn and hook numbers.
Toy size (when crochet number 3.75 – 29 cm)
Abbreviations
MR- Magic ring
sc- Single crochet
dc- Double crochet
hdc- Half double crochet
ch- Chain
inc- Increase
dec- Decrease
sl st- Slip stitch
Amigurumi Plush Teddy Bear Free Pattern:
Arms (Make 2)
The marker goes exactly in front of the arms, perpendicular to the top.
Rnd 1. 6 sc in MR (6)
Rnd 2. 6 inc (12)
Rnd 3. (1sc,inc)*6 (18)
Rnd 4. (2sc,inc)*6 (24)
Rnd 5-8. 24 sc (24)
We fill the handles as we crochet
Rnd 9. 18 sc, 3 dec (21)
Rnd 10. 3 dec, 9 sc, 3 dec (15)
Rnd 11. 3 dec, 9 sc (12)
Rnd 12-19. 12 sc (12)
When using the joints of the handle, we fill it as tightly as possible
Rnd 20. 6 dec (6)
The joint is inserted between 17-18 rows. The leg of the splint comes out inside of the handle.

Legs (Make 2)
Marker goes in front
Rnd 1. 6 sc in MR (6)
Rnd 2. 6 inc (12)
Rnd 3. (1sc,inc)*6 (18)
Rnd 4. (2sc,inc)*6 (24)
Rnd 5. (3sc,inc)*6 (30)
Rnd 6-8. 30 sc (30)
When using joints, we fill the legs as we knit as tightly as possible.
We insert the joint between 19-20 rows. The leg of the cotter pin comes out the inside of the leg of the toy.
If the legs are knitted, we only stuff the beginning of the legs tightly, after 21 rows we crochet 6 sc for both parts of the crocheting.

Rnd 9. 24 sc, 3 dec (27)
Rnd 10. 3 dec, 21 sc (24)
Rnd 11. 18 sc, 3 dec (21)
Rnd 12. 3 dec, 15 sc (18)
Rnd 13-20. 18 sc (18)
Rnd 21. (1 sc, dec)*6 (12)
Rnd 22. dec 22 (6)
Cut the thread, leaving a long tail. Pull off the remaining loops with a needle and the rest of the thread.
Body
Marker goes straight back, perpendicular to top if needed crochet 1-2 more sc and align the beginning of the row (offset loop)
Rnd 1. 6 sc in MR (6)
Rnd 2. 6 inc (12)
Rnd 3. (1sc,inc)*6 (18)
Rnd 4. (2sc,inc)*6 (24)
Rnd 5. (3sc,inc)*6 (30)
Rnd 6. (4sc,inc)*6 (36)
Rnd 7. (5sc,inc)*6 (42)
Rnd 8. (6sc,inc)*6 (48)
Rnd 9-14. 48 sc (48) – For crocheting legs, see.

We insert the legs between 11 – 12 rows (Check which row will be legs look better on your toy). We fix the joint.
The tip of the joint leg can be melted with a lighter and lightly flatten for a more secure fit.
If the legs are knitted, then make sure that the marker goes on the body exactly behind, in the middle of the back, without displacement. If needed, crochet another 1-2 sc and rearrange the marker.
For the legs in the 11-12th row – 10 sc, 6 sc (we crochet the leg), 16 sc, 6 sc (we crochet a leg), 10sc (48)
Rnd 15. 18 sc, 6 dec, 18 sc (42)
Rnd 16. (5sc,dec)*6 (36)
Rnd 17-18. 36 sc (36)
Rnd 19. (4sc,dec)*6 (30)
Rnd 20-24. 30 sc (30) For crocheting handles.

We insert the handles between 21 – 22 rows (Check which row will be legs look better on your toy). We fix the joint.
The tip of the leg of the joint can be melted with a lighter and flatten for a more secure fit.
If the handles will be crocheting: In the 21-23rd row we knit 5sc, 6 sc (we crochet a handle), 8ch, 6 sc (we knit a handle), 5sc (24)
Rnd 25. (3sc,dec)*6 (24)
If you tie your head. Start after this row. scheme heads from row 5 and further according to the scheme. But then don’t forget that the eyes insert at 14-15. Also (without the use of joints) the head can be sew on
Rnd 26. (2 sc, dec)*6 (18)
Rnd 27. (1 sc, dec)*6 (12)
We stuff as tightly as possible, insert the joint. We crochet decreases to the end, until the base of the joint closes.

To tie a bear (In a dress or skirt) after 15 rows change the color of the body to the color of the clothes, crochet:
Rnd 16. 36 sc (36)
Rnd 17. 36 sc in BLO (36)
Further according to the scheme. To crochet a skirt in the 17th row, we crochet for front wall 3 hdc in one loop. Another row of hdc. We tie another row with simple sc.
Head
Rnd 1. 6 sc in MR (6)
Rnd 2. 6 inc (12)
Rnd 3. (1sc,inc)*6 (18)
Rnd 4. (2sc,inc)*6 (24)
Rnd 5. (3sc,inc)*6 (30)
Rnd 6. (4sc,inc)*6 (36)
Rnd 7. (5sc,inc)*6 (42)
Rnd 8. (6sc,inc)*6 (48)
Rnd 9. (7sc,inc)*6 (54)
We put the head on the leg of the joint, in the very center of crochet, we slam. Stuff as you crochet, tighter.

When using a joint, or crochet, the beginning of the row goes from below the head. The opposite is true when sewing. Therefore, you need to carefully monitor in which row to insert the eyes.
Rnd 10-17. 54 sc (54)
We insert the eyes in the 11-12th row (the distance between the eyes is 1 column). If the head is to be sewn on, insert the eyes approximately in the 14th-15th row (beginning of the row from above)
Rnd 18. (7sc,dec)*6 (48)
Rnd 19. (6sc,dec)*6 (42)
Rnd 20. (5sc,dec)*6 (36)
Rnd 21. (4sc,dec)*6 (30)
Rnd 22. (3sc,dec)*6 (24)
Rnd 23. (2sc,dec)*6 (18)
Rnd 24. (1sc,dec)*6 (12)
Rnd 25. 6 dec (6)
Cut the thread, leaving a long tail. Pull the remaining loops with a needle and the rest of the thread.

Muzzle
White
Rnd 1. 6 sc in MR (6)
Rnd 2. 6- inc (12)
Rnd 3. (1sc,inc)*6 (18)
Rnd 4. (2sc,inc)*6 (24)
To make the muzzle voluminous, knit another row of 24 sc and stuff with filler when sewing to the head
We embroider a nose on the muzzle with the same yarn as the cap. Regular stitches from bottom to top or vice versa, in several layers for volume.
For convenience, embroider two strips first so you know which size will be your nose. Too big to embroider is not worth it.

Ears & Tail
Rnd 1. 6 sc in MR (6)
Rnd 2. 6 inc (12)
Rnd 3-4. 12 sc (12)
Fold, crochet for both walls crocheting 6 sc.
No need to stuff.

Patches
Rnd 1. 8 sc in MR (8)
We crochet (3 sc in 1 loop, 1 sc)*4, then we crochet a square, crocheting 3 sc into the corners.
Choose the size of the patch according to the size of your toy.

Cap (Blue)
Pompom crochet separately
Rnd 1. 6 sc in MR (6)
Rnd 2. 6 inc (12)
Rnd 3-5. 12 sc (12)
Rnd 6. (1sc,inc)*6 (18)
Rnd 7- 9. 18 sc (18)
Rnd 10. (2sc,inc)*6 (24)
Rnd 11-13. 24 sc (24)
Rnd 14. (3sc,inc)*6 (30)
Rnd 15-17. 30 sc (30)
Rnd 18. (4sc,inc)*6 (36)
Rnd 19-21. 36 sc (36)
Rnd 22. (5sc,inc)*6 (42)
Rnd 23-25. 42 sc (42)
Rnd 26. (6sc,inc)*6 (48)
Rnd 27-29. 48 sc (48)
Rnd 30. (7sc,inc)*6 (54)
Rnd 31-33. 54 sc (54)
Rnd 34. (8sc,inc)*6 (60)
Rnd 35-37. 60 sc (60)
Rnd 38. (9sc,inc)*6 (66)
Rnd 39-41. 66 (66)
Rnd 42. (10sc,inc)*6 (72)
Rnd 43. 72 sc (72)
White
Rnd 44. 72 sc (72)
Blue
Rnd 45. 72 sc

Pompon (White)
Rnd 1. 6 sc in MR (6)
Rnd 2. 6 inc (12)
Rnd 3. (1sc,inc)*6 (18)
Rnd 4. (2sc,inc)*6 (24)
Rnd 5. (3sc,inc)*6 (30)
Rnd 6-9. 30 sc (30)
Rnd 7. (3sc,dec)*6 (24)
Rnd 8. (2sc,dec)*6 (18)
Fill with filler, sew to the tip of the cap.
Scarf
For a scarf, dial a chain of 60 ch, and starting from the second loop from the hook, we crochet several (3-5) rows in turning rows. The next rows start with ch.
Choose the length of the scarf according to the size of your toy. The larger the chain of ch, the longer the scarf.
Assembly
• We sew the muzzle under the very eyes (do not stuff). We sew the ears between 16-22 next to the head (Beginning of the row from the bottom). The tail is sewn approximately between 8-10 next to the body.
• We embroider seams on the forehead, tummy, on the sides of the arms and legs. To do this, we take black sewing threads in 4-6 threads. Too thick threads are not recommended.

• The cap is sewn on the side of the head. Sew a decorative button to the scarf.
Congratulations!
More Amigurumi Bear Ideas:
