Hello dear Amigurumi Followers
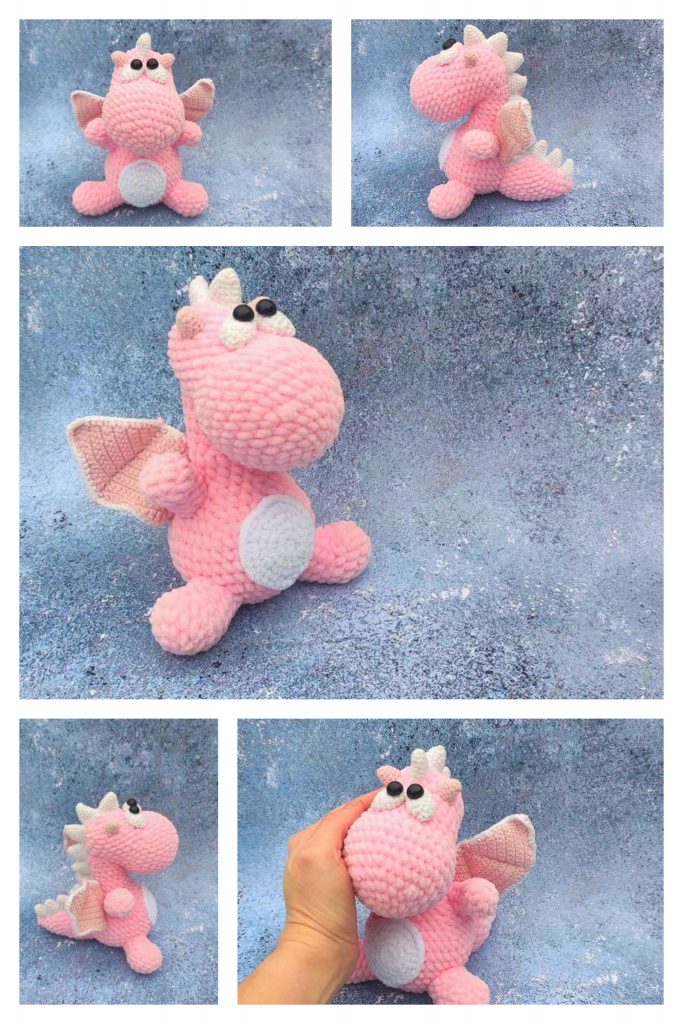
Today we share Amigurumi Kids Dragonling Free Pattern for you. As you know we share new free amigurumi pattern every day. The main crochets are gazelle, amigurumi bear, pola, crochet panda, penguin, giraffe, llama, pig, bunny, clown, lamb, bee, crochet unicorn, amigurumi doll, fox, penguin, dinosaur, crochet elephant, hippo, monkey, crochet cat, crochet dog and more …
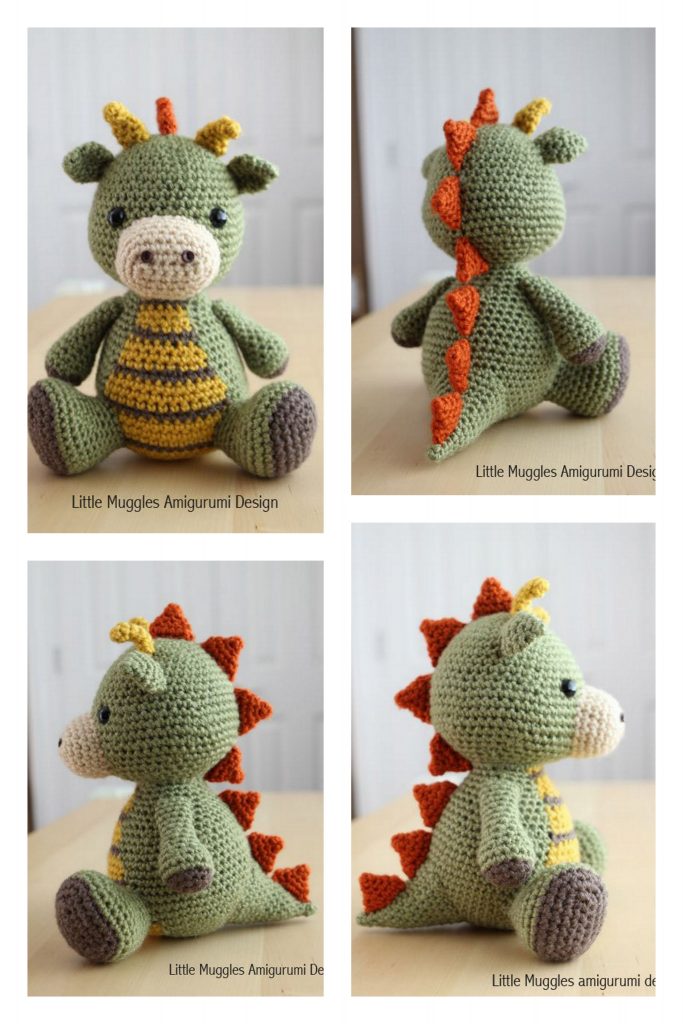
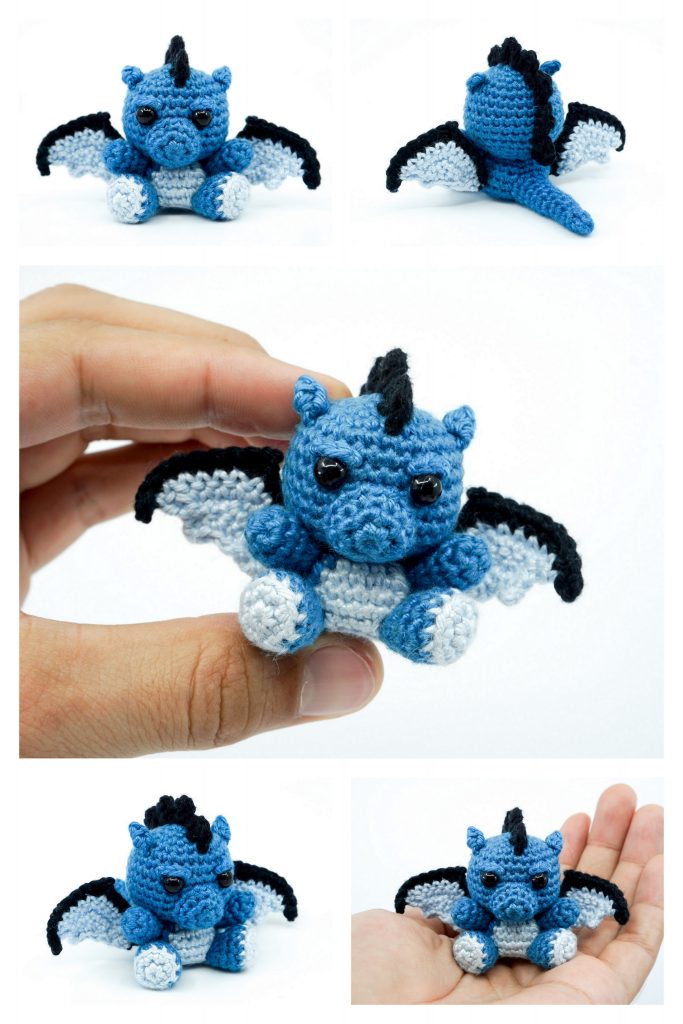
Todays daily new amigurumi free crochet pattern is Amigurumi Kids Dragonling.
I want to give you some informations about this amigurumi free pattern ; Kids Dragonling.
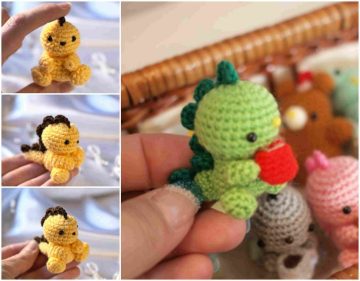
Amigurumi Kids Dragonling Free Pattern
1. head – ball
1 row: 2 ce, close into a ring. Knit 6 tbsp. b / n [= 6]
2 row: (increase) * 6 times [= 12]
3 row: (increase, 1 item b / n) * 6 times [= 18]
4 row: (increase, 2 item b / n) * 6 times [= 24]
5-8 rows (4 rows): Art. b / n [= 24]
9th row: (increase, 2 items b / n) * 6 times [= 18]. Insert the
10th row filler : (increase, 1 tbsp. N / a) * 6 times [= 12]
11 row: (decrease) until hole
2 closes .
2. Torso – “cup”, at the base of which hemisphere is
1 row: 2 in. n., close the ring. Knit 6 tbsp. b / n [= 6]
2 row: (increase) * 6 times [= 12]
3 row: (increase, 1 tbsp. B / n) * 6 times [= 18]
4-8 rows: Art. b / n [= 18]
In the last rows, you can make a couple of reductions to form a neck
3. handles
1 row: 2 cf, close into a ring. Knit 6 tbsp. b / n [= 6]
2 row: increase, 5 tbsp. b / n [= 7]
3-5 rows: Art. b / n [= 7]. Attach a little filler.
Here you can still think about how to make the handles not straight, but slightly curved (for example, knit a pair of loops on the inside of the handle with connecting posts, or vice versa, knit with a double crochet on the outside)
4. Legs
1 row: 2 in. n., close the ring. Knit 6 tbsp. b / n [= 6]
2 row: (increase) * 6 times [= 12]
3 row: Art. b / n [= 12]. Insert cardboard base (optional)
4th row: 3-4 drops to round out the leg. Insert filler.
You can make the “foot” a little more oval (it seems to me that it will be more like a leg), knitting 3 VP, then 1 tbsp. b / n in the second loop from the hook, then 3 tbsp. b / n in the initial loop, then turn knitting and 1 tbsp. b / n in the first loop.
It is better to tie the legs in the 4th row in the following way: 4subs, 4xbn and knit 5th row of 8sbn, then the leg looks more interesting. 5. tail – cone
1 row: 2 vp, closed in a ring. Knit 6 tbsp. b / n [= 6]
2 row: increase, 5 tbsp. b / n [= 7]
3 row: increase, 6 tbsp. b / n [= 8]
4ryad: increase, 7 tbsp. b / n [= 9]
5ryad: increase, 8 Art. b / n [= 10]
6 row: increase, 9 tbsp. b / n [= 11]
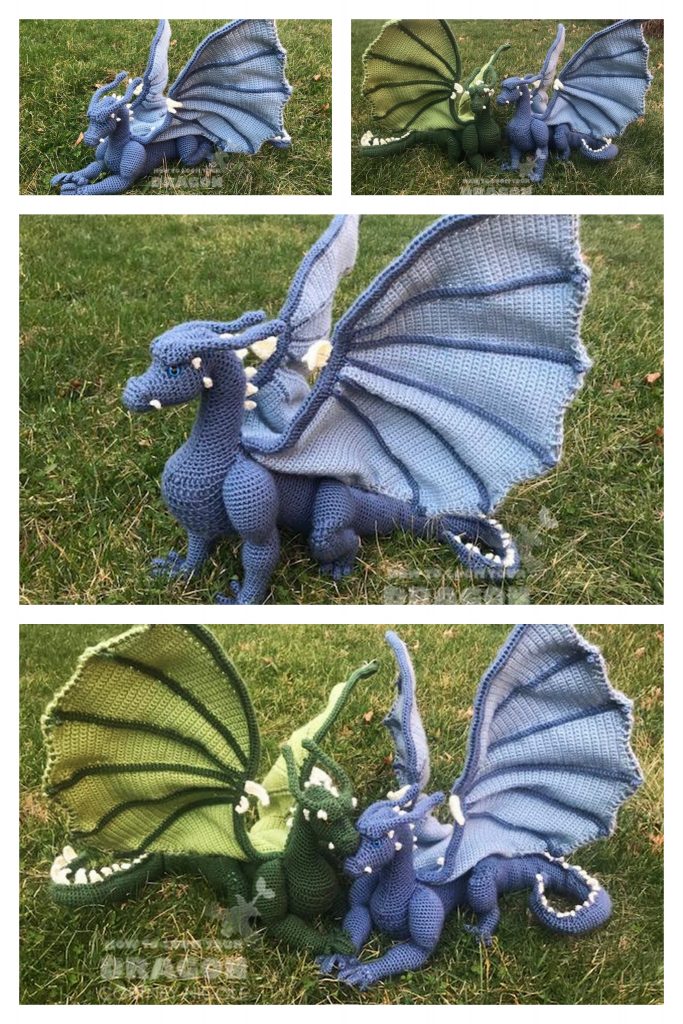
6. teeth- Fans of 5 double crochets, knitted right on the head, back and tail, and separated by connecting bars. That’s what happened at this stage, I can not continue today. It’s time to get ready for work. You can sew different tails and different faces to this figure and then you will get cats, bears and whatever you want. This is what my dragon looks like. Natasha, tell me if he can redo his face. Some kind of a little sparrow. As for the design of the face, the original has a spout sewn 1 row higher than the eyes and, it seems to me, the eyes are a little further apart. I think you can drown the eyes a little inside the head with the help of threads, and the nose can be made from a colored bead or embroidered as 2 horizontal stitches or cut out of felt.
Even in my opinion, one row without increments and reductions in the head is still superfluous – the head of the original has the shape of a slightly oblate ball. The teeth on the head and back can be made more convex, knitting on 1 connecting column between the fans.
In the original, it is difficult to imagine what the face looks like in the face, because photo taken at an angle. I found some pictures of typical amigurumi muzzles. Pay attention, they all have eyes and nose (or mouth) are on the same level. It is also often the case that in amigurum toy eyes are made of flat beads (or hemispherical beads), and if round beads are used, they need to be drowned inside – due to this, the toy looks more natural. Here’s what my dragon turned out (just for an hour and a little work): II version of the head:
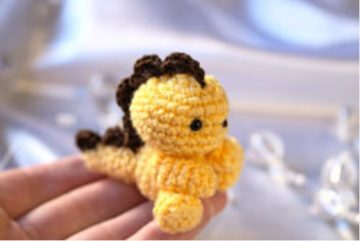
1p 7sbn
2p ( prib ) * 7 (14)
3p (1sbn, prib.) * 7 (21)
4p (2sbn, prib) * 7 (28)
5-8p unchanged (28)
9p (ass, 2sbn) * 7 (21)
10p (ass, 1sbn) * 7 (14)
11p (ass) * 7 (7)
More Amigurumi Dragon Ideas:
