Hello dear Amigurumi Followers
Today we share Amigurumi Happy Hedgehog Free Pattern for you. As you know we share new free amigurumi pattern every day. The main crochets are gazelle, amigurumi bear, pola, crochet panda, penguin, giraffe, llama, pig, bunny, clown, lamb, bee, crochet unicorn, amigurumi doll, fox, penguin, dinosaur, crochet elephant, hippo, monkey, crochet cat, crochet dog and more …
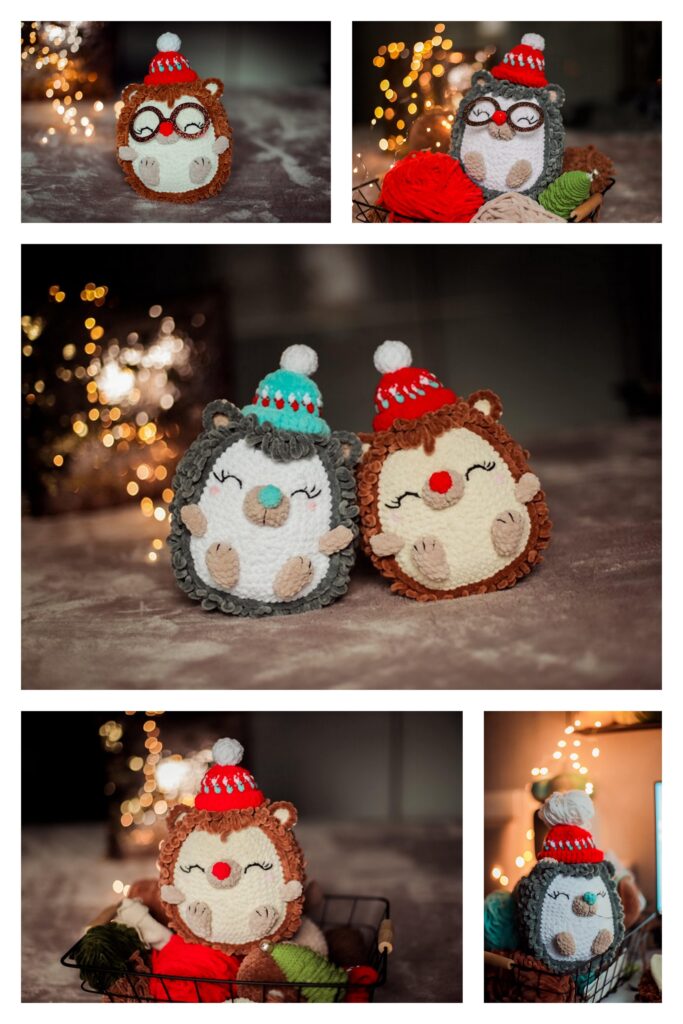
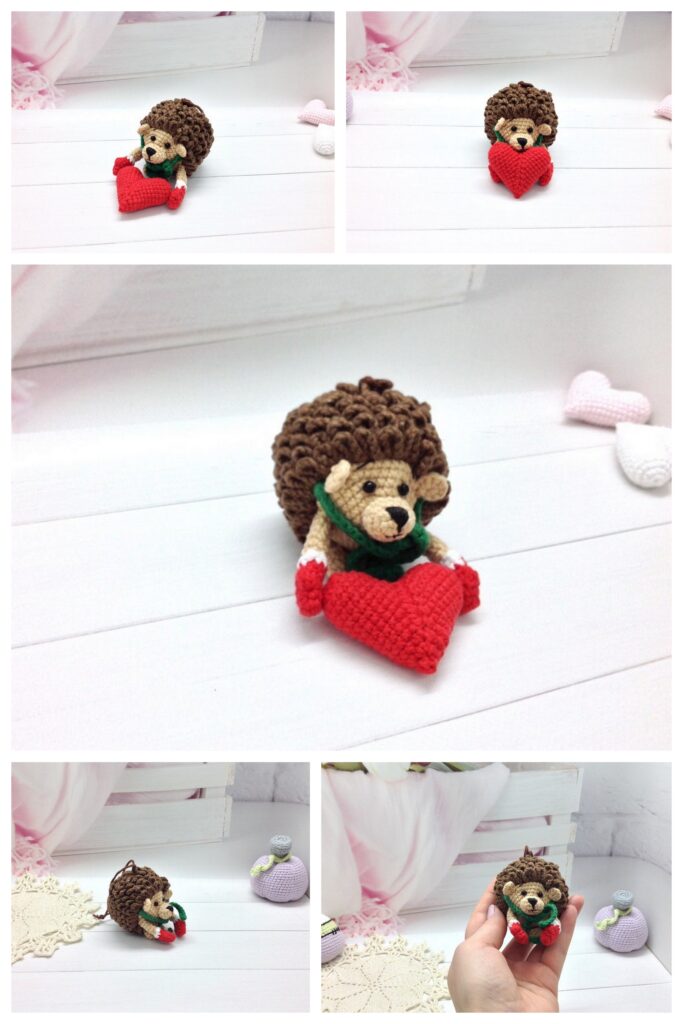
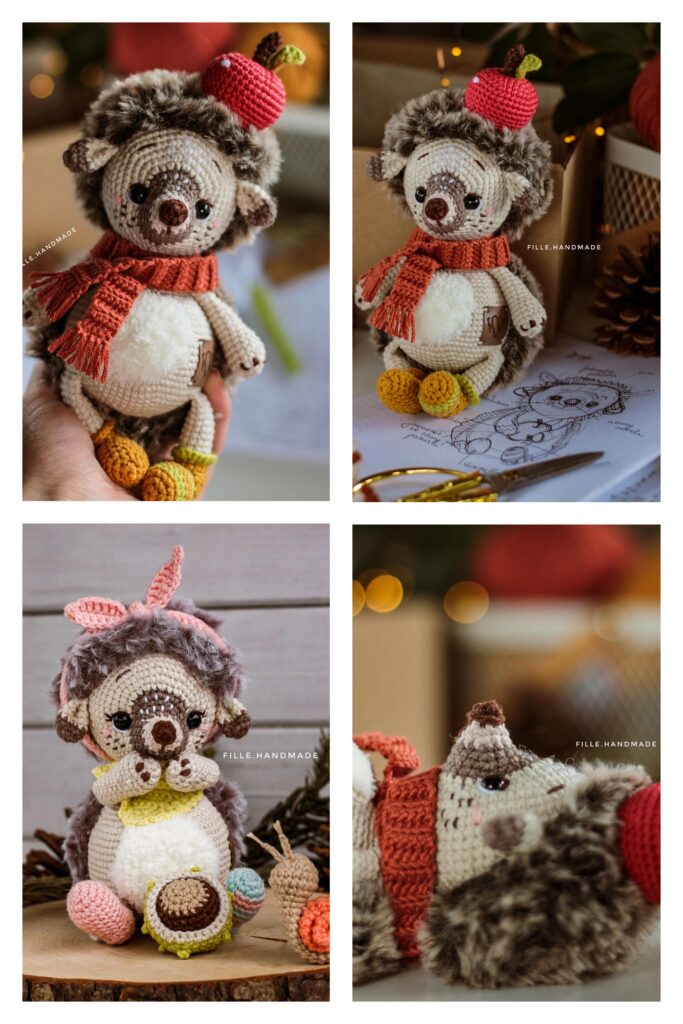
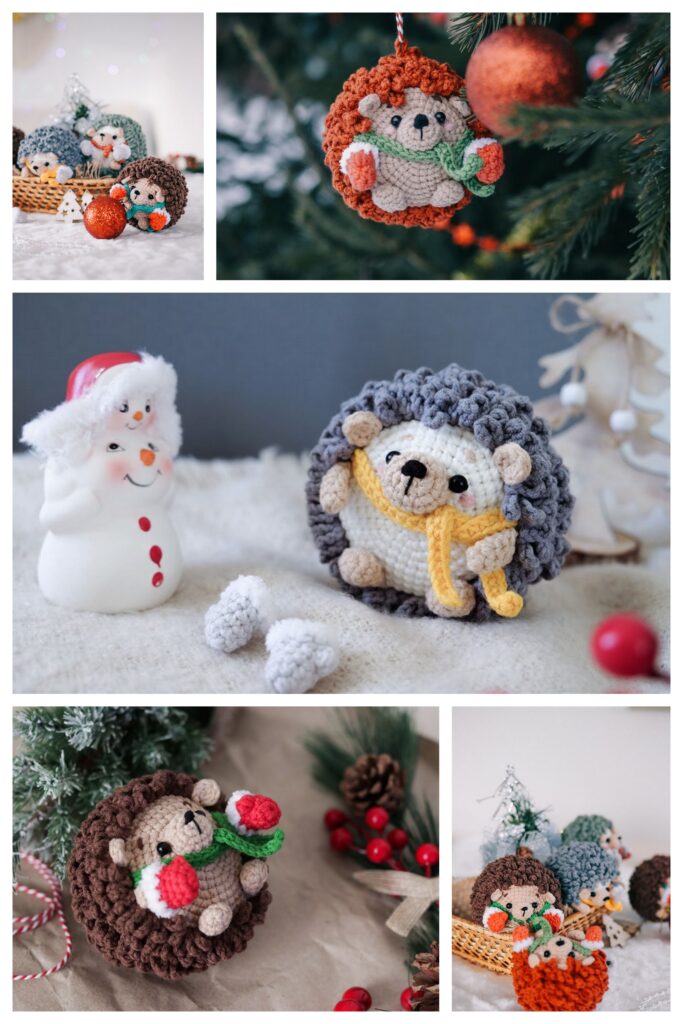
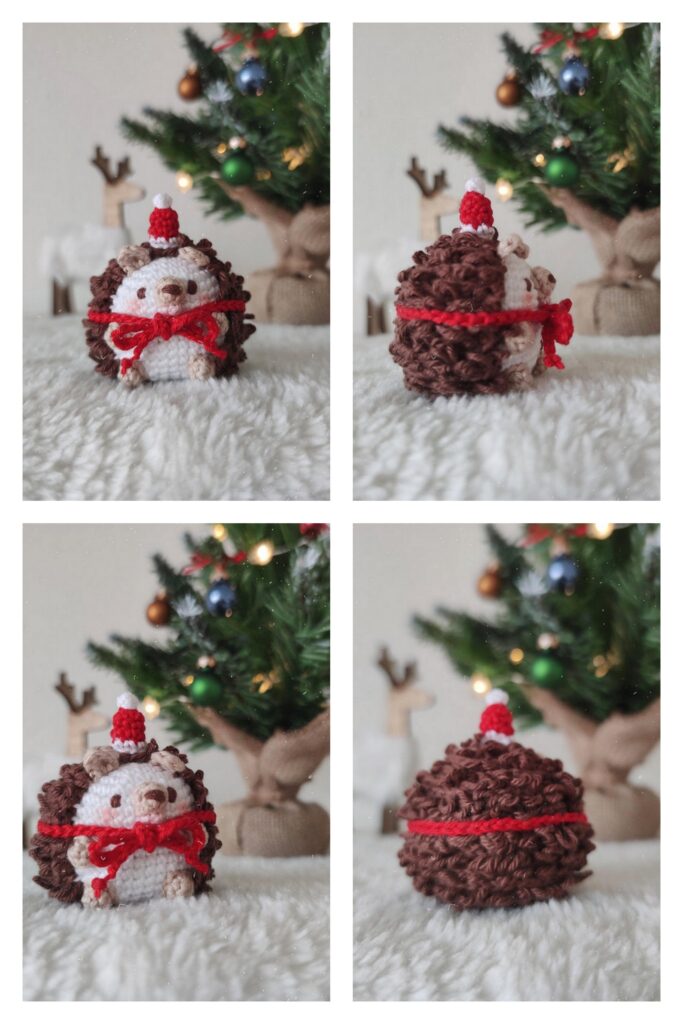
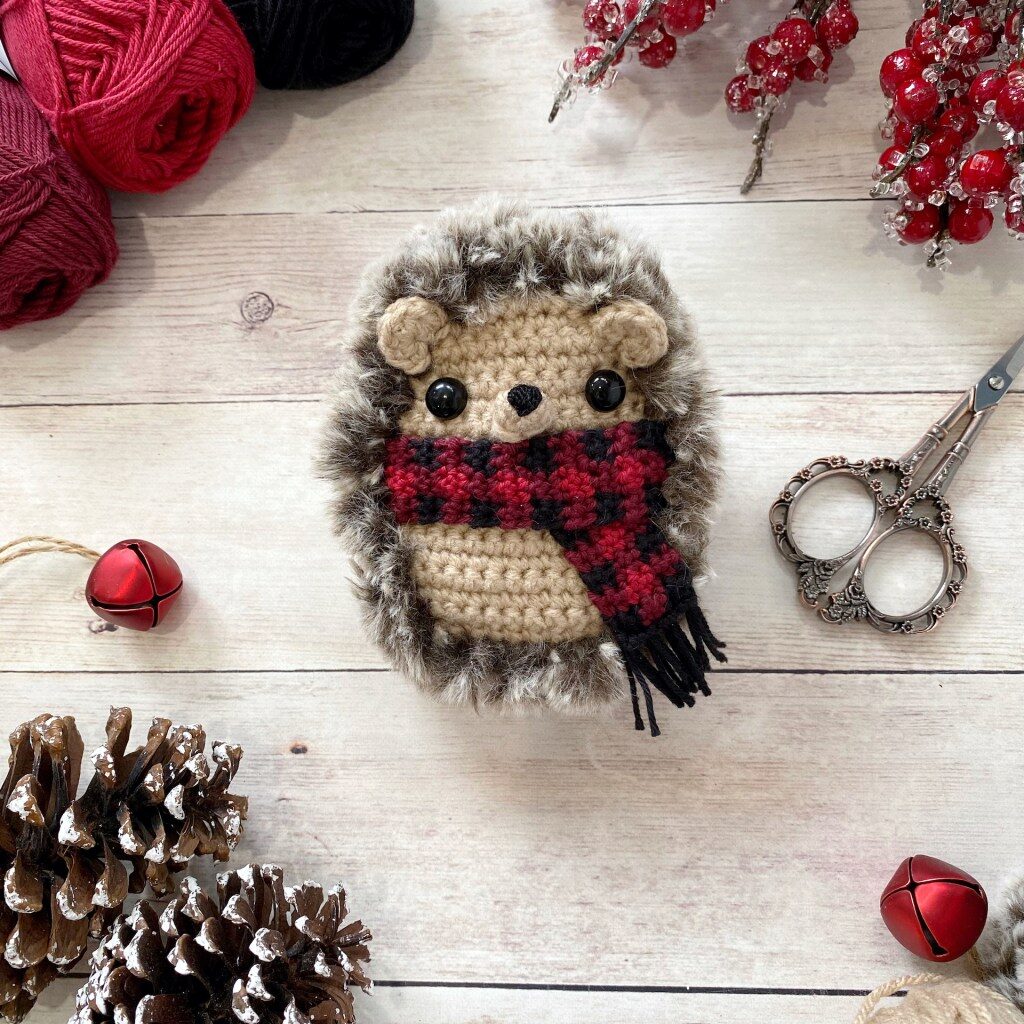
Todays daily new amigurumi free crochet pattern is Amigurumi Happy Hedgehog.
I want to give you some informations about this amigurumi free pattern ; Happy Hedgehog.
Materials:
(Affiliate links coming at you!)
Hooks:
– 2.75mm hook for the scarf (I use THESE hooks!);
– 3.25mm hook for front panel;
– 3.75mm hook for back fur panel;
Yarn:
– For the scarf – Hobbii Rainbow Cotton 8/4 in Color 09 (Black, 1 skein)(A), Color 60 (Burgundy, 1 skein)(B), Color 86 (Red, 1 skein)(C) (or any sport or fine weight yarn);
– For the front panel – any worsted weight yarn in tan/brown (less than 50g);
– For the back panel – Lion Brand Go for Faux in Bear (less than one skein);
10mm Safety eyes;
Black crochet thread, size 5;
Eight stitch markers (bobby pins work a treat!);
Stuffing;
Tapestry needle.
Terms and Stitches:
Ch – Chain
MR – Magic Ring
Slst – Slip stitch
Sc – Single Crochet
Inc – Increase. Work a regular sc increase
Dec – Decrease. Work a regular sc decrease
Hdc – Half double crochet
Dc – Double crochet
RS – Right side
WS – Wrong side
Amigurumi Happy Hedgehog Free Pattern
Body Panel
(make 1 in worsted weight yarn using 3.25mm hook and one in fur yarn using 3.75mm hook):
Row 1: Ch 10, starting in sc ch from hook, sc in each ch across (9 sts), ch 1, turn.
Row 2: Inc, sc 7, inc (11 sts), ch 1, turn.
Row 3: Inc, sc 9, inc (13 sts), ch 1, turn.
Rows 4-5: Sc in each st (13 sts), ch 1, turn.
Row 6: Inc, sc 11, inc (15 sts), ch 1, turn.
Rows 7-11: Sc in each st (15 sts), ch 1, turn.
Row 12: Dec, sc 11, dec (13 sts), ch 1, turn.
Row 13: Sc in each st (13 sts), ch 1, turn.
Row 14: Dec, sc 9, dec (11 sts), ch 1, turn.
Row 15: Sc in each st (11 sts), ch 1, turn.
Row 16: Dec, sc 7, dec (9 sts), ch 1, turn.
Row 17: Dec, sc 5, dec (7 sts), ch 1, turn.
Row 18: Dec, sc 3, dec (5 sts), ch 1, turn.
Fasten off. The front panel should measure approximately 8.5cm/3.5″ tall and the back (fur) panel should measure approximately 13cm/5″ tall. The back panel will be about 1.5x bigger than the front panel.
Scarf #1 (make 1):
Use a 2.75mm hook.
Row 1: With A, ch 7, sc in 2nd ch from hook, sc in next ch, with B sc in next 2 chs, with A sc in next 2 chs (6 sts), ch 1, turn.
Row 2: With A sc 2, with B sc 2, with A sc 2 (6 sts), ch 1, turn.
Row 3: With B sc 2, with C sc 2, with B sc 2 (6 sts), ch 1, turn.
Row 4: Repeat row 3.
Rows 5-6: Repeat row 2.
Rows 7-8: Repeat row 3.
Rows 9-20: Repeat rows 5 to 8.
Fasten off. Weave in ends. Set aside. If your scarf is not long enough to cover the front panel horizontally at row 11, work more rows as needed.
Scarf #2 (make 1):
Use a 2.75mm hook.
Rows 1-14: Repeat rows 5 to 8 of Scarf #1.
Fasten off. Weave in ends. Add black fringe by taking two pieces of yarn at once and folding in half. Pull the loop through a stitch at the bottom of the scarf. Weave the ends through the loop and pull tight. Trim once all the fringe is attached.
Ears (make 2):
With worsted weight yarn and 3.25mm hook, make a magic ring.
Rnd 1: Work 6 hdc into the MR.
Do not join. Pull tightly to close. Fasten off, leaving a long tail for sewing.
Snout (make 1):
With worsted weight yarn and 3.25mm hook, make a magic ring.
Rnd 1: Work 4 sc into the MR (4 sts).
Rnd 2: *Sc in first st, inc in next st, repeat from * once more (6 sts).
Fasten off, leaving a long tail for sewing. With black crochet thread and a tapestry needle, stitch around one of the stitches of round 1 (i.e. up through the centre of the snout, *out the centre of the MR, down through the top of the stitch, repeat from * several times until a triangle-like shape forms.)
Move on to assembly below!
Assembly:
– Insert 10mm safety eyes between rows 13 and 14 of the front panel, counting 2 sts in from each side.
– Stitch snout onto the front panel between the eyes between rows 11 and 13.
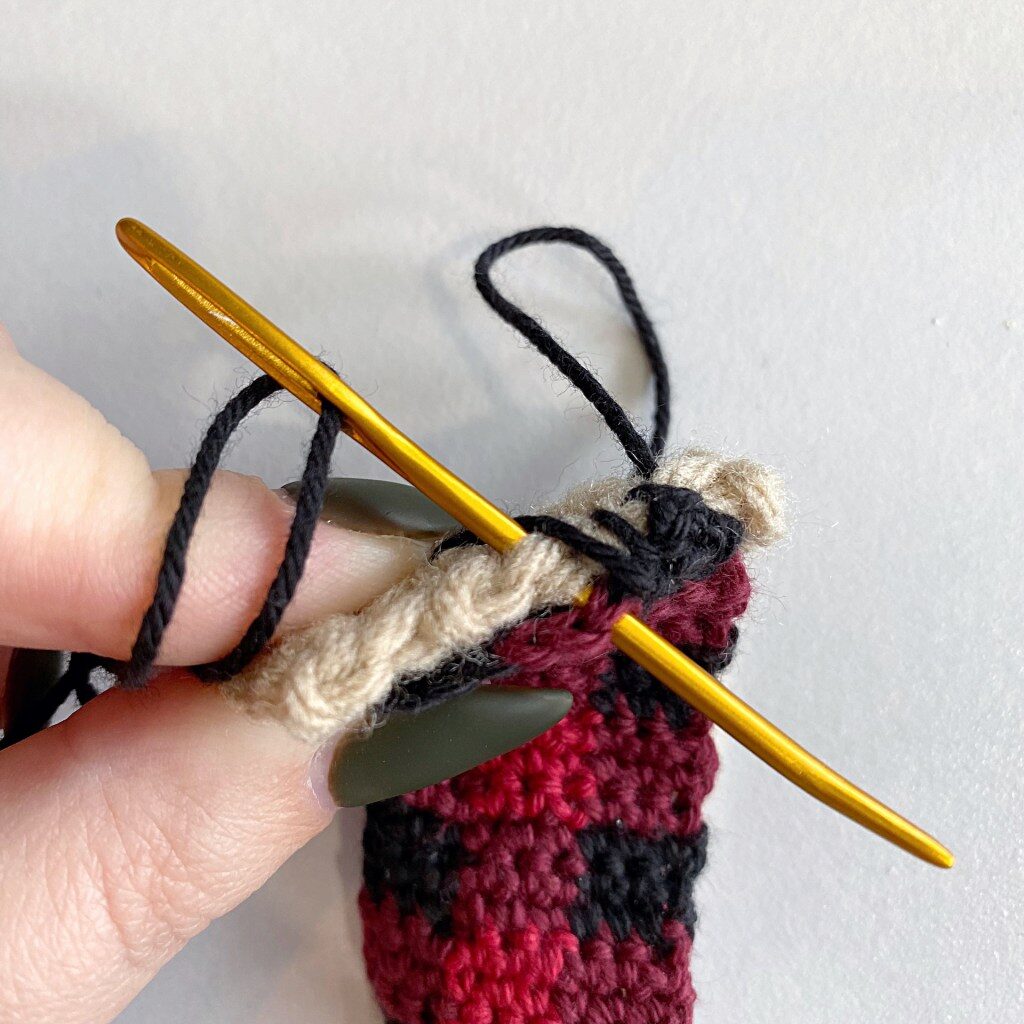
– Stitch each side of Scarf #1 horizontally to the front panel underneath the snout, i.e. each short side is stitched down but the scarf is still detached on the top and bottom. (I forgot to take a picture of this step during actual assembly so the bottom photo is illustrating using a small swatch in place of the front body panel).
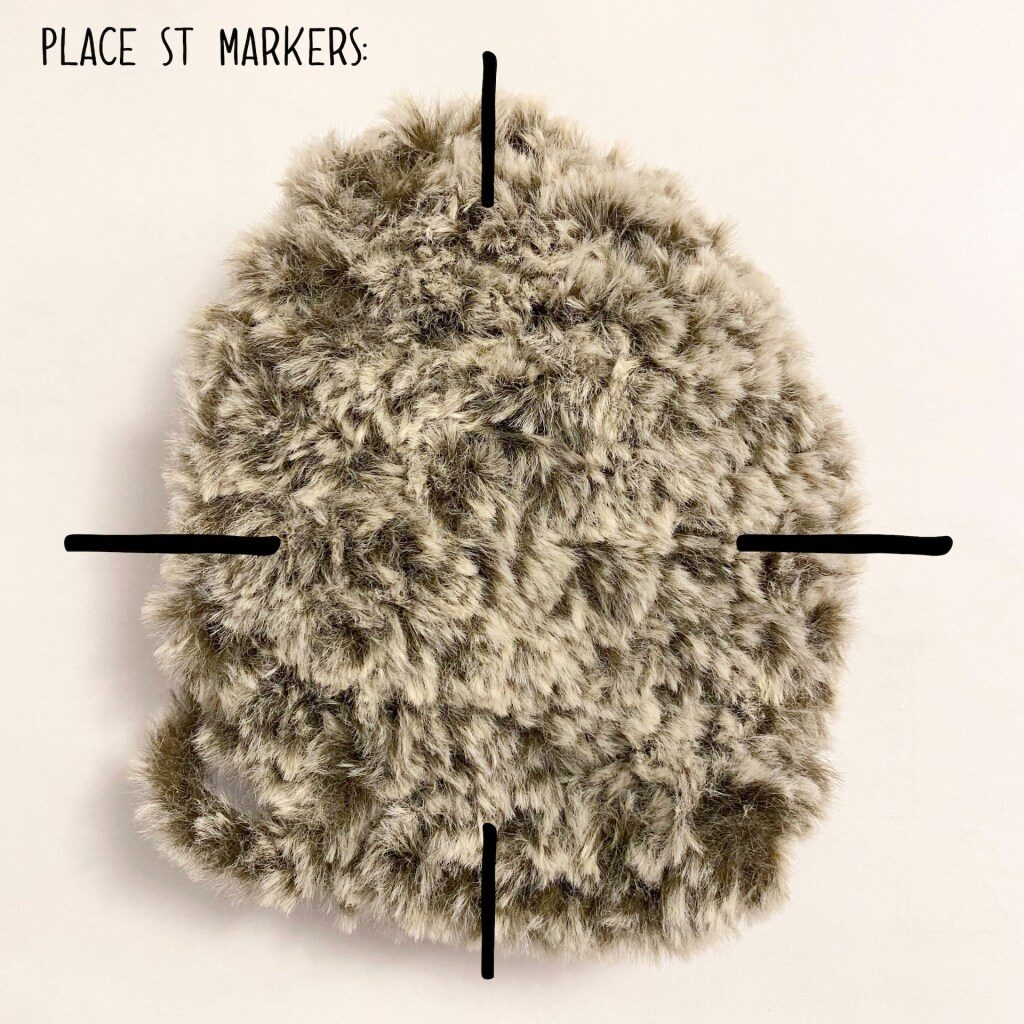
– Place a stitch marker at the middle-top, middle-bottom, and middle-sides of both panels.
– Place both Panels together (the worsted panel should be centred on top of the back panel). With a tapestry needle and a long length of fur yarn, whip stitch the panels together, starting at the middle-top stitch (where you’ve placed stitch markers). As you stitch around, ensure the stitch markers on each panel line up with each other. The back fur panel will naturally curve to create a dome as you stitch it around the front panel.
– When only a small portion of the panels remains open, stuff lightly. Finish stitching panels together.
Weave ends.
– Using your fingers, fluff the fur yarn around the edge of the front panel if needed.
– Stitch the ears onto the front panel. Weave in ends.
– Insert Scarf #2 underneath Scarf #1. Stitch in place if desired.
Attach a hanging loop to the top if you’d like to use it as an ornament.
You’re done! Happy crocheting!
More Amigurumi Hedgehog Ideas:
