Hello dear Amigurumi Followers
Today we share Amigurumi Cute Penguin Free Pattern for you. As you know we share new free amigurumi pattern every day. The main crochets are gazelle, amigurumi bear, pola, crochet panda, penguin, giraffe, llama, pig, bunny, clown, lamb, bee, crochet unicorn, amigurumi doll, fox, penguin, dinosaur, crochet elephant, hippo, monkey, crochet cat, crochet dog and more …
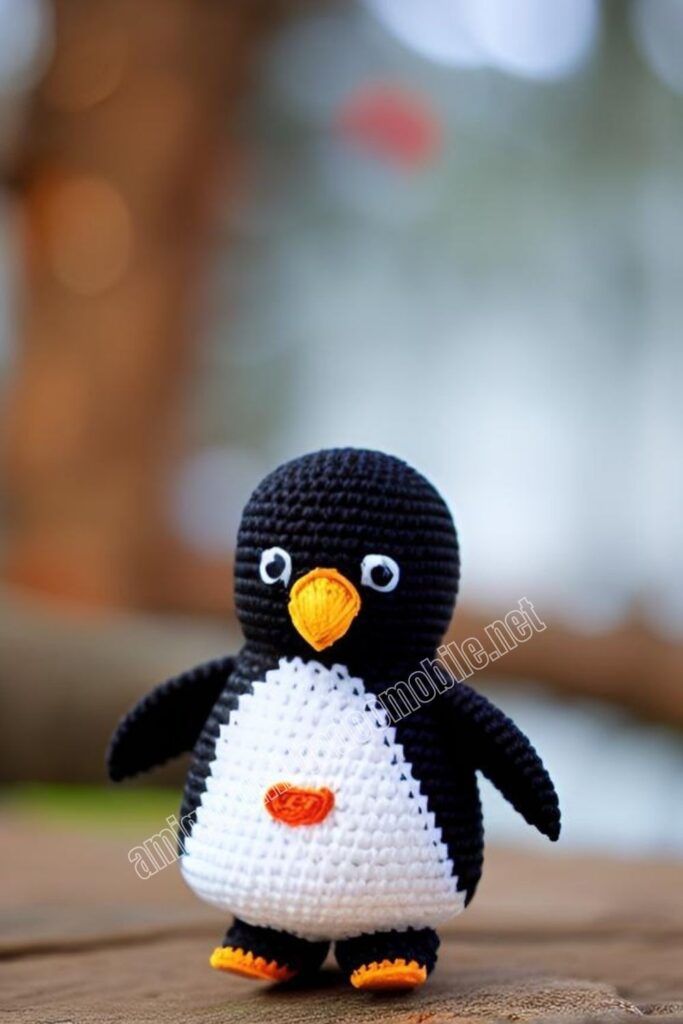
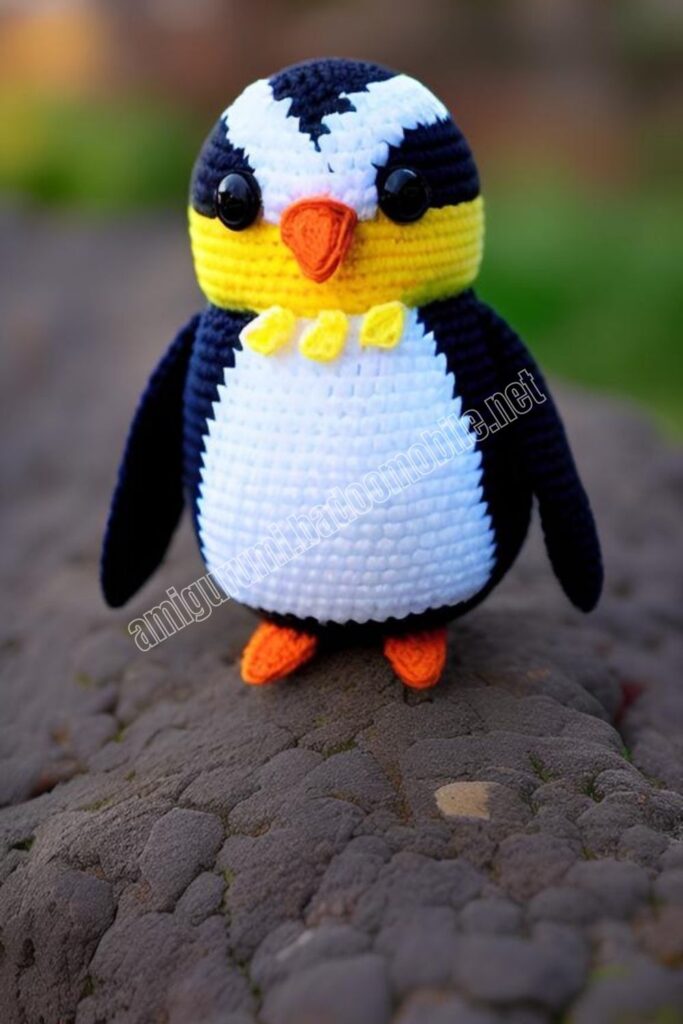
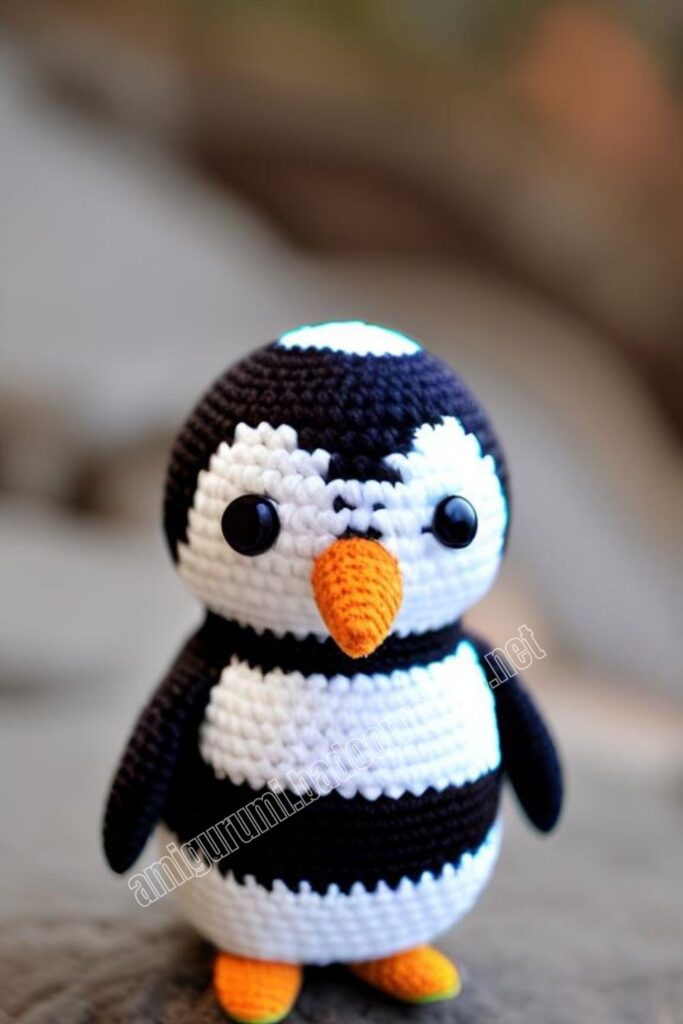
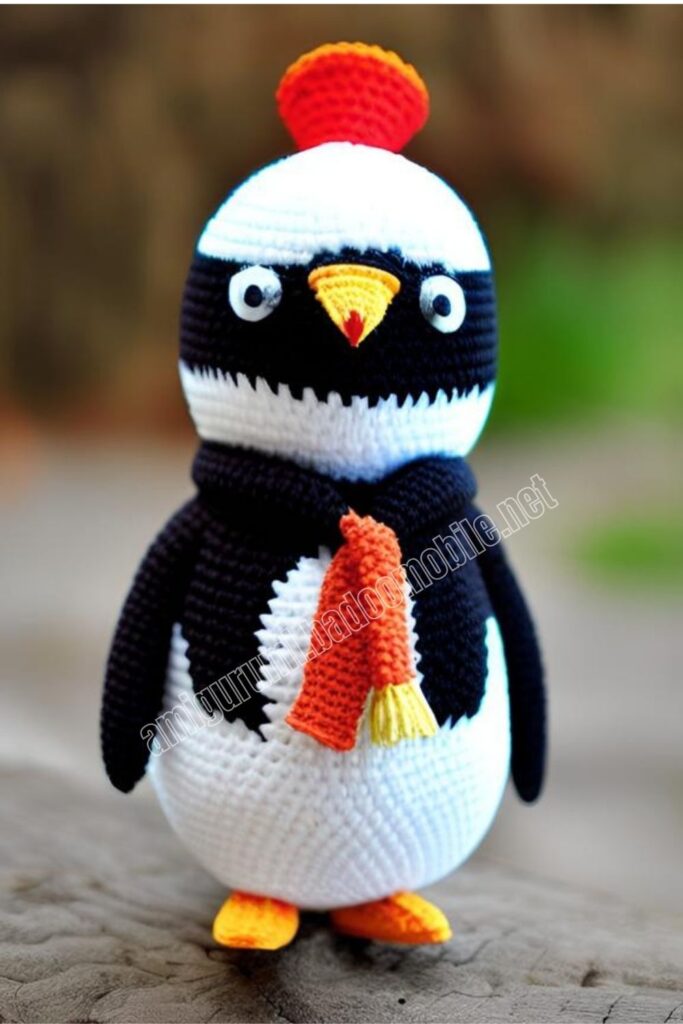
Todays daily new amigurumi free crochet pattern is Amigurumi Cute Penguin.
I want to give you some informations about this amigurumi free pattern ; Cute Penguin.
Materials
Size USG6 4.00mm crochet hook
Worsted weight yarn in
• black
• white
• orange
• green
• red 12mm black safety eyes
fiber fill
tapestry needle
Abbreviations
MR – magic ming
sc – single crochet
inc – increase (2sc into one stitch)
st – stitch
dec – decrease (sc2tog, or crochet 2 stitches together) hdc half double crochet
Amigurumi Cute Penguin Free Pattern:
Head
use black yarn;
Rnd 1: 6 st into MR
Rnd 2: 2sc into each st [12]
Rnd 3: (sc, inc) repeat around [18]
Rnd 4: (2sc, inc) repeat around [24]
Rnd 5: sc around [24]
Rnd 6: (3sc, inc) repeat around [30]
Rnd 7: (4sc, inc) repeat around [36]
Rnd 8: (5sc, inc) repeat around [42]
Rnd 9: (6sc, inc) repeat around [48]
Rnd 10-14: sc around [48]
Rnd 15: (6sc, dec) repeat around [42]
Rnd 16: sc around [42]
Rnd 17: (5sc, dec) repeat around [36]
Rnd 18: sc around [36]
Rnd 19: (4sc, dec) repeat around [30]
Rnd 20: (3sc, dec) repeat around [24]
Rnd 21: (2sc, dec) repeat around [24]
Fasten off
Eye Circles
use white yarn;
Rnd 1: 6st into MR
Rnd 2: 2sc into each stitch [12]
Fasten off and leave a tail
Nose
use orange yarn;
Rnd 1: 4st into MR
Rnd 2: sc into each st [4]
Rnd 3: 2sc into each st [8]
Rnd 4: (sc, inc) repeat around [12]
Fasten off and leave a tail
Tummy Circle
use white yarn;
Rnd 1: 6sc into MR
Rnd 2: 2sc into each st [12]
Rnd 3: (sc, inc) repeat around [18]
Rnd 4: (2sc, inc) repeat around [24]
Fasten off and leave a tail
Arm (make two)
use black yarn;
Rnd 1: 4sc into MR
Rnd 2: 2sc into MR [8]
Rnd 3: (sc, inc) repeat around [12]
Rnd 4: (2sc, inc) repeat around [16]
Rnd 5-7: sc around
Rnd 8: (2sc, dec) repeat around [12]
Rnd 9: (sc, dec) repeat around [8]
Fasten off and leave a tail
Body
use black yarn;
Rnd 1: 6sc into MR
Rnd 2: 2sc into each st [12]
Rnd 3: (sc, inc) repeat around [18]
Rnd 4: (2sc, inc) repeat around [24]
Rnd 5: (3sc, inc) repeat around [30]
Rnd 6: (4sc, inc) repeat around [36]
Rnd 7: sc around [36]
Rnd 8: (5sc, inc) repeat around [42]
Rnd 9: (6sc, inc) repeat around [48]
Rnd 10: (7sc, inc) repeat around [54]
Rnd 11: sc around [54]
Rnd 12: (7sc, dec) repeat around [48]
Rnd 13: sc around [48]
Rnd 14: (6sc, dec) repeat around [42]
Rnd 15: (5sc, dec) repeat around [36]
Rnd 16: sc around [36]
Rnd 17: (4sc, dec) repeat around [30]
Rnd 18-21: sc around [30]
Rnd 22: (3sc, dec) repeat around [24]
Rnd 23: (2sc, dec) repeat around [18]
Fasten off and leave a tail
Leg (make two)
use orange yarn;
Row 1: Chain 6
Row 2: Working in the second chain from hook, sc to the end [5] Turn your work.
Row 3: sc into 4 stitches, 2sc into last st [6]
Put a stitch marker into the last stitch you made. This is now Stitch #1 as you continue in the round. (This first round should have 12 stitches)
Rnd 1: inc into stitches 2,6,8,12 [16]
Rnd 2: inc into stitches 3,8,11,16 [20]
Rnd 3: inc into stitches 4,9,14,20 [24]
Rnd 4: sc around [24]
Rnd 5: sc, dec, 6sc, (dec, sc) repeat 3 times, 6sc [20]
Rnd 6: 7sc, (dec, sc) repeat 3 times, 4sc [17]
Rnd 7: 7sc, (dec, sc) repeat twice, 4sc [15]
Rnd 8: sc around [15]
Fasten off and leave a tail
Scarf
use green yarn;
Chain 70
Working into 3rd chain from hook, dc to the end
Fasten off and weave tails in neatly.

Hat
start with red yarn;
Rnd 1: 6sc into MR
Rnd 2: 2sc into each st [12]
Rnd 3: (green) (sc, inc) repeat around [18]
Rnd 4: (red) (2sc, inc) repeat around [24]
Rnd 5: (green) (3sc, inc) repeat around [30]
Rnd 6:(red) (4sc, inc) repeat around [36]
Rnd 7: (green) sc around [36]
Rnd 8: (red) (5sc, inc) repeat around [42]
Rnd 9: (green) (6sc, inc) repeat around [48]
Rnd 10: (red) sc around [48]
Rnd 11: (green) (7sc, inc) repeat around [54]
Rnd 12: (red) hdc across [54]
Rnd 13: (red) hdc across [54]
Fasten off and weave in tails neatly
Pom Pom
use red yarn;
This is how I made my pom pom. I know there are many other techniques out there so feel free to experiment with what works best for you!
Wind your red yarn around a piece of cardboard about 1.25” (3cm) wide. (or you could use 2 finger widths, (ie. your index and middle fingers together) The more you wind, the fuller your pom pom will be. When done winding, carefully slide the cardboard out (or your fingers out, depending on what youʼre using) and tie your yarn very tightly around the center of the yarn bundle.
Cut open the loops on each side, and fluff out the pom-pom. Trim evenly if necessary. Use the yarn ends from tying the bundle to pass through the top of the hat, and tie in a knot inside the hat. Weave all yarn ends in neatly.
Assembly
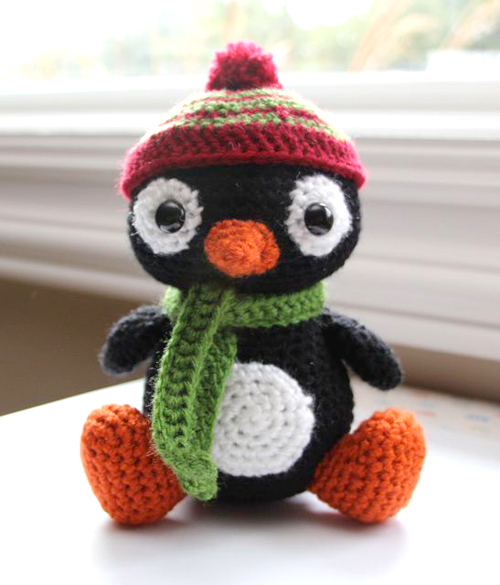
Stuff the head tightly with fiber fill. Take your eye circles and and poke the 12mm eyes through an opening one row away from the center of the eye circle. Now place the eyes and the nose onto the head. If youʼre like me, you will have to play around with the position of these parts until you are satisfied with how everything looks. Take note of the symmetry of the eyes. Since the eyes are not directly in the center of the white eye circles, you have to be careful that the eyes appear to be looking in the same direction. You could end up with one eye thatʼs positioned high and one thatʼs positioned low. Once you are happy with the placement of the eyes and nose, sew each piece on carefully. Affix the backings onto the safety eyes.Next, stuff the body and attach the head. Sew the tummy circle into place. The wings go on next.
They do not need to be stuffed with fiber fill. You can pinch them flat and sew them on as is. Stuff the legs next and attach to the body. Again, take note of the symmetry by pinning them in place first. The penguin should be balanced and able to sit independently when the legs are positioned properly.
Wrap the scarf around the neck and perch the hat on the head!
Ready!
More Amigurumi Penguin Ideas:
