Hello dear Amigurumi Followers
Today we share Amigurumi Crochet Small Dinosaur Free Pattern for you. As you know we share new free amigurumi pattern every day. The main crochets are gazelle, amigurumi bear, pola, crochet panda, penguin, giraffe, llama, pig, bunny, clown, lamb, bee, crochet unicorn, amigurumi doll, fox, penguin, dinosaur, crochet elephant, hippo, monkey, crochet cat, crochet dog and more …
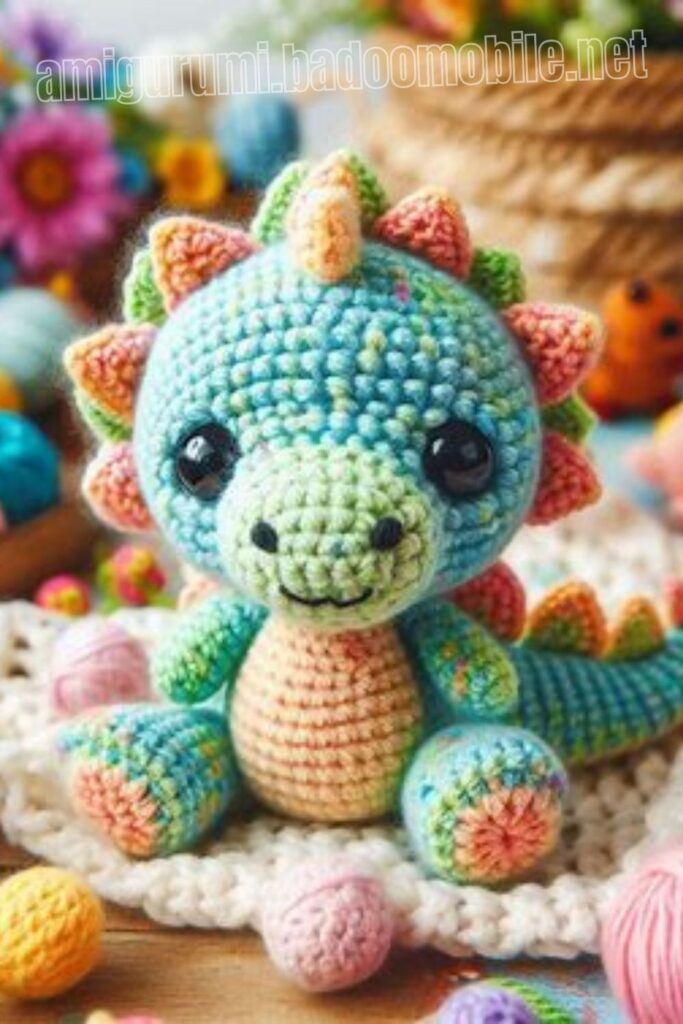
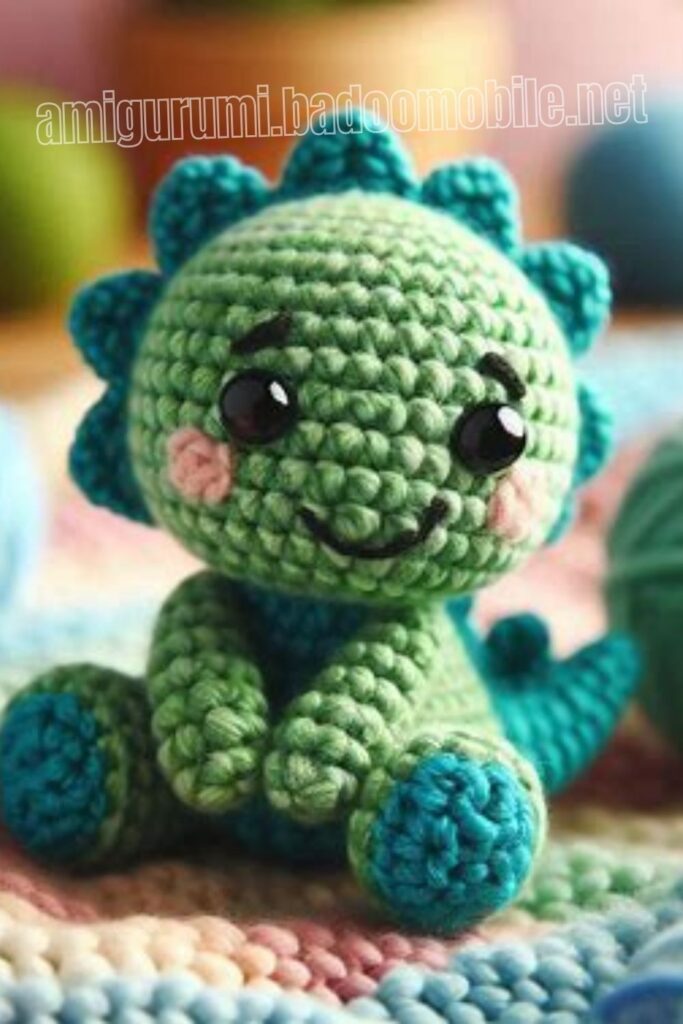
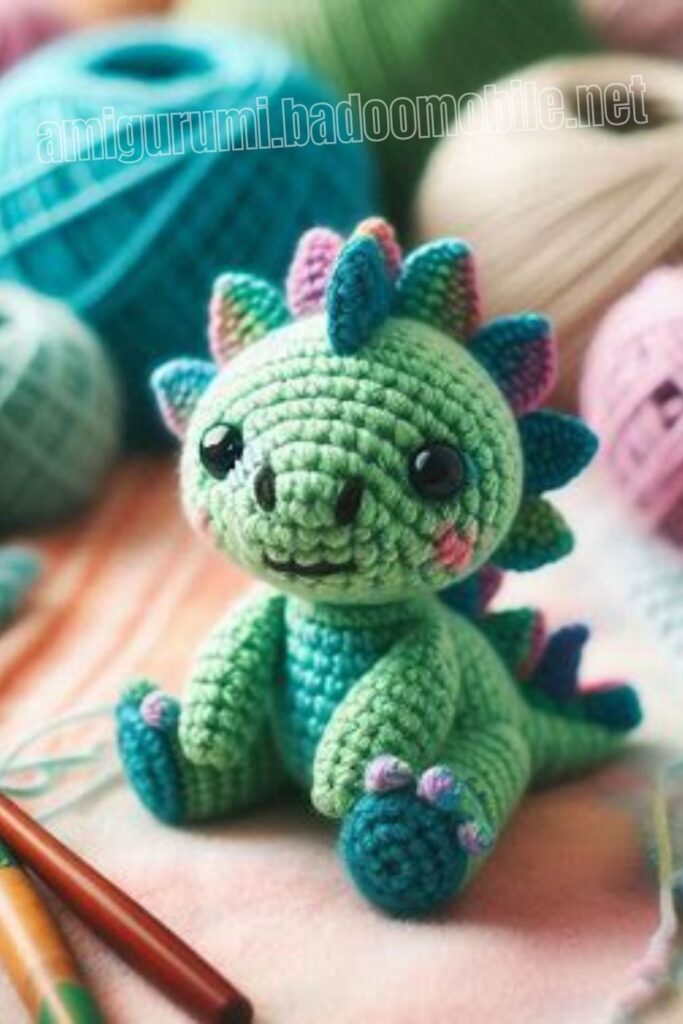
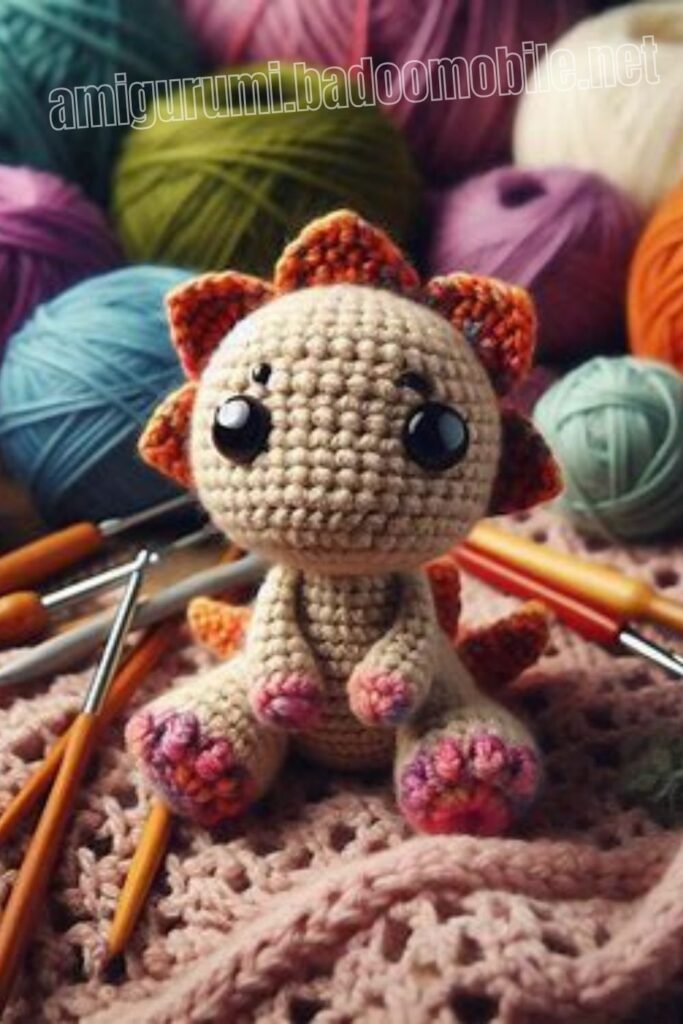
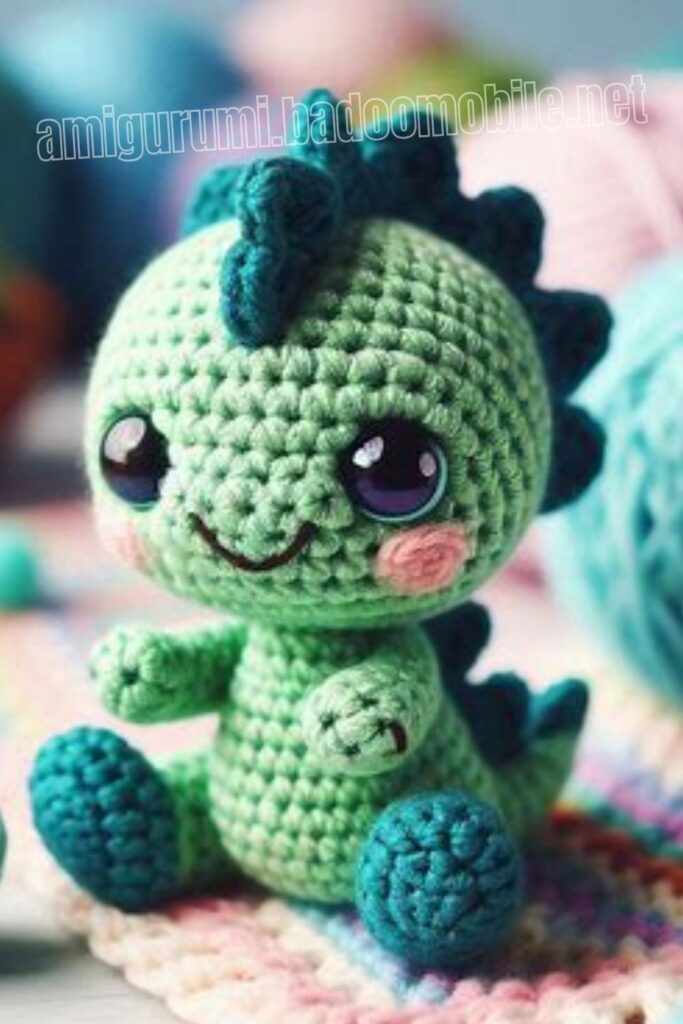
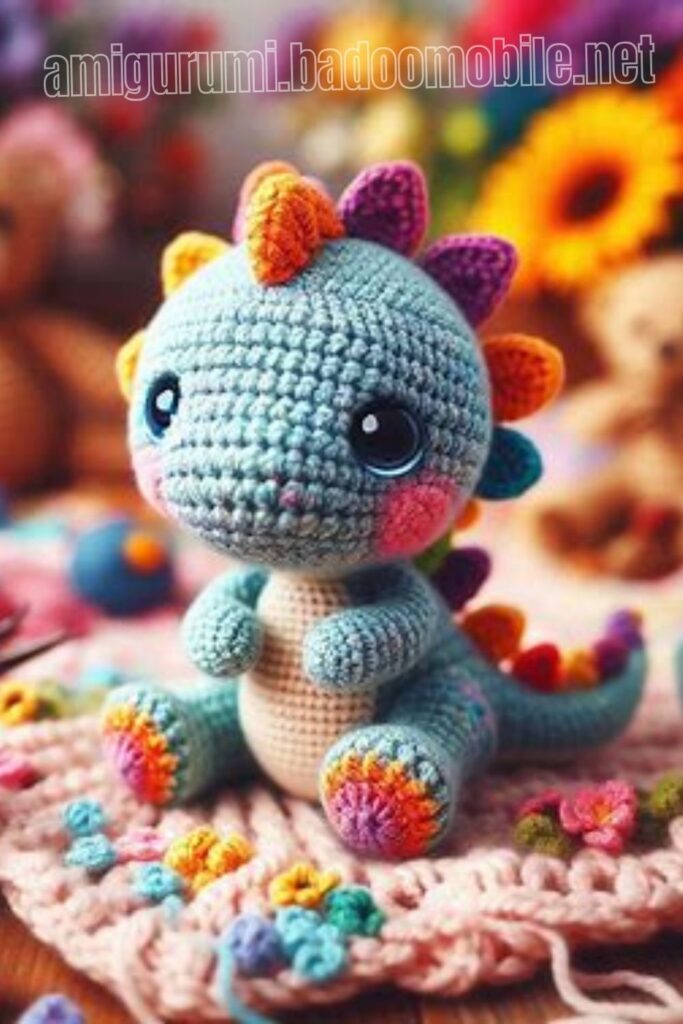
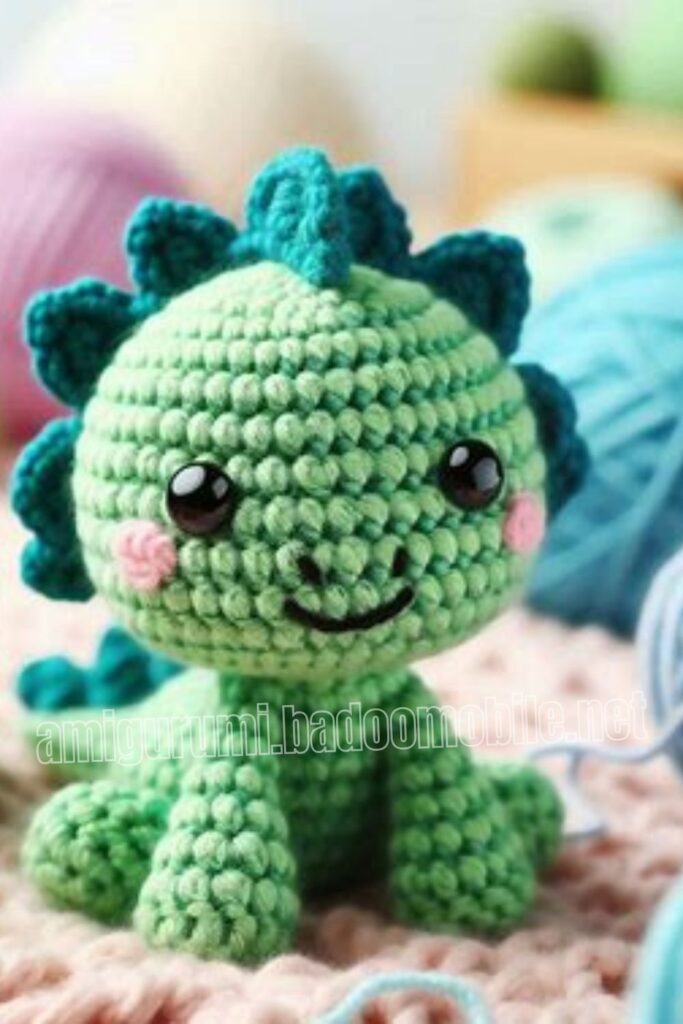
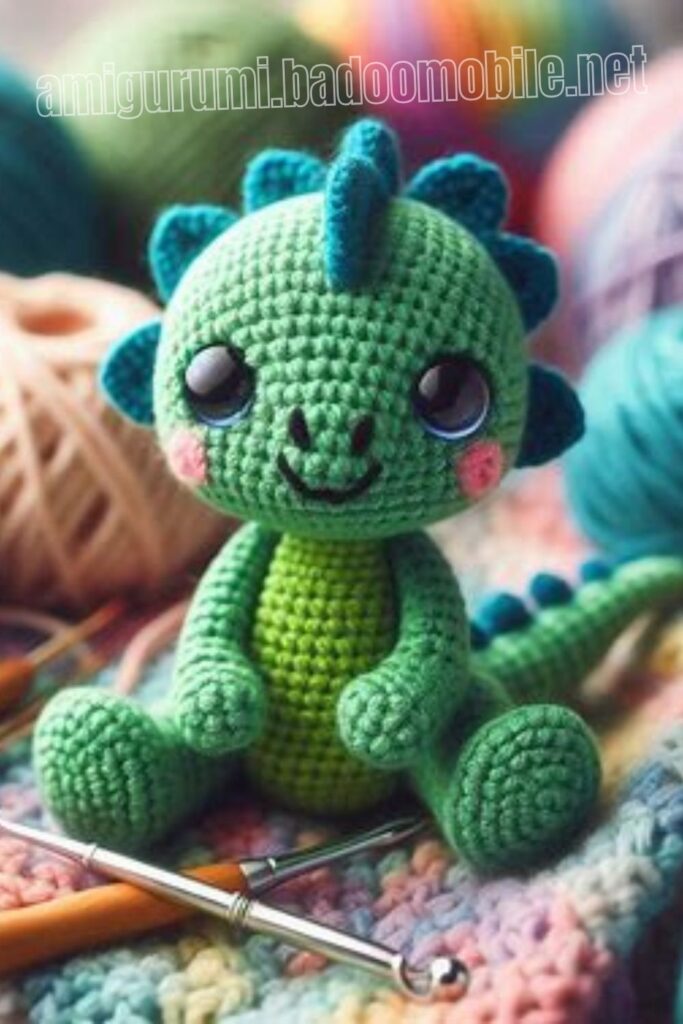
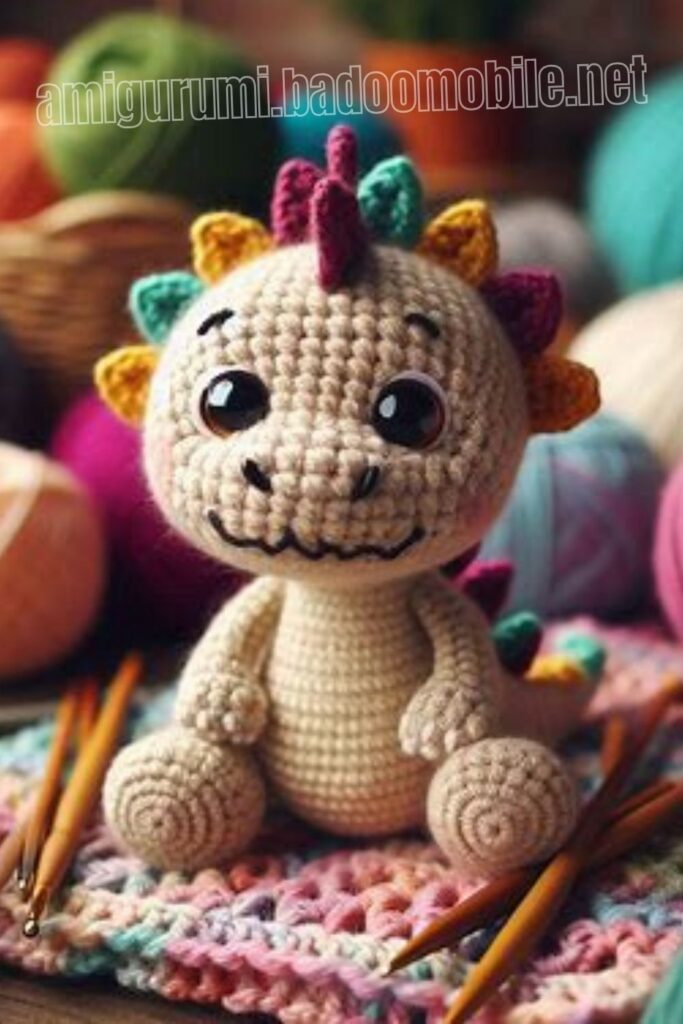
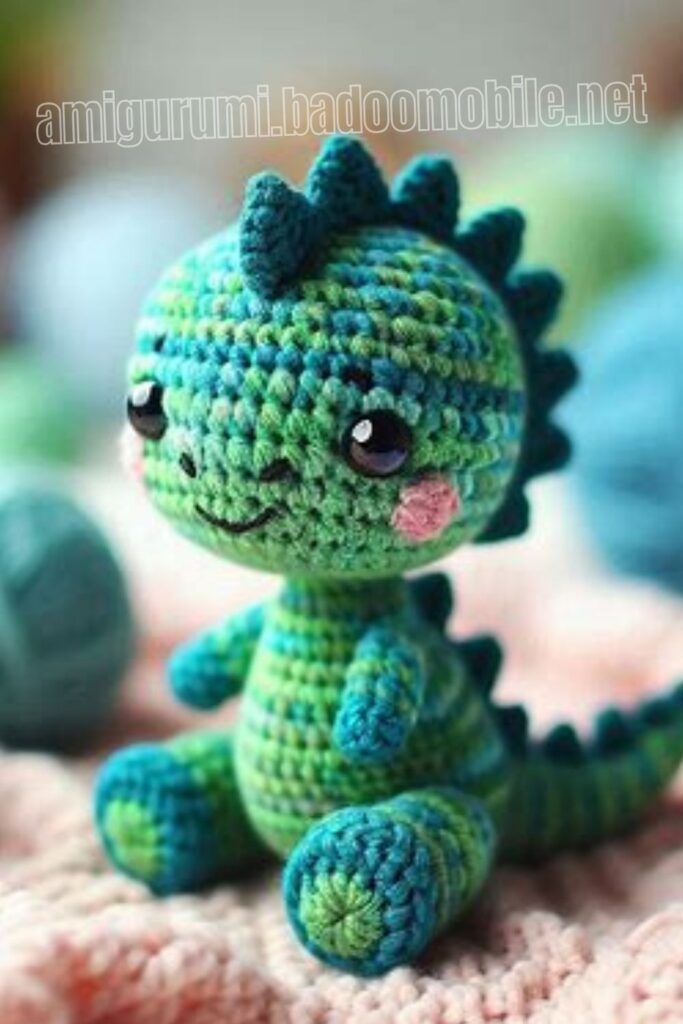
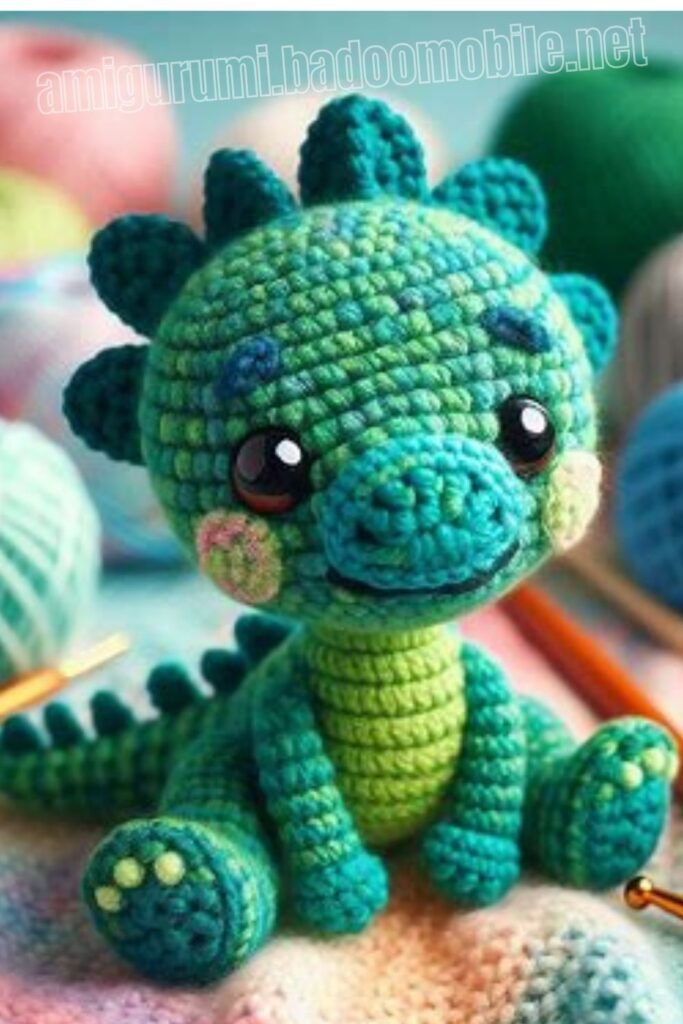
Todays daily new amigurumi free crochet pattern is Amigurumi Crochet Small Dinosaur.
I want to give you some informations about this amigurumi free pattern ; Crochet Small Dinosaur.
Materials You Need
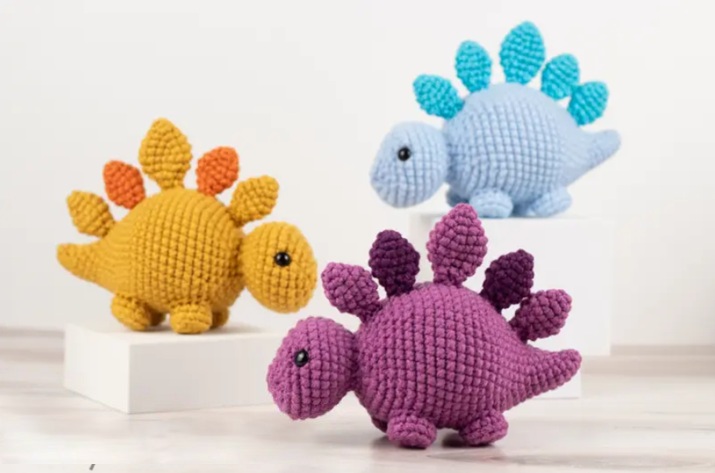
– Worsted-weight yarn (4 ply) in two complementary colors. (U.K. equivalent is Aran & AUS/NZ is 8 ply.) For my stegosaurus, I used Hobby Lobby’s I Love This Yarn in the colors “Hot Orchid” and “Mixed Berry”.
– G (4 mm) crochet hook
– 10 mm black safety eyes
– Fiberfill (or your stuffing of choice)
– Bent tip tapestry needle
– Scissors
– Stitch marker
– Straight pins
Abbreviation Key
Abbreviations are in U.S. terms.
– sc – single crochet
– st/sts – stitch(es)
– sl st – slip stitch
– dec – decrease (join the next 2 stitches together)
– inc – increase (2 single crochet in the next stitch)
– BLO – back loops only
– R1 – round 1
– rep – repeat
– ** – repeat the group of instructions between the asterisks the number of times indicated.
Amigurumi Crochet Small Dinosaur Free Pattern:
Body starting with the tail (using light purple yarn)
R1: ch 2, starting in the 2nd ch from hook, sc 4 (4 sts) (you can use the magic circle if you prefer as it won’t make a difference in the end. In that case you will make a magic circle and make 4 sc in the magic circle.
R2: inc, sc 2, inc (6 sts)
R3: inc, sc 4, inc (8 sts)
R4: inc, sc 6, inc (10 sts)
R5: inc, sc 8, inc (12 sts)
R6: inc, sc 10, inc (14 sts)
R7: inc, sc 12, inc (16 sts)
R8: inc, sc 14, inc (18 sts)
R9: sc 2, inc, sc 1, inc, sc 7, *inc, sc 2* rep 2 times (22 sts)
R10: sc, inc, sc 4, inc, sc 7, inc, sc 3, inc, sc 3 (26 sts)
R11: sc 3, inc, sc 4, inc, sc 9, inc, sc 5, inc, sc 1 (30 sts)
R12: sc, inc, sc 4, inc, sc 11, inc, sc 6, inc, sc 4 (34 sts)
R13: sc 4, inc, sc 6, inc, sc 13, inc, sc 6, inc, sc 1 (38 sts)
R14: sc 6, inc, sc 5, inc, sc 15, inc, sc 8, inc (42 sts)
R15: sc 6, inc, sc 6, inc, sc 17, inc, sc 9, inc (46 sts)
Making the Body
R16-23: sc in all 46 sts (8 rounds total at 46 sts each)
R24: sc 8, dec, sc 8, dec, sc 14, dec, sc 8, dec (42 sts)
R25: sc 7, dec, sc 7, dec, sc 13, dec, sc 7, dec (38 sts)
Stop and start to stuff the tail and body. Continue to add stuffing as you go (see last two images in pic. #2).
R26: *sc 6, dec* rep 2 times, sc 12, dec, sc 6, dec (34 sts)
R27: *sc 5, dec* rep 2 times, sc 12, dec, sc 4, dec (30 sts)
R28: *sc 3, dec* rep 6 times (24 sts)
R29: *sc 2, dec* rep 6 times (18 sts)
R30: *sc 1, dec* rep 6 times (12 sts)
Making the Head
R31: *sc 1, inc* rep 6 times (18 sts)
R32: *sc 2, inc* rep 6 times (24 sts)
R33: *sc 3, inc* rep 6 times (30 sts)
R34-37: sc in all 30 sts (4 rounds total at 30 sts each)
R38: *dec* rep 6 times, sc 18 (24 sts) (the 6 dec sts need to be centered at the top of the head. Depending on your personal tension, you may need to adjust where they are placed. That is, you may need to move them more to the left or right until they are centered correctly. Use the tail as a guide to know what the center is.)
R39: *sc 2, dec* rep 6 times (18 sts)
Stop and insert 10 mm safety eyes between R37 and R38 of the head, spaced 9 sts apart. (TIP: Insert the 1st eye. Count 8 sts from the hole where you inserted the 1st eye and insert the 2nd eye. There should be 7 visible sts between the two eyes.) Make sure that the tail is centered between the two eyes when you’re looking at him head-on before you secure the safety eyes. You may need to adjust the eye placement depending on your personal tension and where you placed the 6 dec sts from R38.
R40: *sc 1, dec* rep 6 times (12 sts)
R41: *dec* rep 6 times (6 sts)
Finish off and leave a tail. Finish stuffing the head firmly, then, using the tail we left and your tapestry needle, neatly sew the hole closed using the invisible finish technique.
Small plates (make 4 total. Make two in dark purple and two in light purple)
R1: ch 2, starting in the 2nd ch from hook, sc 4 (4 sts)
R2: *sc 1, inc* rep 2 times (6 sts)
R3: *sc 1, inc* rep 3 times (9 sts)
R4: *sc 2, inc* rep 3 times (12 sts)
R5: sc in all 12 sts (12 sts)
R6: *sc 2, dec* rep 3 times (9 sts)
R7: *sc 1, dec* rep 3 times (6 sts)
Finish off leaving a long tail for sewing.
Do not stuff. Instead, flatten each plate, and then sew the open end closed using the whipstitch to create a flat edge for sewing (see pic. #10). Set aside until we have made the large plate.
Large plate (make one using light purple yarn)
R1: ch 2, starting in the 2nd ch from hook, sc 4 (4 sts)
R2: *sc 1, inc* rep 2 times (6 sts)
R3: *sc 1, inc* rep 3 times (9 sts)
R4: *sc 2, inc* rep 3 times (12 sts)
R5: *sc 3, inc* rep 3 times (15 sts)
R6: sc in all 15 sts (15 sts)
R7: *sc 3, dec* rep 3 times (12 sts)
R8: *sc 2, dec* rep 3 times (9 sts)
R9: *sc 1, dec* rep 3 times (6 sts)
Finish off and leave a long tail for sewing. Do not stuff. Instead, flatten the plate, and sew the open end closed using the whipstitch to create a flat edge for sewing (see pic.).

Before sewing the legs on, place your stegosaurus on a flat surface to be sure he can stand on his own and that the legs are correctly positioned. Using your tapestry needle, sew the legs to the body using the whipstitch
When you are finished sewing each leg on, make a knot to secure the sewing and weave the remaining tail into the body to finish.
Congratulations !!!
More Amigurumi Dinosaur Ideas:
