Hello dear Amigurumi Followers
Today we share Amigurumi Casper The Snowman Free Pattern for you. As you know we share new free amigurumi pattern every day. The main crochets are gazelle, amigurumi bear, pola, crochet panda, penguin, giraffe, llama, pig, bunny, clown, lamb, bee, crochet unicorn, amigurumi doll, fox, penguin, dinosaur, crochet elephant, hippo, monkey, crochet cat, crochet dog and more …
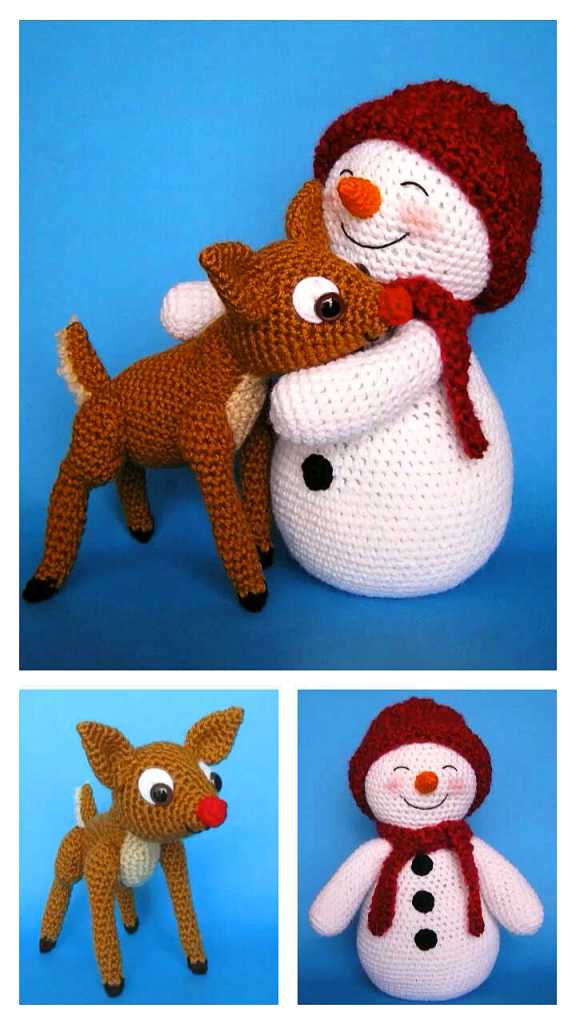
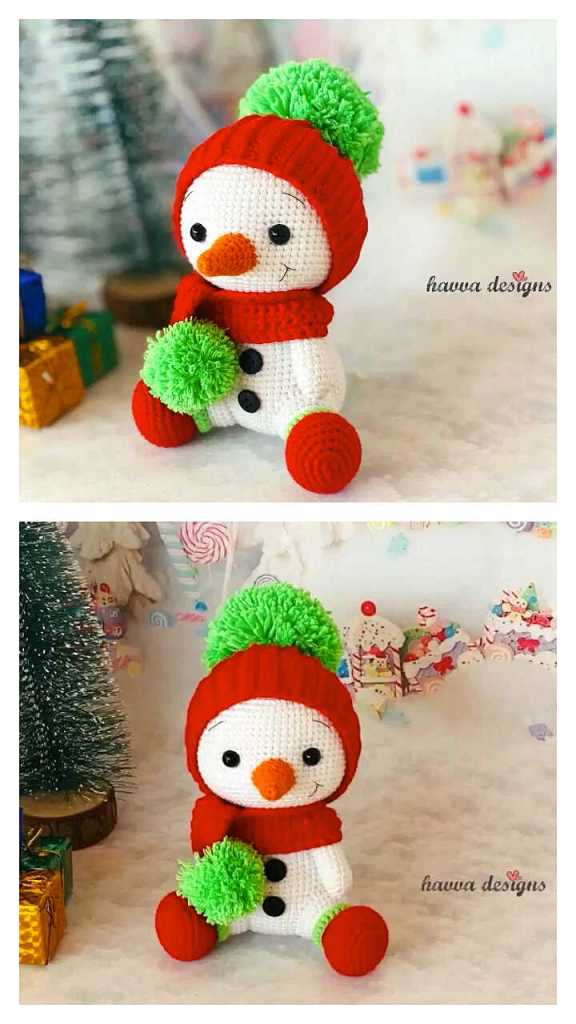
Todays daily new amigurumi free crochet pattern is Amigurumi Casper The Snowman.
I want to give you some informations about this amigurumi free pattern ; Casper The Snowman.
Notes:
– This pattern was made with Jo-Anns “Big Twist” yarn, but any worsted weight yarn will work!
– ****This pattern is worked in continuous rounds.
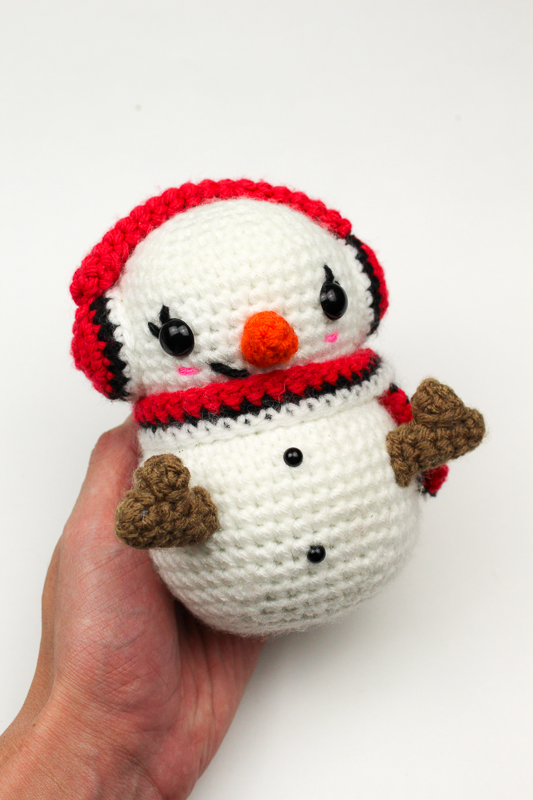
– He stands roughly 5.5 inches tall!
– Can be assembled in any order you see fit.
– In the materials, it calls for two 6mm safety eyes for the buttons on the body, but not absolutely necessary! Embroiderment or other alternatives will also do!
Terminology:
– Ch Chain
– St Stitch
– sc Single crochet
– Inc Increase, 2 sc in the same space
– Dec Decrease, single crochet 2 together
You will need:
– US 4 mm hook (any size will be okay, but this is what the picture is made in. Size of hooks determine the size!)
– Brown Yarn
– White Yarn
– Beige Yarn
– Dark brown or black yarn
– Red Yarn
– Pink Yarn
– Yarn needle for sewing
– Stitch marker
– Fiberfill for stuffing
– Two 12mm safety eyes
– Two 6 mm safety eyes (Not absolutely necessary, but that is what is used for this snowman! You can also embroider the buttons on)
Amigurumi Casper The Snowman Free Pattern
Head/Body:
(Begin in white)
Rnd 1: 6 Single crochet in Magic Ring (6)
Rnd 2: [Inc] x 6 (12)
Rnd 3: [Sc, Inc] around (18)
Rnd 4: [Sc 2, Inc] around (24)
Rnd 5: [Sc 3, Inc] around (30)
Rnd 6: [Sc 4, Inc] around (36)
Rnd 7: [Sc 5, Inc] around (42)
Rnd 8-14: Sc around (42) *Place eyes in row 11, 8 stitches apart*
(This is where the eyes are in the picture above; They can always be placed where you feel they will look best!)
Rnd 15: [Sc 5, Dec] around (36)
Rnd 16: [Sc 4, Dec] around (30)
Rnd 17: [Sc 3, Dec] around (24)
Rnd 18: [Inc] around in Front Loop only (48)
Rnd 19-26: Sc around (48)
Rnd 27: [Sc 6, Dec] around (42)
Rnd 28: [Sc 5, Dec] around (36)
*Begin stuffing head firmly*
*You can stuff the body now or wait till the end. Don’t stuff the body as firmly as the head. Let the body
be a little squishy so it can sit!**
Rnd 29: [Sc 4, Dec] around (30)
Rnd 30: [Sc 3, Dec] around (24)
Rnd 31: [Sc 2, Dec] around (18)
Rnd 32: [Sc, Dec] around (12)
Finish off and leave tail to close hole
Carrot Nose
(Begin in orange)
Rnd 1: Sc 3 into magic Ring (3)
Rnd 2: [Inc] around (6)
Rnd 3: Sc around (6)
Finish off and leave tail for sewing
Arms (Make 2)
(Begin in Brown)
Rnd 1: Sc 6 into magic Ring (6)
Rnd 2-7: Sc around (6)
Finish off and leave long enough tail to attach
Smaller part of arms (Make 2)
(Begin in brown)
Rnd 1: Sc 6 into magic Ring (6)
Rnd 2-3: Sc around (6)
Finish off and leave long enough tail to attach
Sew on the little arms to the bigger arms once completed!
Earmuffs (Make 2)
Begin in Red
Rnd 1: Sc 6 into magic Ring (6)
Rnd 2: [Inc] around (12)
Rnd 3: [Sc, Inc] around (18)
Rnd 4: Switch to black, Sc around (18)
Rnd 5: Switch to white, Sc around (18)
Finish off and leave tail for sewing
Earmuff band
(Begin in Red)
**Before beginning, I advise you to keep the tail that is left at the beginning, it’ll make it easier for you to sew onto the other side!*
Rnd 1: Sc 6 into magic Ring (6)
Rnd 2-18: Sc around (6)
Finish off and leave tail for sewing
Assembly of the Earmuffs: Attach both the muff parts of this piece to each side of the head. After they are sewn on, attach the band to both sides!
Scarf (Begin in Red)
Chain 65
Rnd 1: Sc into second chain from hook, sc across (64)
Rnd 2: Switch to black, Ch 1 turn. Sc into first stitch, sc across (64)
Rnd 3: Switch to white, Ch 1, turn. Sc into first stitch and sc across
Finish off
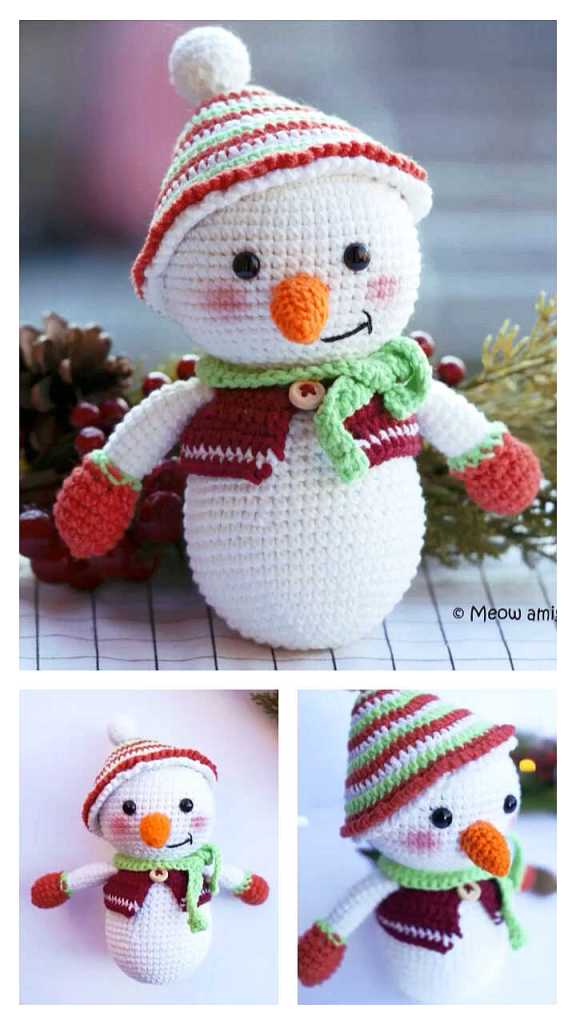
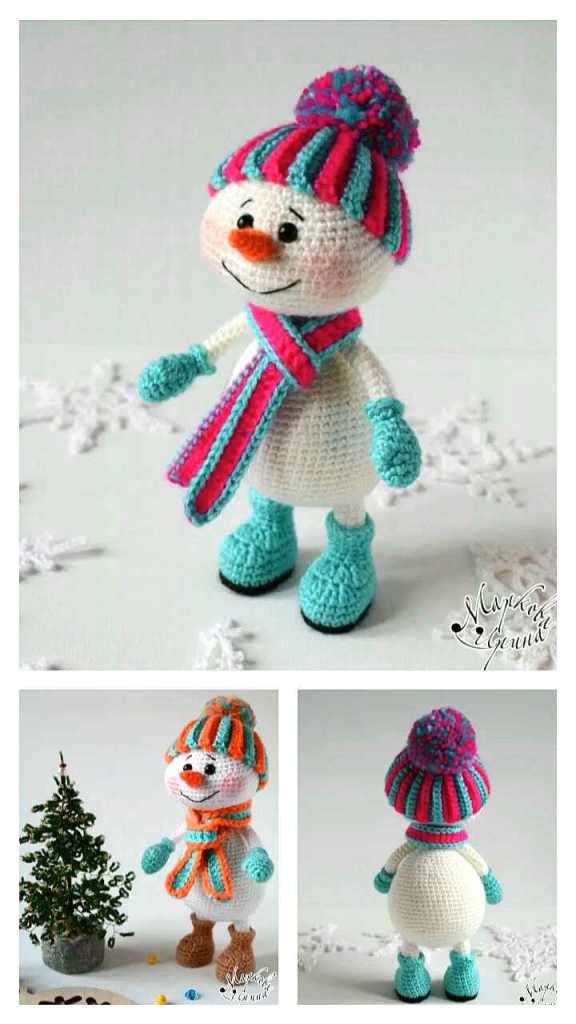
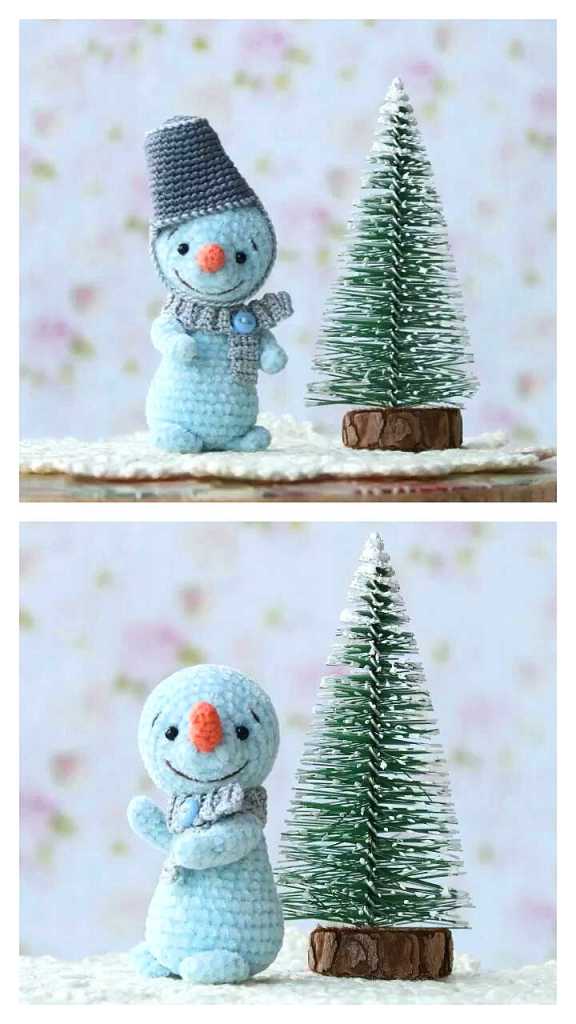
More Amigurumi Snowman Ideas:
