Hello dear Amigurumi Followers
Today we share Amigurumi Baby Duck Free Pattern for you. As you know we share new free amigurumi pattern every day. The main crochets are gazelle, amigurumi bear, pola, crochet panda, penguin, giraffe, llama, pig, bunny, clown, lamb, bee, crochet unicorn, amigurumi doll, fox, penguin, dinosaur, crochet elephant, hippo, monkey, crochet cat, crochet dog and more …
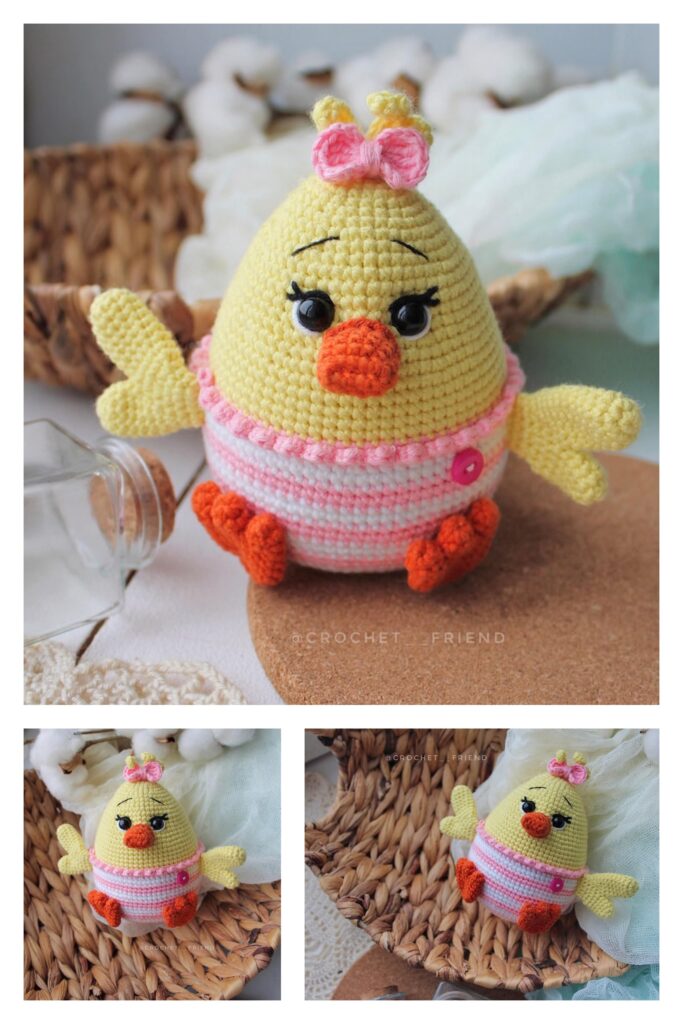
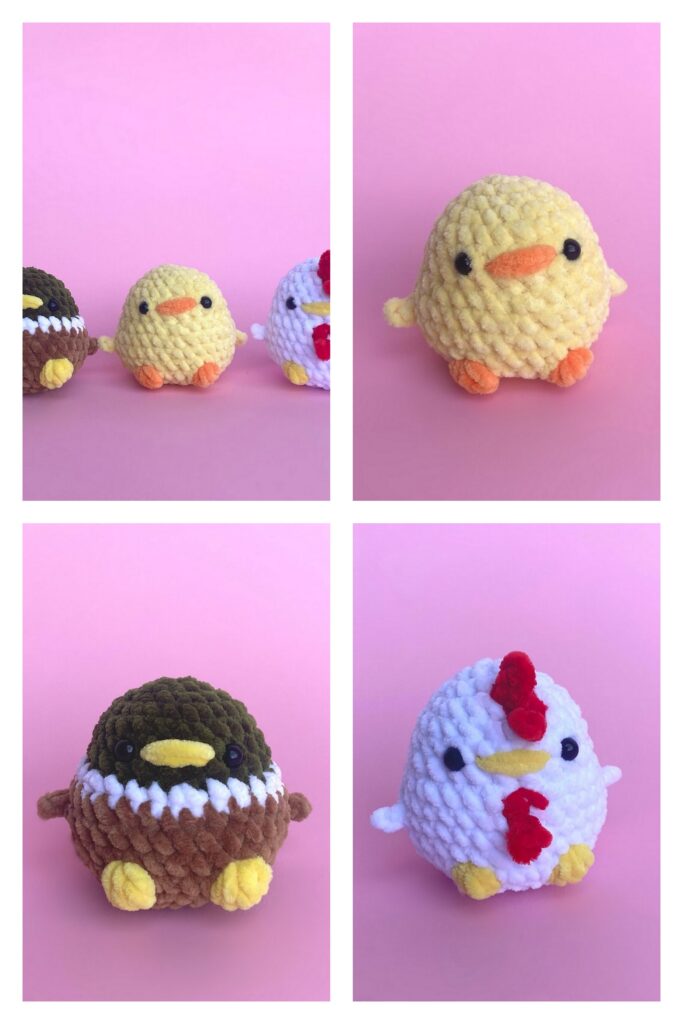
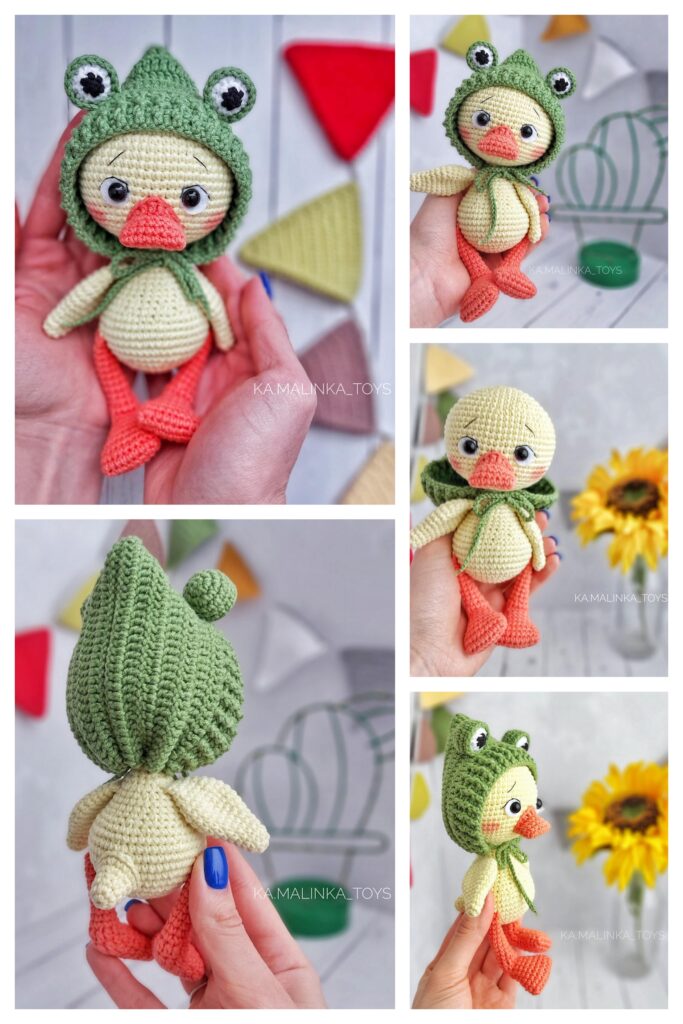
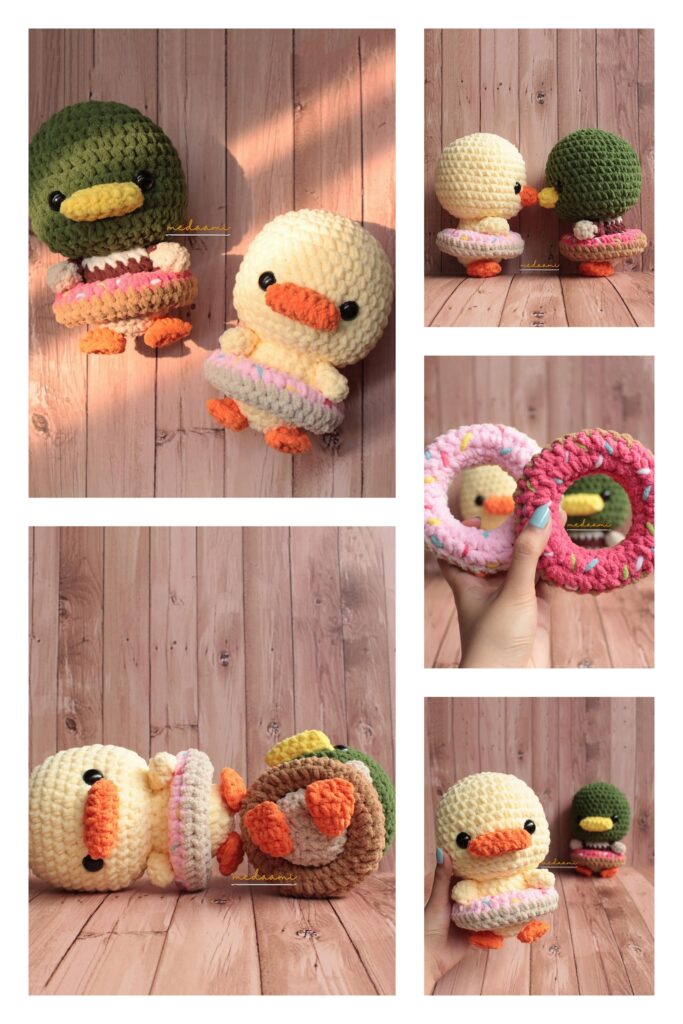
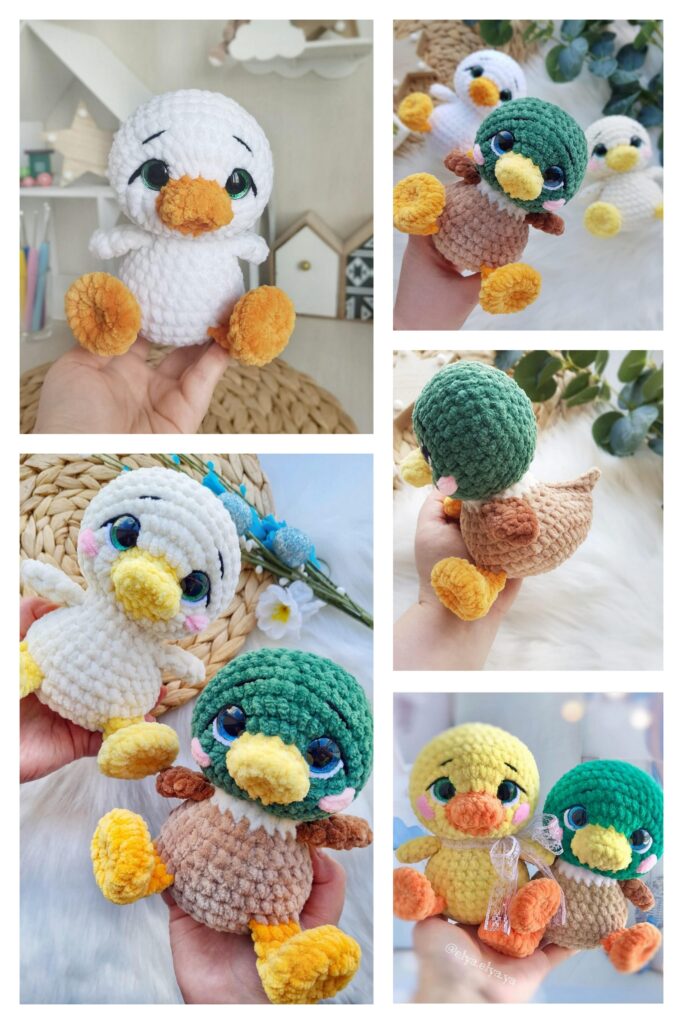
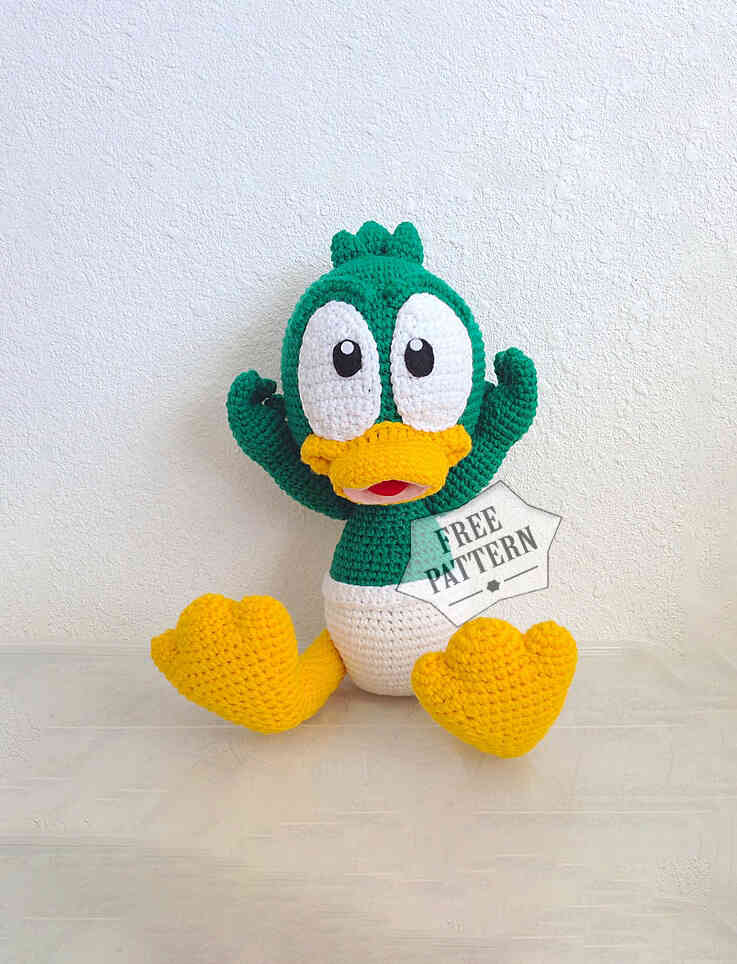
Todays daily new amigurumi free crochet pattern is Amigurumi Baby Duck.
I want to give you some informations about this amigurumi free pattern ; Baby Duck.
Materials:
• Hook: 3.75mm
• Yarn: Red Heart Super Saver –white, yellow, green
• White, black, pink and red felt
• Tapestry needle
• White, black, pink and red threads and a needle
• Filler
• Yellow buttons (match the color of the legs) and a different color (no matter what, they inside)
• Finger wire
Abbreviations:
• sc = single crochet
• inc = increase
• Mr = magic ring
• dec = decrease
• hdc = half double crochet
• dc = double crochet
• ch = chain
Amigurumi Baby Duck Free Pattern:
Head
Rd 1: 6sc into magic ring – (6 sc)
Rd 2: 6inc – (12 sc)
Rd 3: (sc, inc) * to the end of the row – (18 sc)
Rd 4: [2sc, inc] * to the end of the row – (24 sc)
Rd 5: [3sc, inc] * to the end of the row – (30 sc)
Rd 6: [2sc, inc, 2sc] * to the end of the row – (36 sc)
Rd 7: 36sc – (36 sc)
Rd 8: [inc, 5sc] * to the end of the row – (42 sc)
Rd 9: [3sc, inc, 3sc] * to the end of the row – (48 sc)
Rd 10: [7sc, inc] * to the end of the row – (54 sc)
Rd 11: 54sc – (54 sc)
Rd 12: [4sc), inc, 4sc] * to the end of the row – (60 sc)
Rd 13: [inc, 9sc] * to the end of the row – (66 sc)
Rd 14-23: 66sc – (66 sc)
Rd 24: [dec, 9sc] * to the end of the row – (60 sc)
Rd 25: [4sc, dec, 4sc] * to the end of the row – (54 sc)
Rd 26: 54sc – (54 sc)
Rd 27: [7sc, dec] * to the end of the row – (48 sc)
Rd 28: [3sc, dec, 3sc] * to the end of the row – (42 sc)
Rd 29: [5sc, dec] * to the end of the row – (36 sc)
Rd 30: 36sc – (36 sc)
Rd 31: [2sc, dec, 2sc] * to the end of the row – (30 sc)
Rd 32: [3sc, dec] * to the end of the row – (24 sc)
Finish, leave the thread.
Hair
Medium hair:
Rd 1: 3sc into magic ring – (3 sc)
Rd 2: 3inc – (6 sc)
Rd 3: [inc, 2sc] * to the end of the row – (8 sc)
Rd 4: 8sc – (8 sc)
Rd 5: [inc, 3sc] * to the end of the row – (10 sc)
Rd 6: [inc, 4sc] * to the end of the row – (12 sc)
Finish, leave the thread.
Left hair:
Rd 1: 3sc into magic ring – (3 sc)
Rd 2: 3inc – (6 sc)
Rd 3: 6sc – (6 sc)
Rd 4: [inc, 2sc] * to the end of the row – (8 sc)
Finish, leave the thread.
Right hair:
Rd 1: 3sc into magic ring – (3 sc)
Rd 2: 6inc – (6 sc)
Rd 3: 6sc – (6 sc)
Rd 4: [inc, 2sc] * to the end of the row – (8 sc)
Rd 5: 8sc – (8 sc)
Finish, leave the thread.
Body White
Rd 1: 6sc into magic ring – (6 sc)
Rd 2: 6inc – (12 sc)
Rd 3: (sc, inc) * to the end of the row – (18 sc)
Rd 4: [2sc, 2inc] * to the end of the row – (24 sc)
Rd 5: [3sc, inc] * to the end of the row – (30 sc)
Rd 6: [2sc, inc, 2sc] * to the end of the row – (36 sc)
Rd 7: [inc, 5sc] * to the end of the row – (42 sc)
Rd 8: 42sc – (42 sc)
Rd 9: [3sc, inc, 3sc] * to the end of the row – (48 sc)
Rd 10: 48sc – (48 sc)
Rd 11: [7sc, inc] * to the end of the row – (54 sc)
Rd 12-16: 54sc – (54 sc)
Rd 17: [dec, 7sc] * to the end of the row – (48 sc)
Rd 18: 48sc – (48 sc)
Rd 19: [3sc, dec, 3sc] * to the end of the row – (42 sc)
Rd 20: change the thread to green, for front half loops: 42sc– (42 sc)
Rd 21: [dec, 5sc] * to the end of the row – (36 sc)
Rd 22-24: 36sc – (36 sc)
Rd 25: [sc, dec] * 4 times, 4sc, inc, sc, inc, sc, inc, 4sc, dec, sc, dec, sc, dec, sc, dec – (31 sc)
Rd 26: 31sc – (31 sc)
Rd 27: sc, dec, sc, dec, sc, dec, 14sc, dec, sc, dec, sc, dec – (25 sc)
Rd 28-29: 25sc – (25 sc)
Rd 30: 6hdc, 13sc, 5hdc, sc – (25 sc)
Rd 31: 6hdc, 19sc – (25 sc)
Finish, leave the thread.
Top Edge Of The Nappy:
Rd 1: 52 fhdc – (52 sc)
The following shows how to knit fhdc. For clarity, 2 colors were used.
1. We collect 2 air loops
2. We make a crochet, insert the hook into the 2nd loop from the hook.
3. Grab and pull the thread. There are 3 loops on the hook.
4. Grab the thread, pull through 1 loop. There are 3 loops on the hook.
5. Grab the thread, stretch through 3 loops. One dhdc is ready.
6. We crochet and insert the hook into the loop made in step 4
7. Grab and pull the thread. There are 3 loops on the hook.
8. Grab the thread, pull through 1 loop. There are 3 loops on the hook.
9. Grab the thread, stretch through 3 loops. The second dhdc is ready.
Etc.
Finish, leave the thread.
Hands (x2) Green
Fingers (x3):
Rd 1: 5sc into magic ring
Rd 2-5: 5sc – (5 sc)
On 2 fingers we break the thread. On the 3rd we do not break off, we continue to knit.
Hands:
Rd 1: 3sc on the 2nd finger, 5sc on the 1st finger, 3sc on the 2nd finger, 5sc on the 3rd finger – (15 sc)
Rd 2: 15sc – (15 sc)
Rd 3: [inc, 4sc] * to the end of the row – (18 sc)
Rd 4-6: 18sc – (18 sc)
Rd 7: [dec, 4sc] * to the end of the row – (15 sc)
Rd 8: [sc, dec, 2sc] * to the end of the row – (12 sc)
Rd 9: 12sc
*** If you want moving fingers, take the wire and bend it, as in the picture.
Insert into fingers and palm. Stuff your fingers and palm. Do not oversubscribe. I do not advise
insert wire if the toy is for children. ***
Rd 10: [inc, 3sc] * to the end of the row – (15 sc)
Rd 11-17: 15sc – (15 sc)
Rd 18: [dec, 3sc] * to the end of the row – (12 sc)
Rd 19-20: 12sc – (12 sc)
Finish, leave the thread.
Thumb:
Rd 1: 6sc into magic ring – (6 sc)
Rd 2-3: 6sc – (6 sc)
Finish, sew to hand.
Foot
Middle finger:
Rd 1: 8sc into magic ring – (8 sc)
Rd 2: 8inc – (16 sc)
Rd 3-4: 16sc – (16 sc)
To finish
Side fingers (x2):
Rd 1: 5sc into magic ring – (5 sc)
Rd 2: 5inc – (10 sc)
Rd 3: 10sc – (10 sc)
Break the thread on the first finger. On the 2nd we do not break off, we continue to knit.
Foot:
Rd 1: 8sc on the middle finger, 10sc on the 1st side finger, 8sc on the side finger, 10sc
2nd side – (36 sc)
Rd 2-3: 36sc – (36 sc)
Rd 4: [dec, 7sc] * to the end of the row – (32 sc)
Rd 5: 32sc – (32 sc)
Rd 6: [dec, 6sc] * to the end of the row – (28 sc)
Rd 7: [2sc, dec, 3sc] * to the end of the row – (24 sc)
Rd 8: [dec, 4sc] * to the end of the row – (20 sc)
Rd 9: 20sc – (20 sc)
Rd 10: [2sc, dec, sc] * to the end of the row – (16 sc)
Rd 11: 16sc – (16 sc)
Rd 11: [dec, 2sc] * to the end of the row – (12 sc)
Rd 12: 12sc – (12 sc)
Rd 13: 6dec – (6 sc)
Finish, fill. Sew holes between your fingers.
Legs (x2)
Rd 1: 5sc into magic ring – (5 sc)
Rd 2: 5inc – (10 sc)
Rd 3: [inc, 4sc] * to the end of the row – (12 sc)
Rd 4-14: 12sc – (12 sc)
Rd 15: [inc, 3sc] * to the end of the row – (15 sc)
Rd 16-18: 15sc – (15 sc)
Finish, leave the thread. To fill. The bottom is more dense.
Mouth
Bottom part:
Rd 1: 12ch, with the 2nd loop from the hook: 10sc, 3sc in the 1st loop, 9sc, inc – (24 sc)
Rd 2: [10sc, 2inc] * to the end of the row – (28 sc)
Rd 3: 28sc – (28 sc)
Rd 4: [10sc, 2dec] * to the end of the row – (24 sc)
Finish, leave the thread.
Top part:
Rd 1: 10ch, from the 2nd loop from the hook, 8sc, 3sc to the 1st loop, 7sc, inc – (20 sc)
Rd 2: [8sc, 2inc] * to the end of the row – (24 sc)
Rd 3: [9sc, 2inc, 10sc, 2inc, sc] – (28 sc)
Rd 4-5: 28sc – (28 sc)
Rd 6: 9sc, 2dec, 10sc, 2dec, sc – (24 sc)
Rd 7: 14sc, hdc, 4dc, hdc, 4sc – (24 sc)
Finish, leave the thread.
Mouth side:
Rd 1: (Right side) Insert the hook into the 22nd loop in the last row of the upper part, inc in
22nd and 23rd loops – (4 sc)
Rd 2-9: ch, turn, 4sc – (4 sc)
Rd 10: ch, turn, 2dec – (2 sc)
Finish, leave the thread
Rd 1: (Left side) Insert the hook into the 12th loop in the last row of the upper part, pr
in the 12th and 13th loops (4 sc)
Rd 2-9: ch, turn, 4sc – (4 sc)
Rd 10: ch, turn, 2dec – (2 sc)
Finish, leave the thread.
*** Cut off the pink felt for the inside of the mouth and sew on. Cut out red felt tongue, sew, leaving a hole, twist, stuff a little, sew a hole, sew in center of mouth
Eyes (x2)
Eyeballs:
White, 6ch
Rd 1: from the 2nd loop from the hook: sc, hdc, dc, hdc, sc – (5 sc)
Rd 2: ch, turn, inc, 3sc, inc – (7 sc)
Rd 3-9: ch, turn, 7sc – (7 sc)
Rd 10: ch, turn, dec, 3sc, dec – (5 sc)
Rd 11: ch, turn, 5sc – (5 sc)
Rd 12: ch, rotate, dec, sc, dec – (3 sc)
Rd 13: ch, turn, dec, sc – (2 sc)
ch, sc in a circle
F / O and leave tail to sew onto face
Pupil:
cut an oval from black felt (0.75 ”wide and 1” long) for the pupil. You can do
round. cut a small circle from white felt for highlight.
*** Attach to the head (10 rows down from the crown) ***
Eyebrows (x2):
Green, 9pc chain
1: from the 2nd loop from the hook, 4sc, inc, inc, 4sc – (21 sc)
2: sc to each loop – (14 sc)
3: 4sc, dec, dec, 3sc – (8 sc)
Finish leave thread
Assembly
1. Connect the body and head. Make sure the back is curved and the toy is full tight enough so that the head does not swing.
2. Sew on the legs using the button fastening. Attach a thread of color feet a button to the outer side of the right leg, bring the ends of the thread through the body to the outer side of the left foot. Attach the button, return to the right leg. Repeat 2 times.
Withdraw the thread somewhere behind, tie a knot, hide the thread inside the body.
4. Attach the hands in the same way, only the buttons inside. When sewing step back a row from the junction of the head and body, for free movement of the hands. Sew up holes in the hands
5. Attach the thumb. Cut the wire, bend the end. Bent end insert into your finger, the other into your palm. Sew a finger.
6. Attach the mouth. The upper part of the middle of the mouth is 21 rows from the crown. Side – on the 23rd row. The lower part is on the 3rd row from the junction of the head and body.
7. Attach the eyes and eyebrows. Top of eyes – 10 row from the crown. Eyebrows: Outside – 14th row, inner – 11 row.
8. Attach the hair in the middle of the crown.
9. Sew on the top of the diaper. Make sure it covers 1 white and 1 green row.
More Amigurumi Duck Ideas:
