Hello dear Amigurumi Followers
Today we share Amigurumi Mimi the Pumpkin Lady Doll Free Pattern for you. As you know we share new free amigurumi pattern every day. The main crochets are gazelle, amigurumi bear, pola, crochet panda, penguin, giraffe, llama, pig, bunny, clown, lamb, bee, crochet unicorn, amigurumi doll, fox, penguin, dinosaur, crochet elephant, hippo, monkey, crochet cat, crochet dog and more …
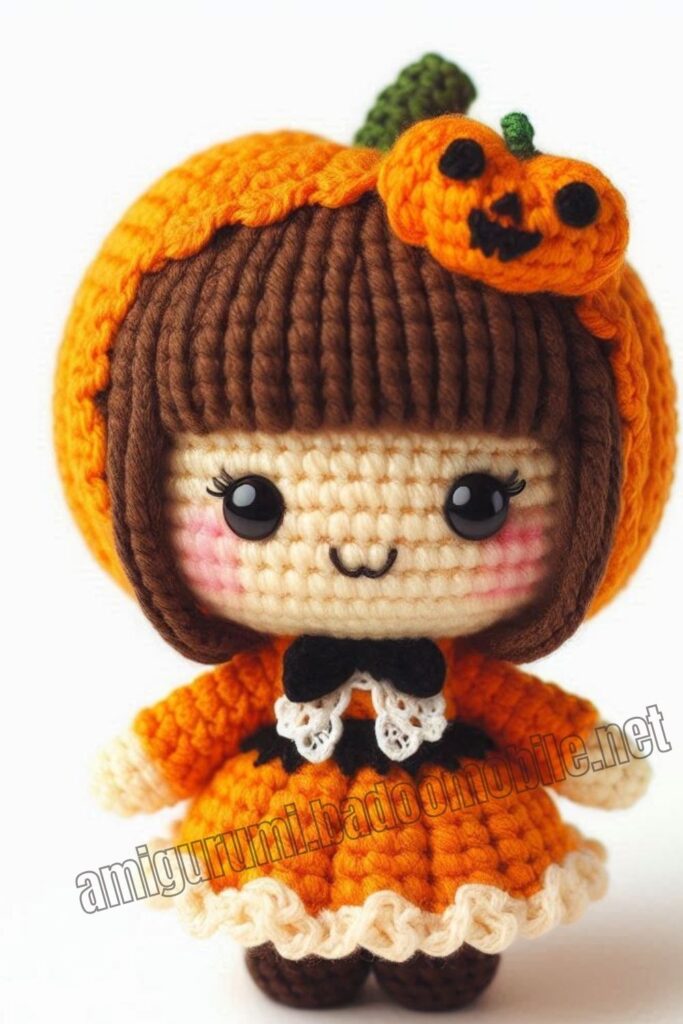
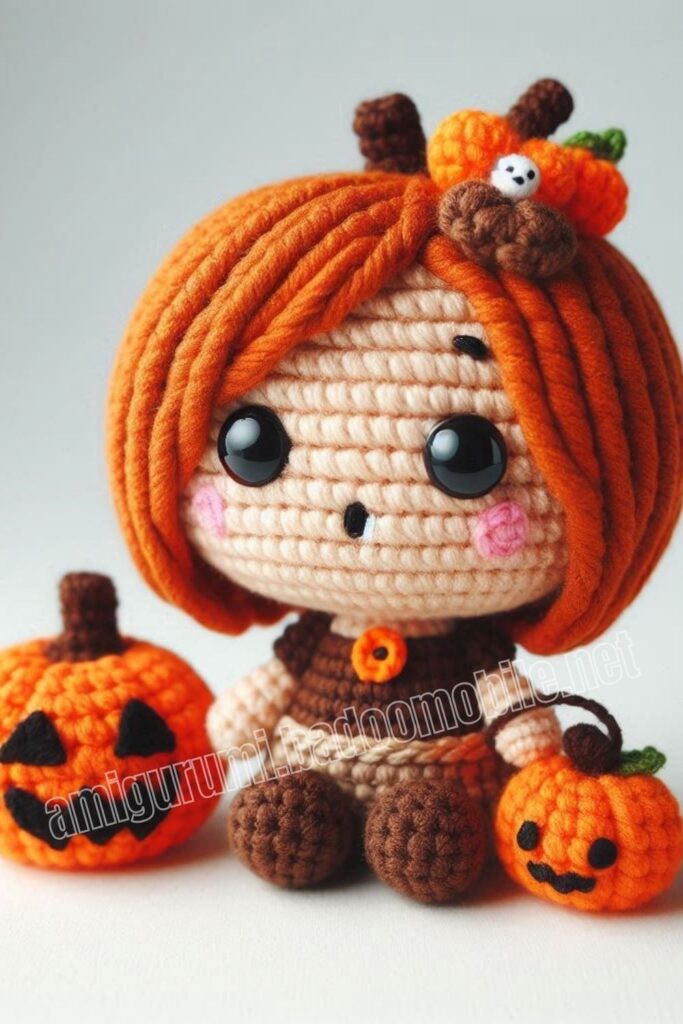
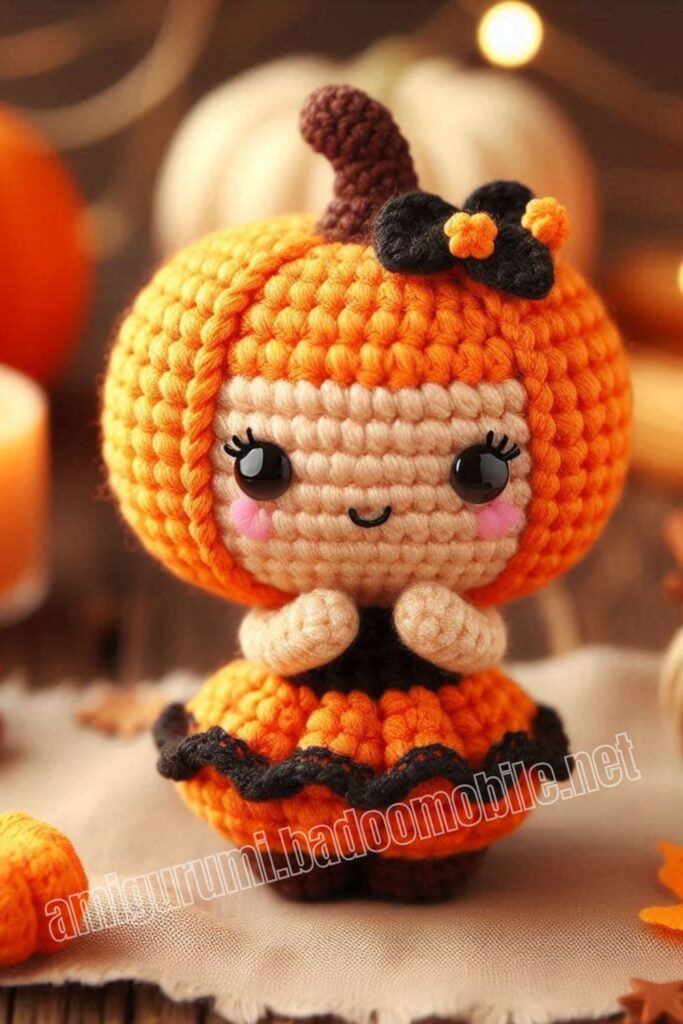
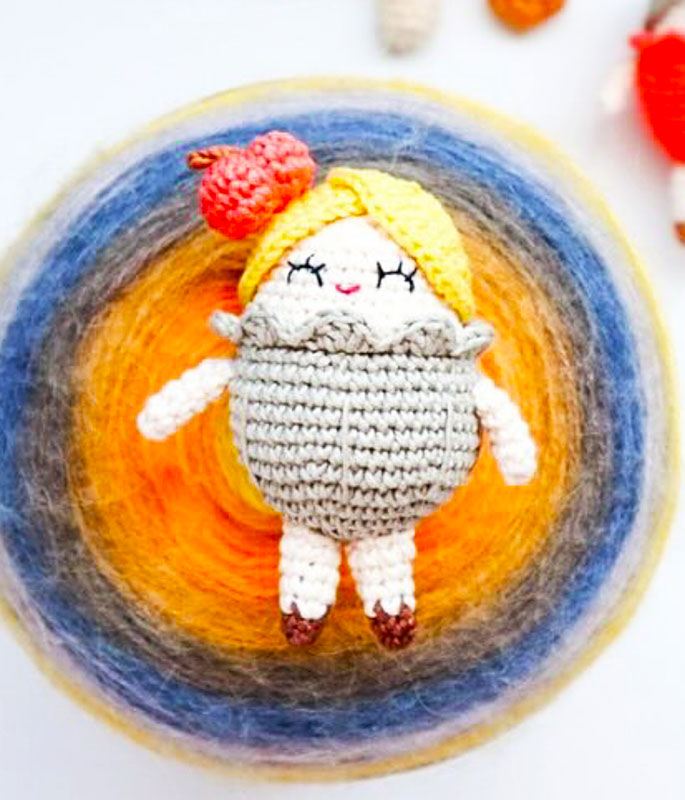
Todays daily new amigurumi free crochet pattern is Amigurumi Mimi the Pumpkin Lady Doll.
I want to give you some informations about this amigurumi free pattern ; Mimi the Pumpkin Lady Doll.
Materials
Yarn: 100% cotton or any sportweight yarn. I used 100% cotton Armonia yarn (by Omega yarns, a Mexican brand) in 6 colours.
black and red embroidery thread to embroider the eyes and mouth
crochet hook size 1.75 mm (or hook appropriate for the yarn you use)
yarn needle, sewing needle, scissors
stitch markers, sewing pins
fiberfill/toy stuffing
Optional: make up blush (for the cheeks)
Abbreviations
Rnd(s) – round(s)
Size
MR magic ring
ch – chain
st(s) – stitch(es)
sl st – slip stitch
sc – single crochet
dc – double crochet
inc – increase
dec – decrease
FLO – front loop only
BLO back loop only
[…] repeat pattern x times
(…) number of stitches in the round/row
Size: 10 cm tall
Level of difficulty: advanced beginner
Amigurumi Mimi the Pumpkin Lady Doll Free Pattern:
BODY
Start in grey (or the colour of your choice).
Rnd 1: 6 sc in MR (6)
Rnd 2: 6 inc (12)
Rnd 3: [1 sc, 1 inc] x 6 (18)
Rnd 4: [2 sc, 1 inc] x 6 (24)
Rnd 5: [3 sc, 1 inc) x 6 (30)
Rnd 6: [4 sc, 1 inc] x 6 (36)
Rnd 7: [5 sc, 1 inc] x 6 (42)
Rnd 8-12 (5 rnds): 42 sc (42)
Rnd 13: [5 sc, 1 dec] x 6 (36)
Rnd 14: work in FLO [1 sc, 3 dc in the same st, 1 sc, 1 slst] x 9 (54) – pictures 1 – 2.
Fasten off the grey yarn, secure and weave in the tail.

Rnd 15: Attach the skin colour yarn to one of the back loops of Rnd 13 (preferably at the middle-back) and work 36 sc (36)
Rnd 16: [4 sc, 1 dec] x 6 (30)
Rnd 17-21 (5 rnds): 30 sc (30)
Rnd 22: [3 sc, 1 dec] x 6 (24) Stuff the body.
Rnd 23: [2 sc, 1 dec] x 6 (18)
Rnd 24: [1 sc, 1 dec] x 6 (12) Finish stuffing.
Rnd 25: 6 dec (6)
Fasten off, leaving a long tail. Using a tapestry needle, weave in the yarn tail through the front loop of each of the 6 remaining sts and pull it tight to close the gap. Weave in the yarn end.
Now let’s make the body-pumpkin lines on the body. First, place 6 pins at the bottom of the body between rounds 4 and 5 (you should place a total of 6 pins with 5 sts in between them). Then place other 6 pins on the upper part of the body between rounds 10 and 11 with 6 – 7 sts in between them. Once you are happy with the placement of the pins, cut a long length of grey yarn and embroider the lines (picture 6).

HAIR
Use yellow yarn (or the colour of your choice).
The hair is made up of 2 identical pieces that will be sewn on top of the head.
Rnd 1: 6 sc in MR (6)
Rnd 2: 6 inc (12)
Rnd 3: [1 sc, 1 inc] x 6 (18)
Rnd 4: [1 sc, 1 inc, 1 sc] x 6 (24)
Rnd 5: [3 sc, 1 inc] x 6 (30)
Rnd 6: [2 sc, 1 inc, 2 sc] x 6 (36)
Fasten off invisibly and leave a long tail for sewing.
Make a 2nd similar piece.
Using only 3 strands of black embroidery thread, embroider the eyes between rounds 18 and 19. Each eye should be 2 sts wide and 1 st high with 3 eyelashes. Leave a 3-stitch space between the eyes. Embroider a 1 stitch wide V – shaped mouth (use only 3 strands of red embroidery thread). See pictures 4 – 5.

ARMS (X2)
Use skin yarn. Do not stuff them.
Rnd 1: 5 sc in MR (5)
Rnd 2-5 (4 rnds): 5 sc (5) Finish with a slst and leave a long tail for sewing.
LEGS (X2)
Start in dark brown (shoes).
Rnd 1:4 sc in MR (4)
Rnd 2:4 sc (4) Change to skin yarn.
Rnd 3: 1 inc, 3 sc (5)
Rnd 4: 5 sc (5)
Rnd 5: 1 inc, 4 sc (6)
Rnd 6: 2 sc, 1 inc, 3 sc (7) Finish with a slst. Stuff it lightly.
Fasten off, leaving a long tail for sewing.
Pumpkin
Use orange yarn (or the colour of your choice).
Rnd 1:8 sc in a MR (8)
Rnd 2: 8 inc (16)
Rnd 3 – 6 (4 rnds): 16 sc (16)
Rnd 7: 8 dec (8). Stuff the little pumpkin.
Cut off the yarn making sure you leave a long tail for shaping your little pumpkin. Thread up your needle, run it through the front loops of the 8 remaining sts and pull tight to close the hole. Take the needle through the hole and come up through the other hole at the bottom. Next, bring your needle up at the top and pull it through tight. The 1st shaped section of your pumpkin is done! Repeat this 4 more times to get 5 sections in total (picture 9).

Stem
Use brown yarn (or the colour of your choice).
Ch 3, make a slst in each of the 3rd loop (the back hump) of the chain. Fasten off, leave a tail and sew it onto the top of the pumpkin (picture 10).

Assembly
1. Place the 2 hair pieces on top of the head and sew them (picture 7). 2. Place the arms to the sides of the body over rounds 11 – 12 and sew them.
3. Place each leg to the bottom of the body over rounds 1 – 3 and sew them (picture 8).
4. Place the tiny pumpkin to one side of the head and sew it (picture 11).
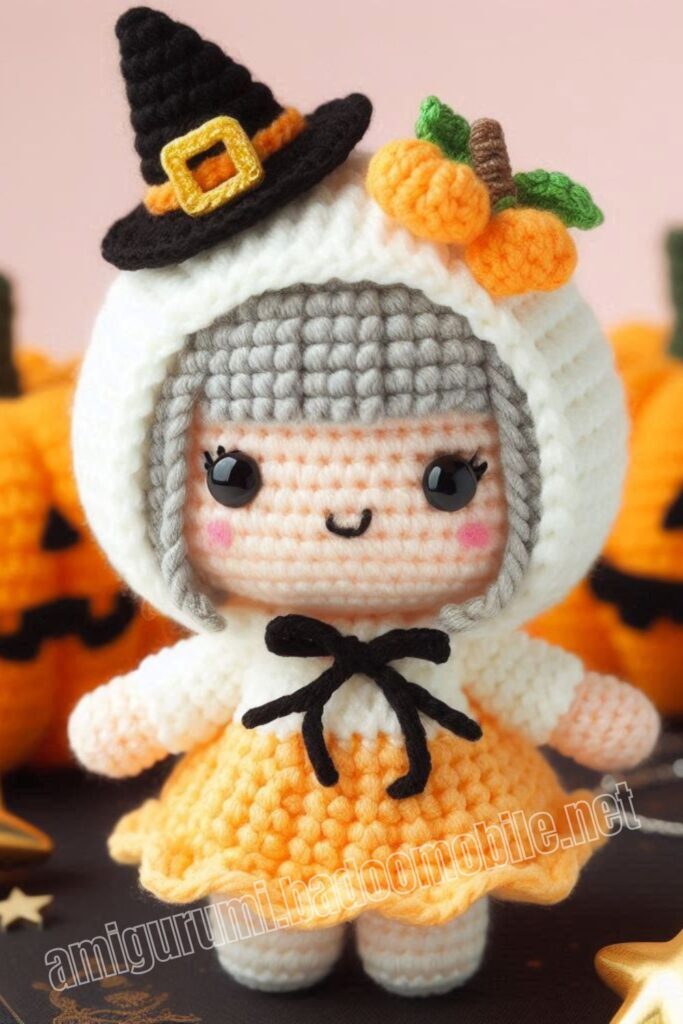
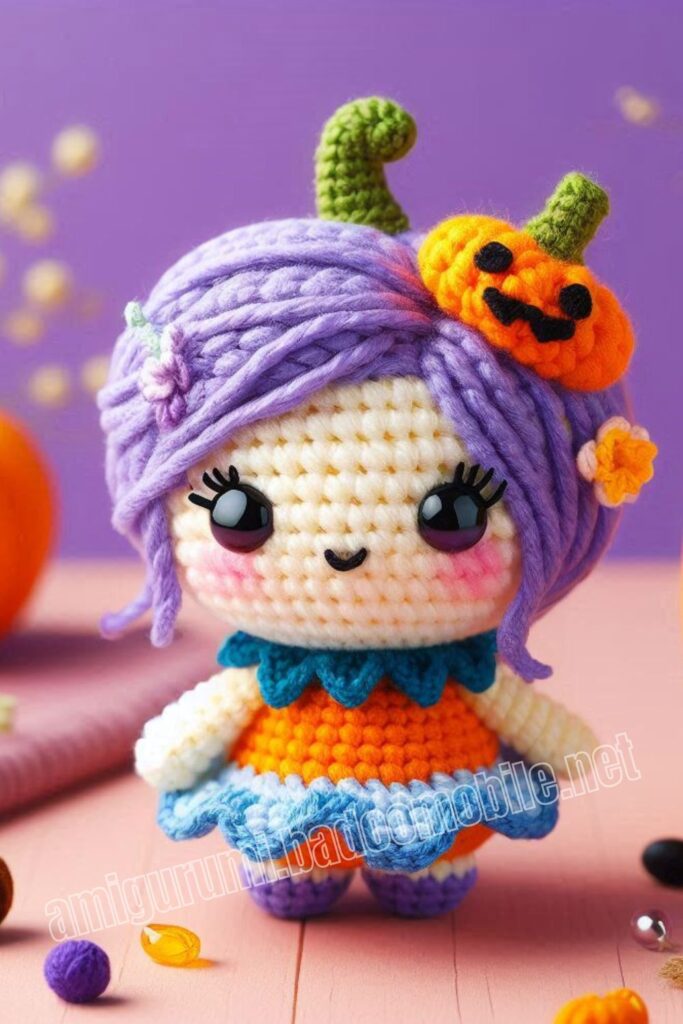
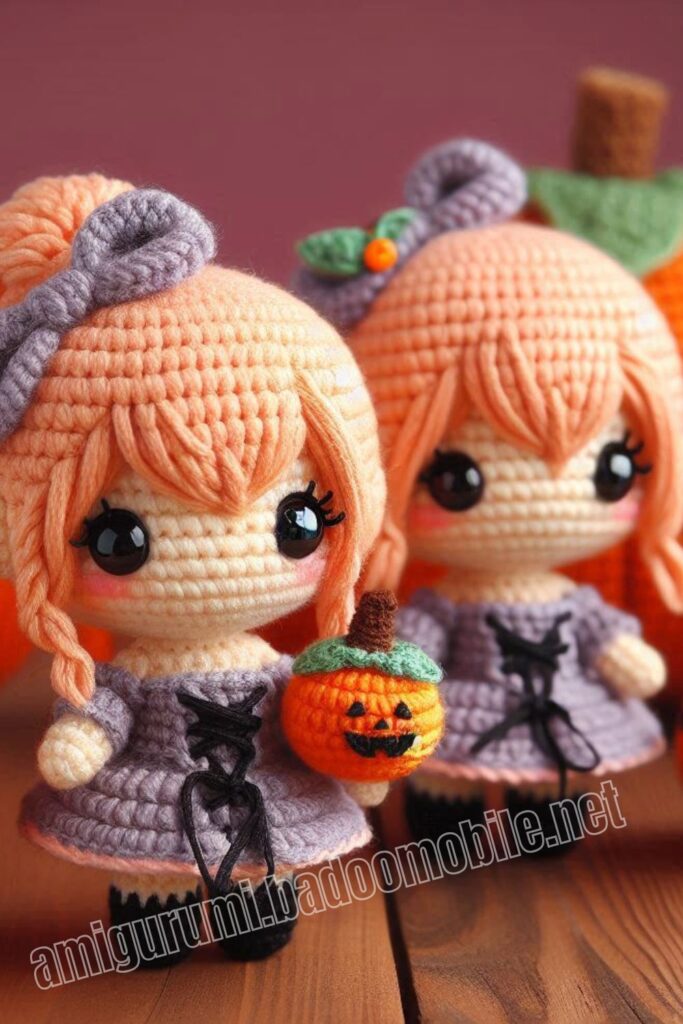
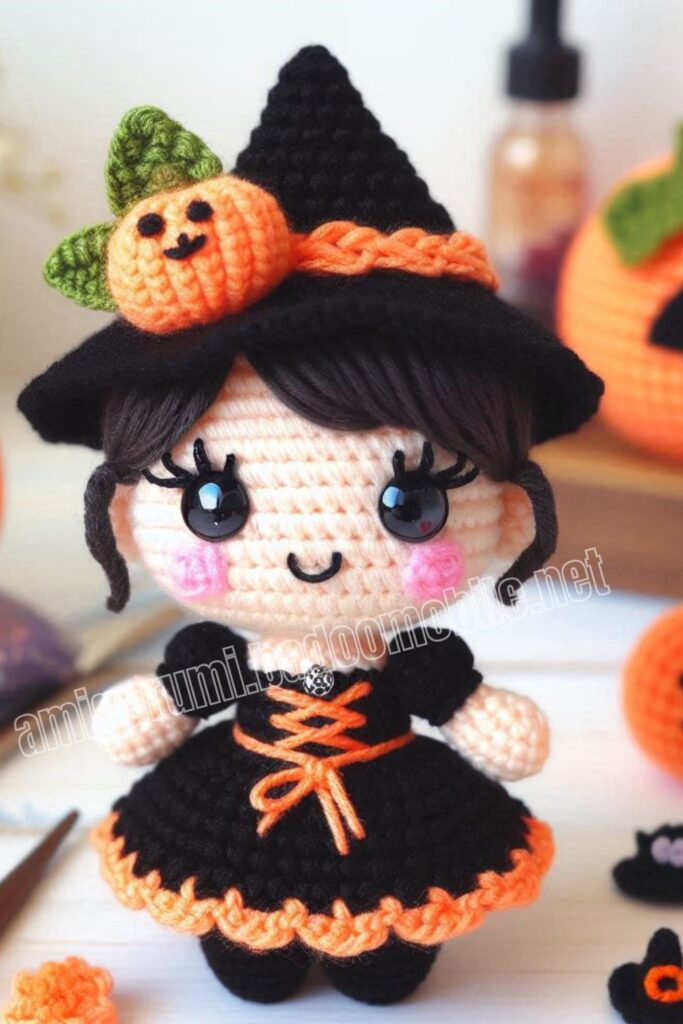
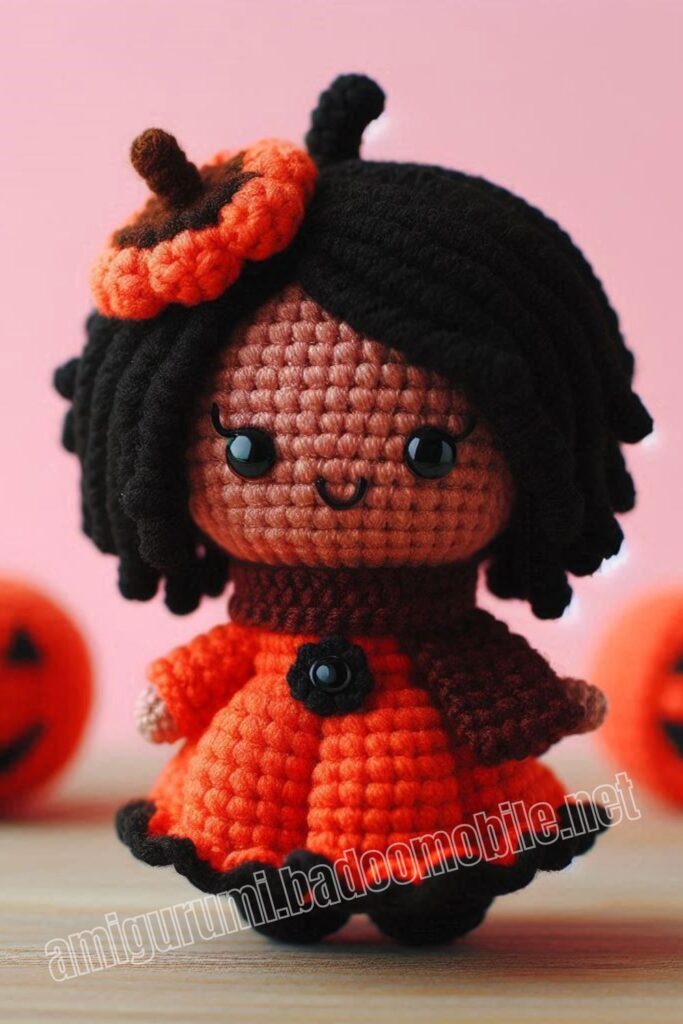
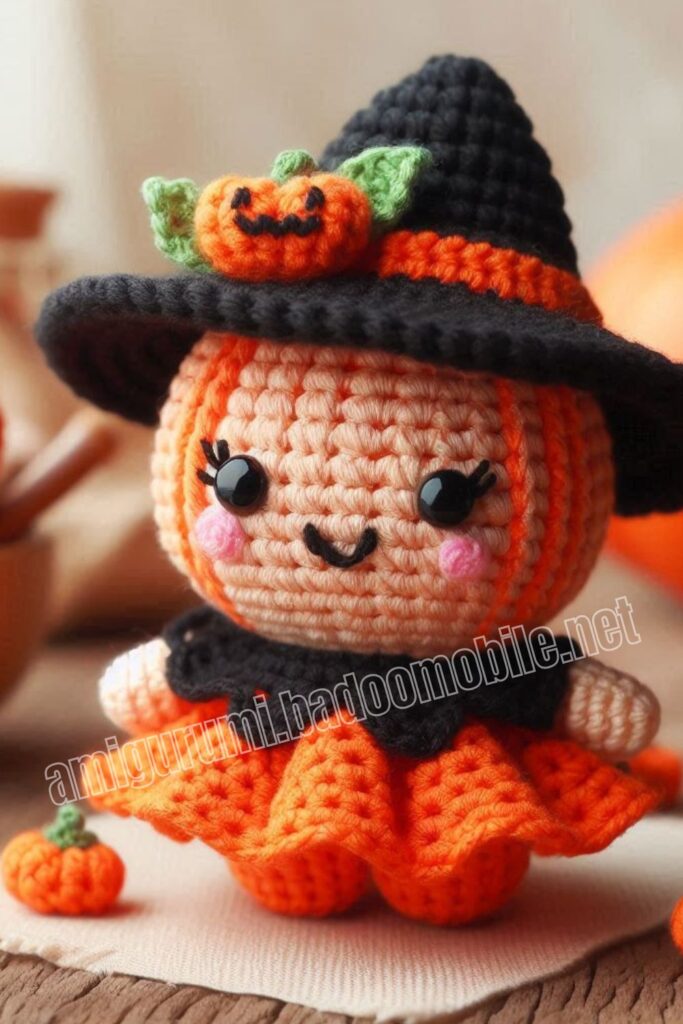
More Amigurumi Halloween Pumpkin Doll Ideas:
