Hello dear Amigurumi Followers
Today we share Amigurumi Cute Little Horse Free Pattern for you. As you know we share new free amigurumi pattern every day. The main crochets are gazelle, amigurumi bear, pola, crochet panda, penguin, giraffe, llama, pig, bunny, clown, lamb, bee, crochet unicorn, amigurumi doll, fox, penguin, dinosaur, crochet elephant, hippo, monkey, crochet cat, crochet dog and more …
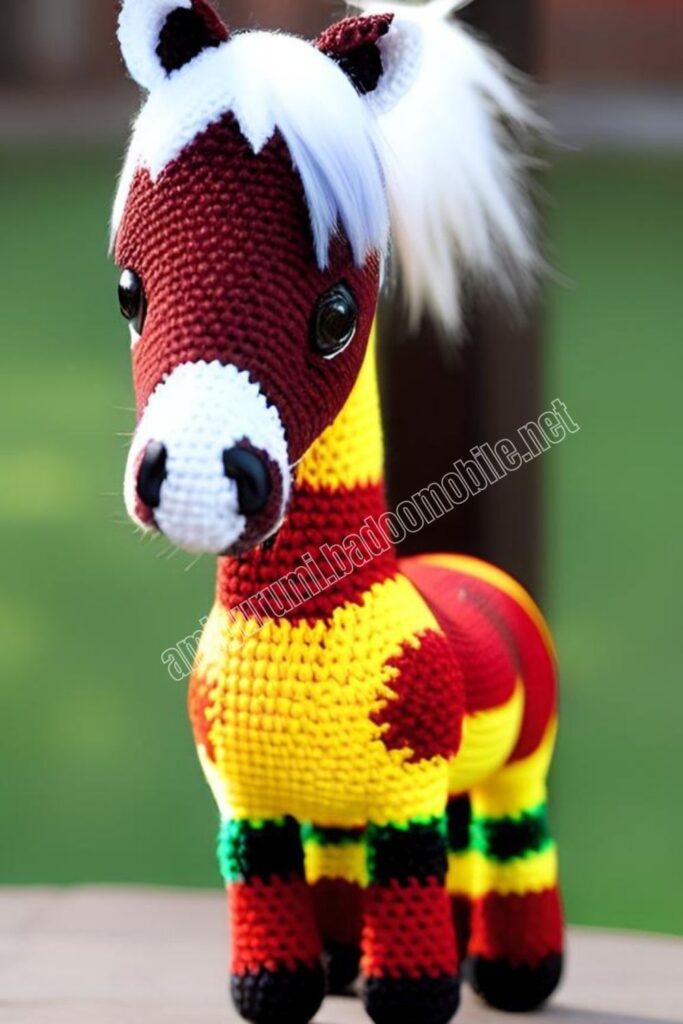
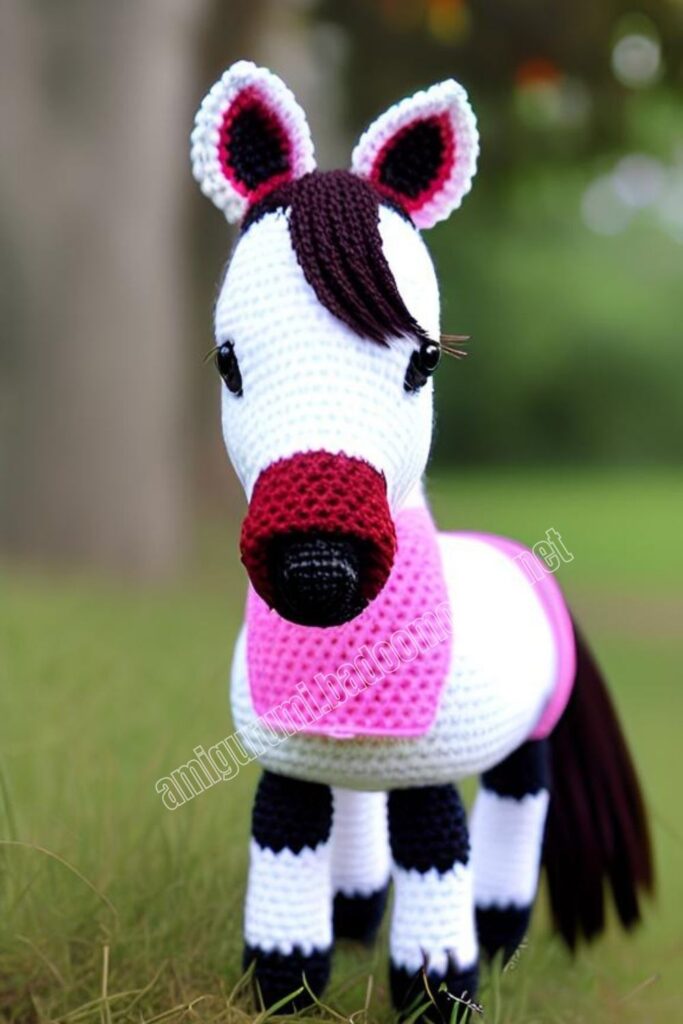
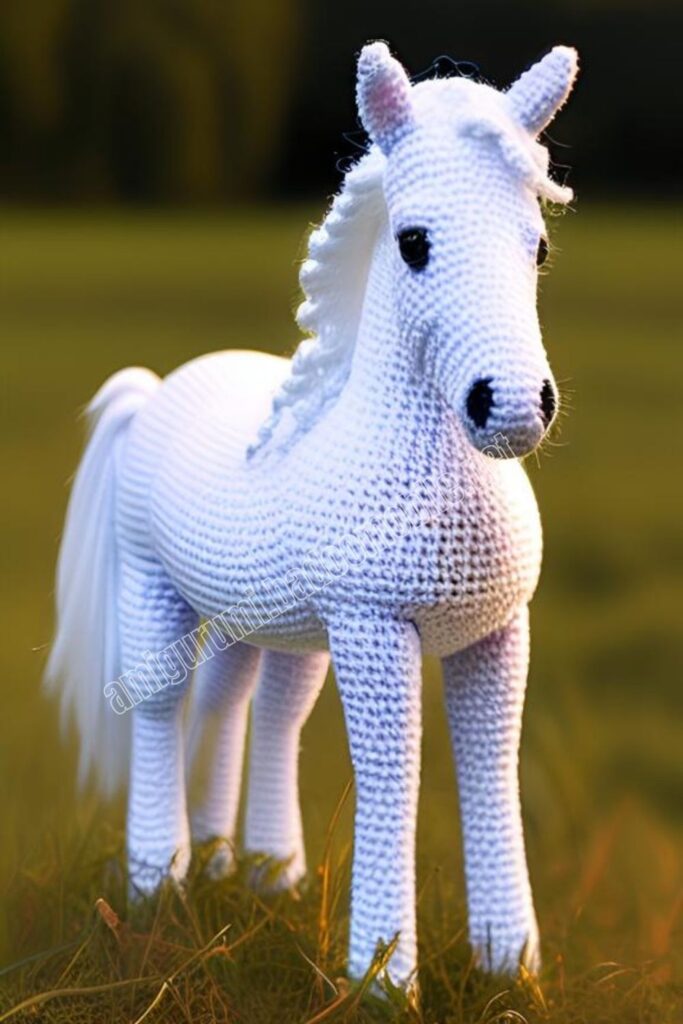
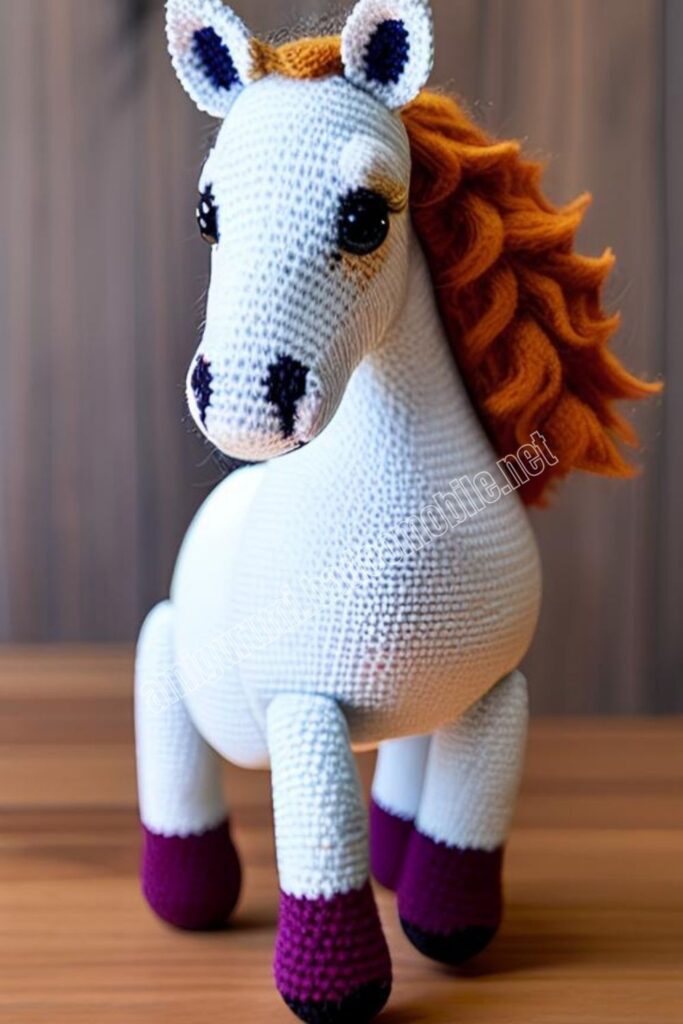
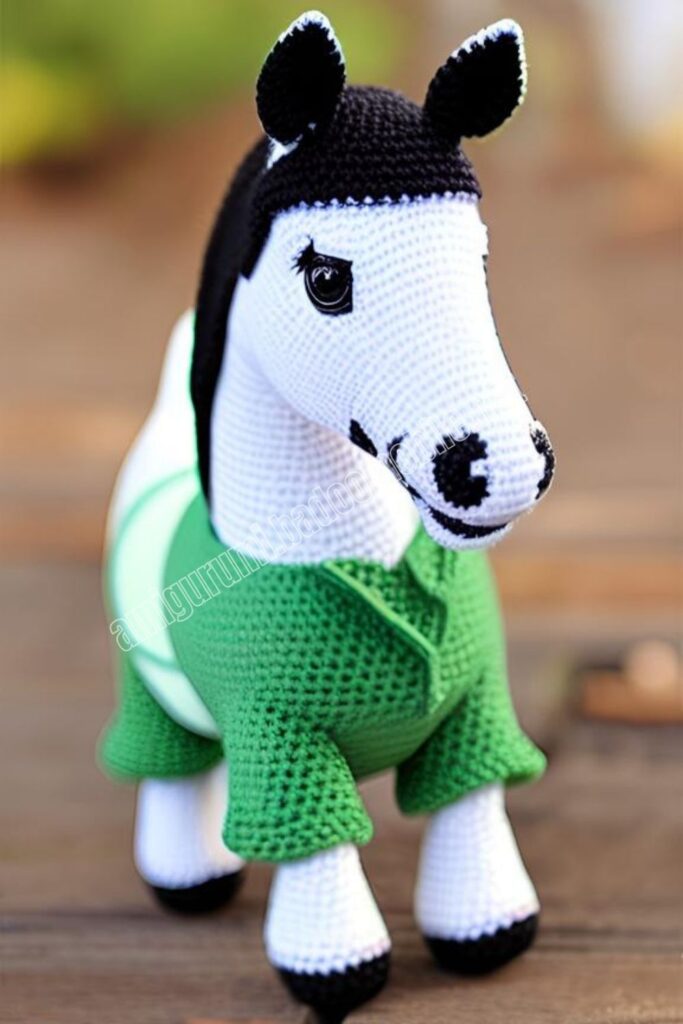
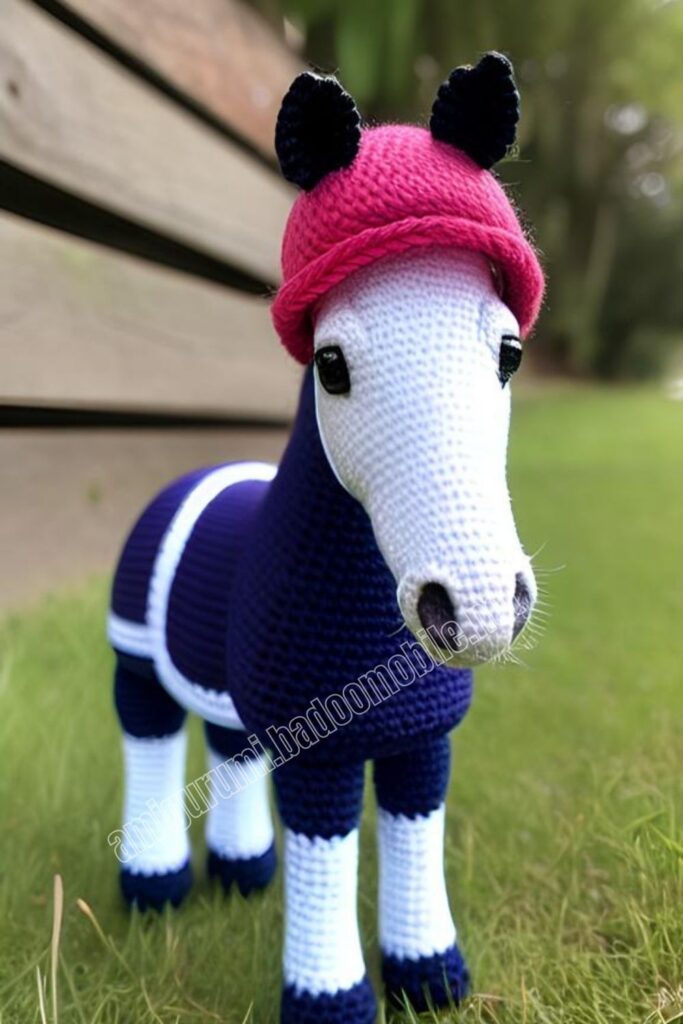
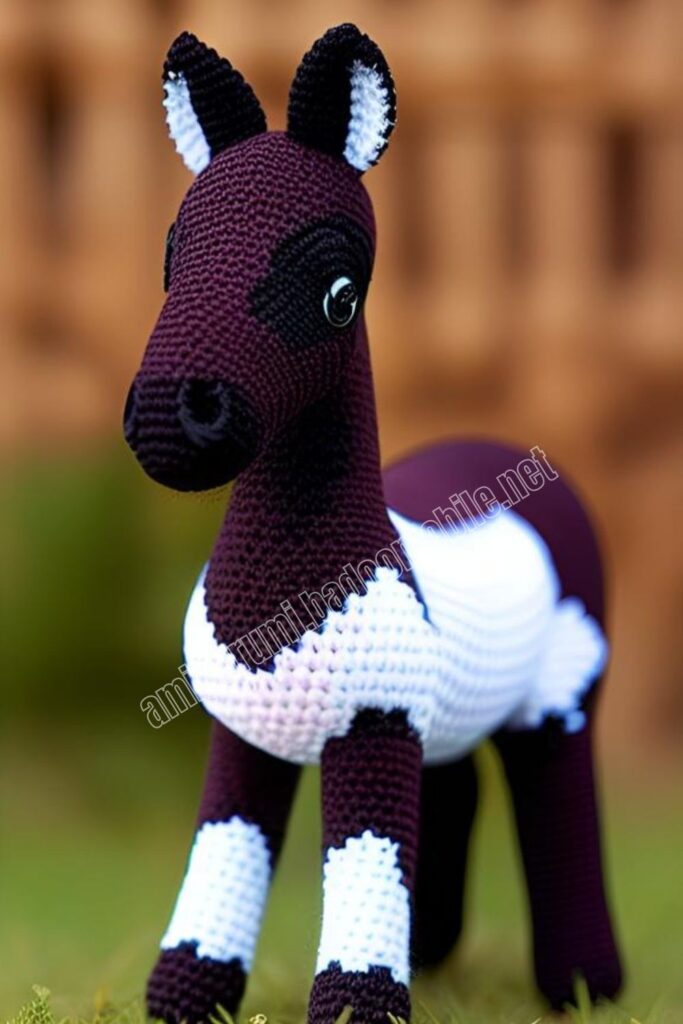
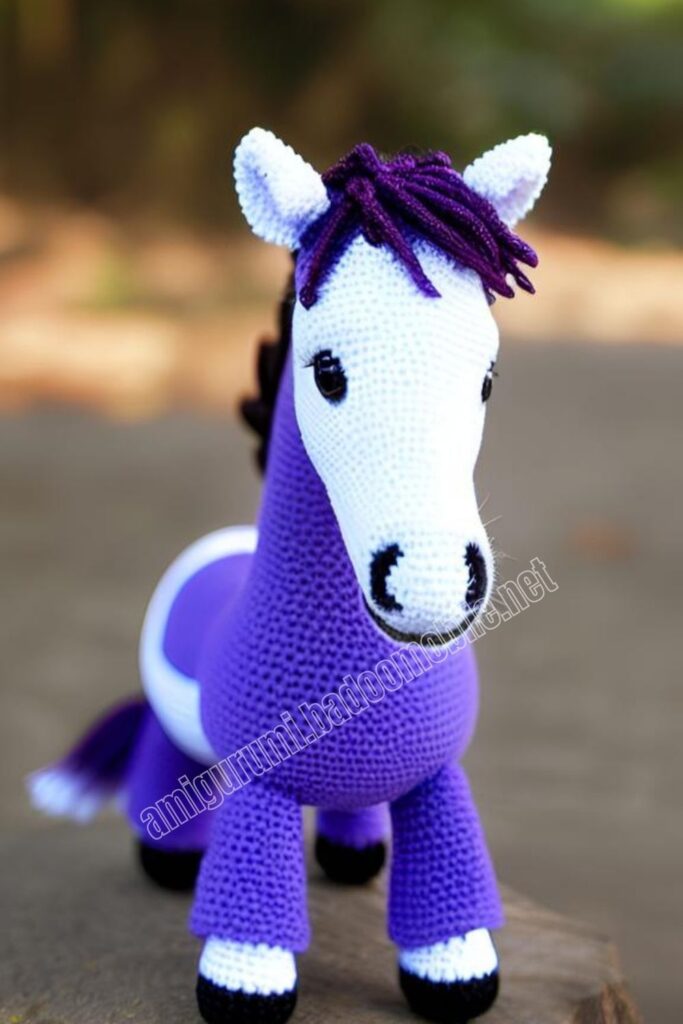
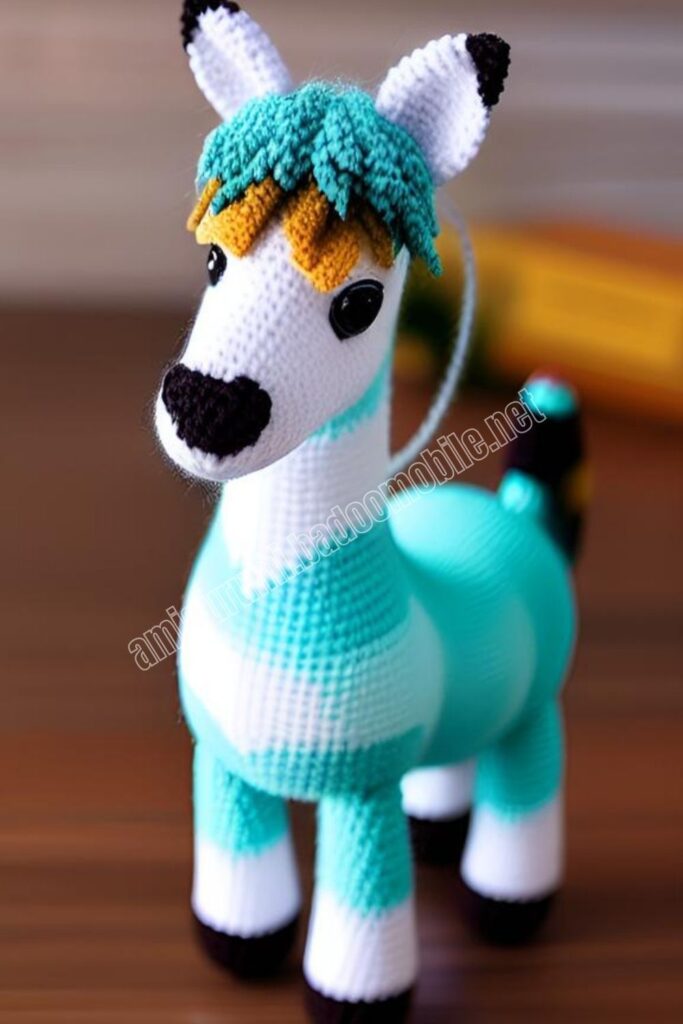
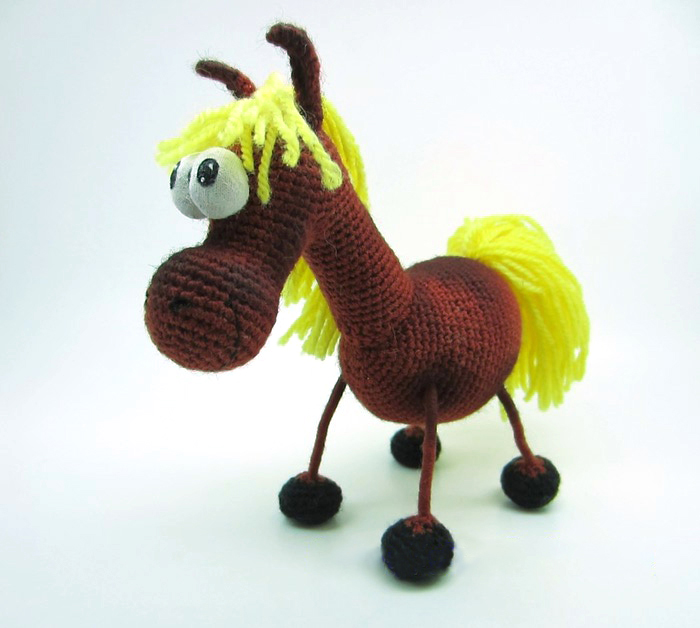
Todays daily new amigurumi free crochet pattern is Amigurumi Cute Little Horse.
I want to give you some informations about this amigurumi free pattern ; Cute Little Horse.
Materials:
• We prepare hook No. 1.75 or No. 2, yarn suitable for it.
• Choose your own color scheme – Horses are different – black, white, red!
• The main thing for the tail and mane is to choose the right shade so that the combination is harmonious.
• The wire is needed in insulation, 4 mm thick – whoever knitted a blotter knows the same.
• A piece of white knitwear
• Acrylic paints or special paints for fabric.
• Oil paint shade suitable for the color of yarn, which will knit the horse itself.
• Oil paint should be darker than the main color, the color of the yarn.
• Filler, of course.
Abbreviations:
sc – single crochet
inc – increase
dec – decrease
ch – chain
sl st – slip stitch
dc – double crochet
Amigurumi Cute Little Horse Free Pattern:
Body
1: 6Sc
2: 6 times inc = 12
3: 6 times (inc, 1Sc) = 18
4: 6 times (2Sc, inc) = 24
5: 1Sc, inc, 5 times (3Sc, inc), 2Sc = 30
6: 6 times (4Sc, inc) = 36
7: 2 Sc, inc, 5 times (5Sc, inc), 3Sc = 42
8: 42Sc
9: 6 times (inc, 6Sc) = 48
10: 48Sc
11: 6 times (inc, 7Sc) = 54
12: 54Sc
13: 6 times (inc, 8Sc) = 60
14-18: 60Sc
19: 4 times (dec, 3Sc), dec, 38Sc = 55Sc
20-22: 55Sc
Align the beginning of the row relative to the beginning of the second row of knitting – move forward, knitting the necessary amount of Sc.
This number is determined visually, the total number of loops during this maneuver does not change.
23: 5 times (dec, 3Sc), 30Sc = 50
24-26: 50Sc
27:Attention!
This row should start from the beginning of dec in the previous rows. Therefore, we again move the beginning of knitting.
Again, this is determined using an eye.
5 times (dec, 4Sc), 5 Sc = 45
28:45 Sc
29: 5 times (dec, 7x) = 40
30:40 Sc
Bite off a wire about 20-21 cm long.
We bend it with an arc.
We determine the place of growth of the hind legs.
To do this, we first determine where the horse has a back, where the tummy – the back is slightly bent, the tummy, on the contrary, is convex.
Then you need to determine the middle of the back and abdomen, so that the legs are in the lower part of the body, and not somewhere on the side.
The center can be marked with a marker – a contrasting thread, for example:
We make the holes for the legs, expanding the gap between the Sc hook or knitting needle. The holes should be very small – on the diameter of the wire.
You need to arrange them between 12 and 13 rows.
Between them should be about 18 Sc, if you count on the 13th row.
31: 5 times (dec, 6Sc) = 35
32: 35Sc
Fill the back part of the body, distributing evenly the filler around the frame.
The frame itself, or rather the upper part, should be at a distance of 1 cm from the knitted fabric.
Bend the second wire for the front legs.
We also verify the rasl-stoyaniye and make holes for the frame, we place them between 26 and 27 rows.
Seen from the side, the front and rear legs should be practically in line.
The edge of the arc of the frame should rest against a knitted fabric.
Fill the space around the frame of the front legs with filler, ramming it well.
33: 6 times (dec, 5Sc) = 30
34: 6 times (dec, 3Sc) = 24
Fill the rest of the body
35: 6 times (dec, 2Sc) = 18
36: 6 times (dec, 1Sc) = 12
37: 6 dec = 6
Tighten the hole, before that add some more filler if necessary.
At the ends of the wire, we twist small loops and bend them in the shape of the foot.
As a result, at this stage the length of the legs should be about 5cm.
Getting to the hooves.
Hooves
1: 6Sc
2: 6 times inc = 12
3: 6 times (inc, 1Sc) = 18
4: 6 times (2Sc, inc) = 24
5: 24Sc behind the back of the pigtails
6: 24Sc
7: 6 times (2Sc, dec) = 18
8: 6 times (dec, 1Sc) = 12
Instead of the last Sc, we knit Sl-st, in which we change the color of the hoof to the main color of the horse.
9: 6 dec
Moreover, after the first reduction, cut off the thread that knitted the hoof and tie this tip together with the tip of a thread of a new color tightly to two knots.
After two or three dec of the 9th row, insert the frame and fill the hoof, distributing the filler evenly around the frame.
After finishing the row, fasten and cut the thread, leaving a long tip for the subsequent wrapping of the legs.
Push the tip of the thread into the needle and tighten the part around the frame.
Wrap the wire with double-sided tape.
Who does not have scotch tape, try using Moment – Crystal glue.
Try to apply with a thin, thin layer.
Wrap the wire with thread.
We fix the thread by threading it with a needle several times through the body. Cut the thread slightly pulling – the tip will sink forever in the filled part.
Repeat with the rest of the legs.
Head and Neck
1: 6Sc
2: 6 times inc = 12
3: 6 times (inc, 1Sc) = 18
4: 6 times (2Sc, inc) = 24
5: 1Sc, inc, 5 times (3Sc, inc), 2sc = 30
6-8: 30Sc
Align the knitting to the start of the second row.
9: 2 times (inc, 6Sc), inc, 15Sc = 33 The increments in this row fall on the part of the part on which we will knit the neck.
10: 33Sc
We start to knit a muzzle
11: A chain of 10Ch – a jumper, stick the hook into the 19th loop in a circle, 15Sc, reaching the chain, 10Sc (1Sc in each loop of the chain, behind the back wall of the pigtail) = 25
12: 25Sc
13: Dec, 11Sc, dec, 10Sc = 23
14: Dec, 9Sc, dec, 10Sc = 21
15-17: 21Sc
18: 10 times inc, 11Sc = 31
19-24: 31
25: 5 times (dec, 4Sc), 1Sc = 25
26: 5 times (dec, 3Sc), 1Sc = 19
27: 5 times (dec, 2Sc), 1Sc = 13
28: 5 times (dec, 1Sc), 1Sc = 7
29: 5 dec.
Fasten the thread, cut it, tighten the hole.
Fill the face.
Neck
From the main part, we have 18 loops + 10 loops in the chain = 28 loops.
On these loops we will knit the neck.
We attach the thread to 10mu Sc of 18 – this will be the beginning of the row.
Knit in a spiral.
1: 1Ch lift, 1Sc in the same loop from which Ch was raised – this is one element, the first Sc in a row, 7Sc, dec (one of the decrease tables falls on the part of the head, the second on the column that is tied to the jumper), 8Sc, dec (in the same way as the first), 8Sc = 26
2: 8Sc, dec (one column in the decrease of the previous row, the second on the jumper column), 6Sc, dec, 8Sc = 24
3: 8Sc, dec, 4Sc, dec, 8Sc = 22
4: 8Sc, dec, 2Sc, dec, 8Sc = 20
5-10: 20
11: 2 times (1Sc, inc), 12Sc, 2 times (inc, 1Sc) = 24
12-15: 24Sc
16: 2 times (2Sc, inc), 2Sc, 2Hdc (half crochet), 4Dc (double crochet), 2Hdc, 2Sc, 2 times (inc, 2Sc) = 28
17: 7Sl-st, 3Sc, 2Hdc, 4Dc, 2Hdc, 3Sc, 7Sl-st = 28
Fasten and cut the thread, leaving a long tip for subsequent sewing of the part to the body.
We pin the head to the body with pins, so that the extreme point of the neck under the head touches the last strained row of the body.
Sew on the details — one short stitch behind the body, one behind the wall of the pigtail closest to us, a seam is laid by analogy with the lacing, tightening each stitch well.
Ears
Chain 8Ch + 1Ch lift
1: 7Sc, 3Sc in the last loop of the chain, 7Sc. Knitting in a circle do not close, turn.
2: 1Ch, into the same loop from which you just raised Ch to knit 1Sc, 4Hdc, 5Sc. Turn.
3: 1Ch + 1Sc in the same loop, 8Sc, 2Sc in the next loop.
Fasten the thread, cut it off, leaving a long tip, insert it into the needle and pull it on the wrong side to the base of the eyelet.
Fold the eyelet in half lengthwise and grab both sides together for 0.5 cm from the base with a few stitches.
Fix, cut, thread the tip of the thread into the needle, carefully thread to the base and sew the ear to the part of the head, pre-pins with pins.
Tail
1: Into Amigurumi Ring 8Sc
2-7: 8Sc
We cut the yarn into pieces of about 16-17 cm.
It will be convenient if you choose some suitable template for the size.
This time, this was my notebook.
The yarn is wound around this pattern, then cut at one point – we get pieces of threads of the same length.
And on the tail and on the mane, segments of the same length are needed, so we cook everything at once.
Using a hook (you can take one size smaller than the one used to knit), the yarn clings to the tail, according to the fringe principle.
The photo shows the direction of introduction of the hook into the fabric and the direction of the thread, which we thread relative to the hook and part.
Sew the finished tail to the body between 11 and 13 near the beginning of knitting.
Mane
From the ears to the withers, we outline the growth line of the mane.
If you have dark yarn, you can use a remnant, if you have light yarn, use a simple pencil or gel pen, for example (in the second case, don’t really bother).
The line will be closed with yarn, but try to draw it anyway carefully.
Attach the mane.
Again, pay attention in which direction we introduce the hook, catching the thread so that the growth line is neat.
Tighten each attached thread well.
Having finished with the mane, we begin to build up the bangs.
To do this, we also outline the area of the bangs with a contrast line.
Starting from the ears, attach several threads, sticking the hook in the same direction as stuck for the mane – direct these strands behind the ears.
The following rows begin to build up towards the muzzle, respectively, stick the hook in the opposite direction. Threads need to be attached to each column and row so that there are no bald spots.
This is what should result in the end.
Now all this lush vegetation needs to be trimmed. Leave the bangs to about the middle of the muzzle.
To trim the mane, turn the horse upside down and trim the mane so that all threads are the same length.
It is desirable that the mane lowered to the side does not cover the beginning of the growth of the front leg.
Tail trim too.
So that the bangs do not stick out, it can be slightly moistened and tied with a thread until it dries.
You can do this later, after the eyes are sewn.
Eyes
For the eyes, we need to cut a circle with a diameter of 3.5 cm from a piece of white knitwear.
Stitch over the edge with a seam over this circle.
Before finally tightening the circle, fill it, slightly flattening, and fix the thread.
We do not cut the thread.
Drag the ball in the center in two turns, fix the thread.
Then we take the black bobbin thread and also with two turns we separate the eyes.
We sew the eyes with white reel of thread to the muzzle, having previously fixed them with a pin.
On the sewn-in eyes, gently draw the pupils with black acrylic paint, set the glare to white paint.
I use a toothpick for this. We also draw nostrils in black.
Paints, by the way, are better suited for acrylic fabrics.
Although the usual can also be used.
Smile
Embroider a smile with a thin black thread.
I have a thin woolen thread for embroidery. A smile is one stitch that is well stretched in an arched shape.
At the edges of the smile – short stitches for greater expressiveness.
Tinted
Now we proceed to tinting the horse, so that it becomes more interesting and effective here.
We take oil paints.
It is advisable to take a color darker on the color of the yarn. At first I thought that black might come in handy, but then I settled on Koput-Mortum dark.
He’s like some kind of brown-burgundy.
Squeeze a little paint on a napkin or paper towel to read excess oil.
Then with a stiff brush, you just need the bristles, take quite a bit of paint and start making strokes on paper until these strokes become barely noticeable.
Now we begin to apply tone to our Swell.
It is advisable to highlight the back, croup, the beginning of the growth of the legs and the legs themselves – the outer part.
Shade a little face and cheekbones – be careful not to touch the white eyes.
Now our Swell is ready.
More Amigurumi Horse Ideas:
