Hello dear Amigurumi Followers
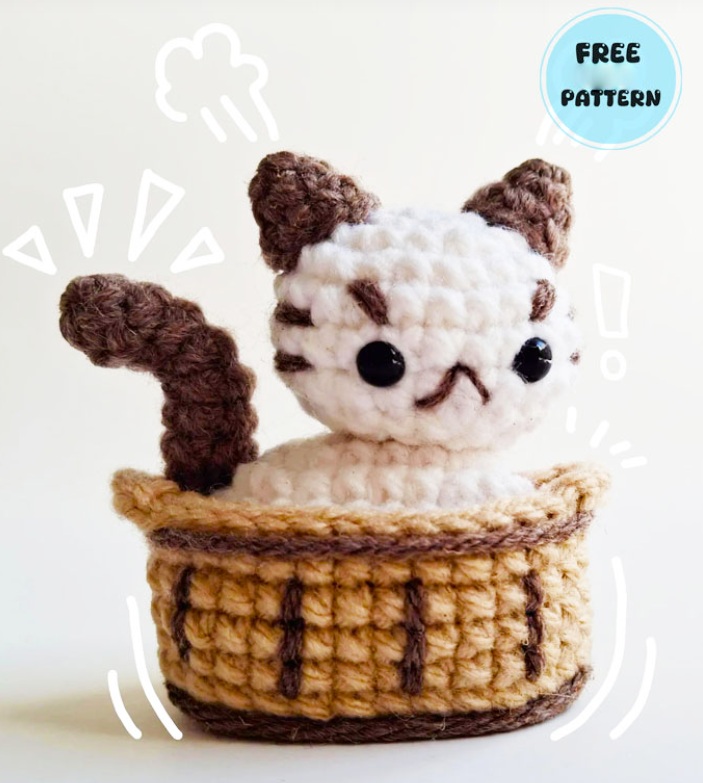
Today we share Amigurumi White Baby Kitty Sitting in a Basket Free Pattern for you. As you know we share new free amigurumi pattern every day. The main crochets are gazelle, amigurumi bear, pola, crochet panda, penguin, giraffe, llama, pig, bunny, clown, lamb, bee, crochet unicorn, amigurumi doll, fox, penguin, dinosaur, crochet elephant, hippo, monkey, crochet cat, crochet dog and more …
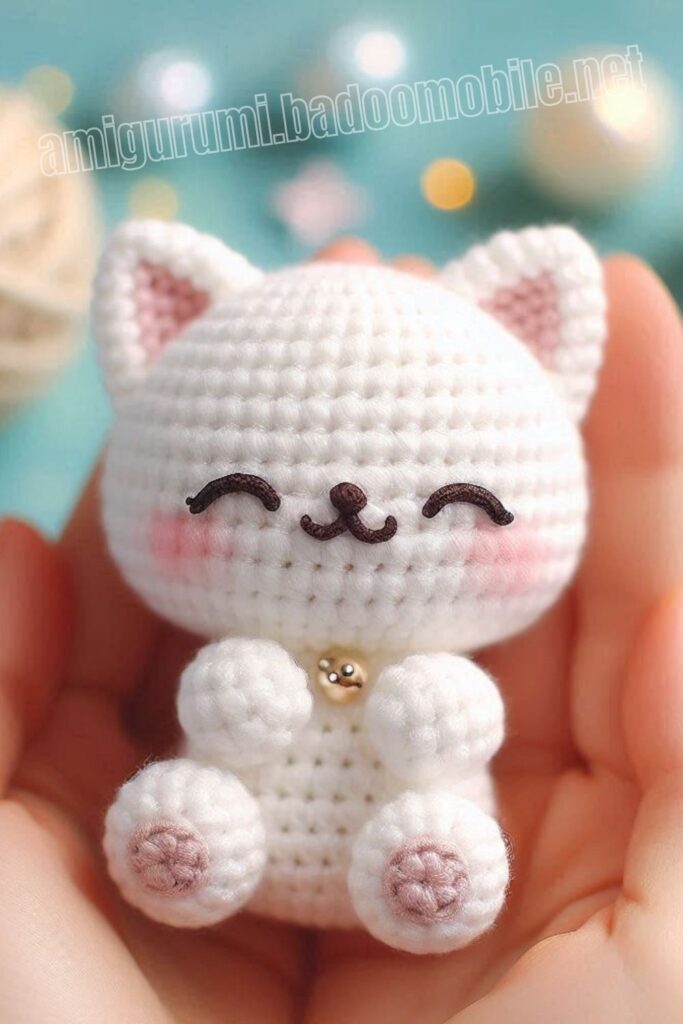
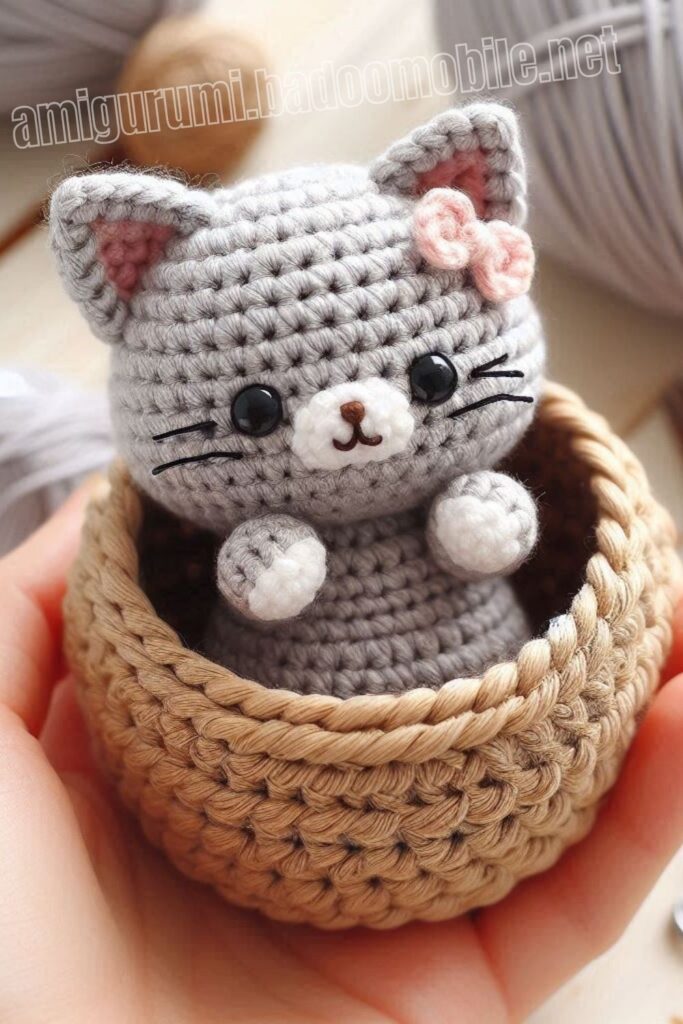
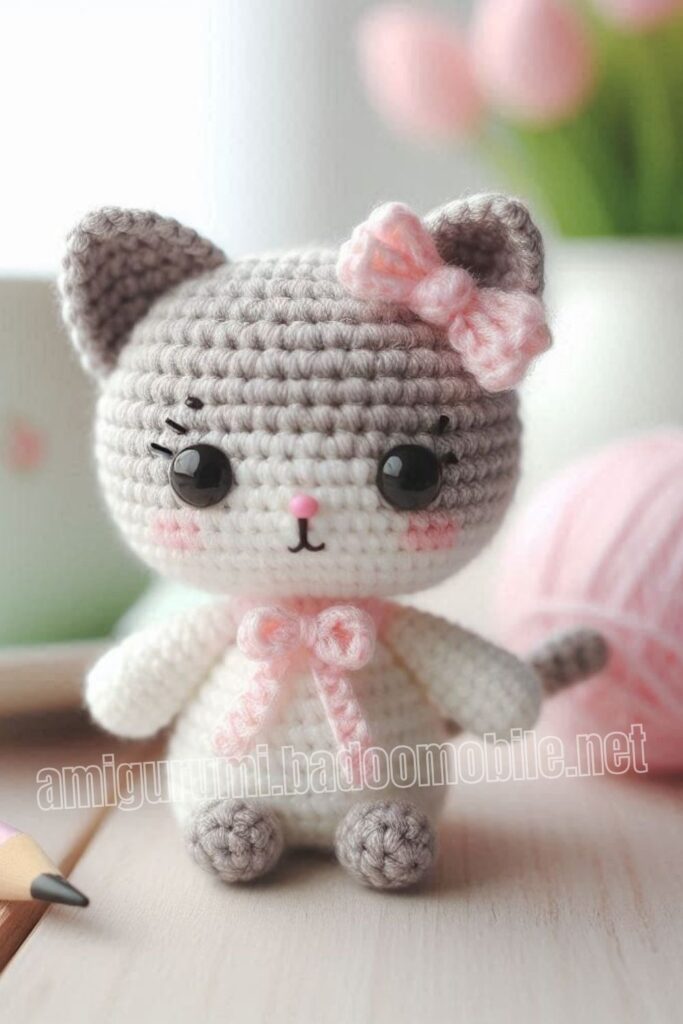
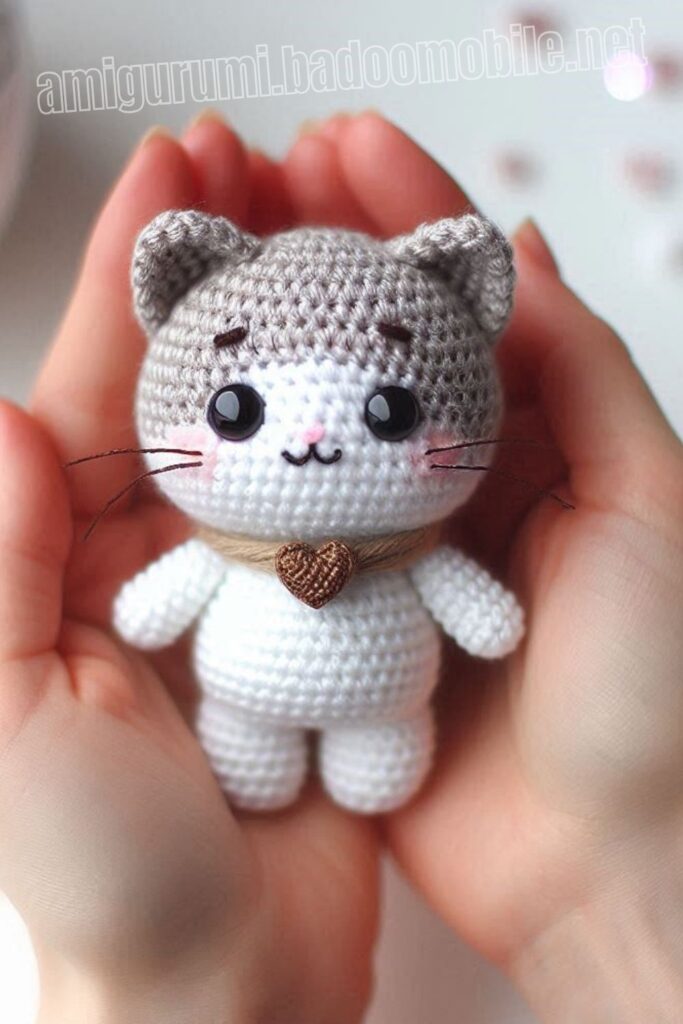
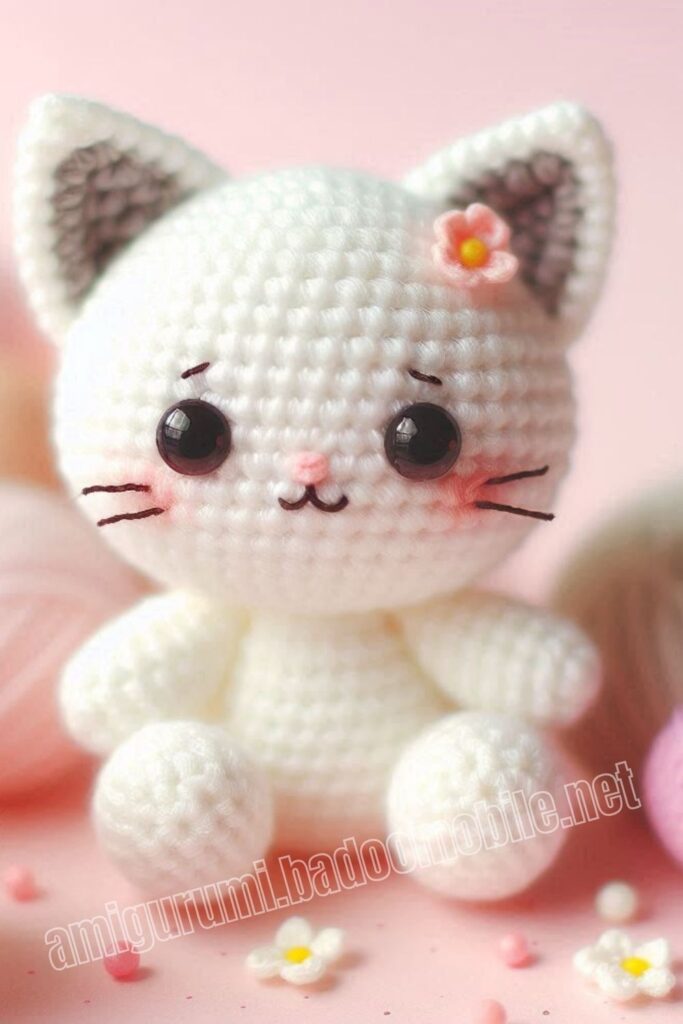
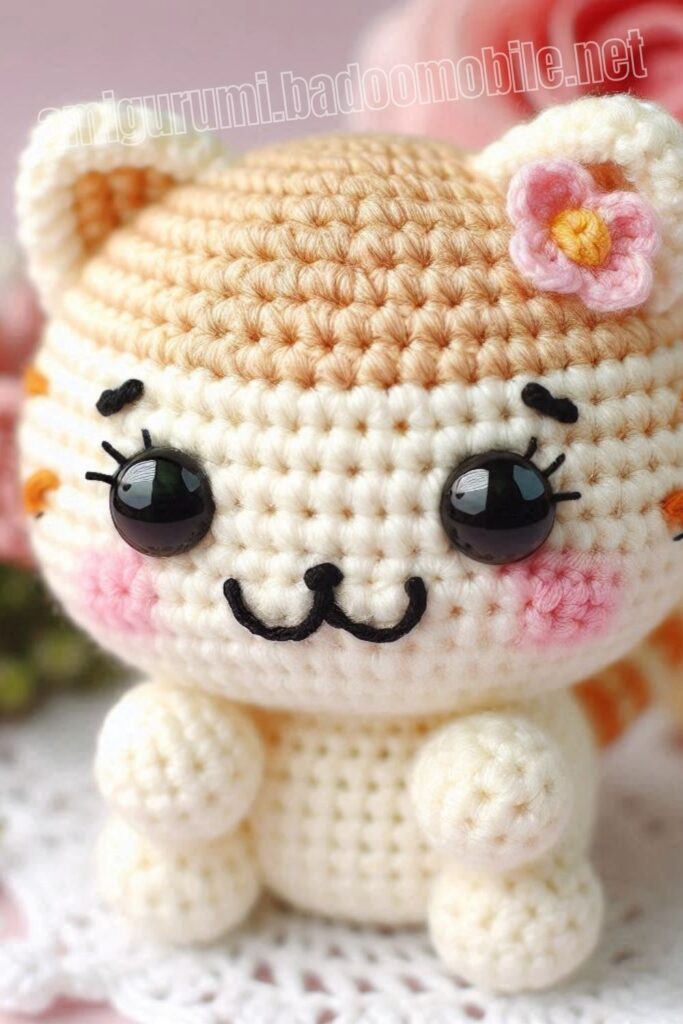
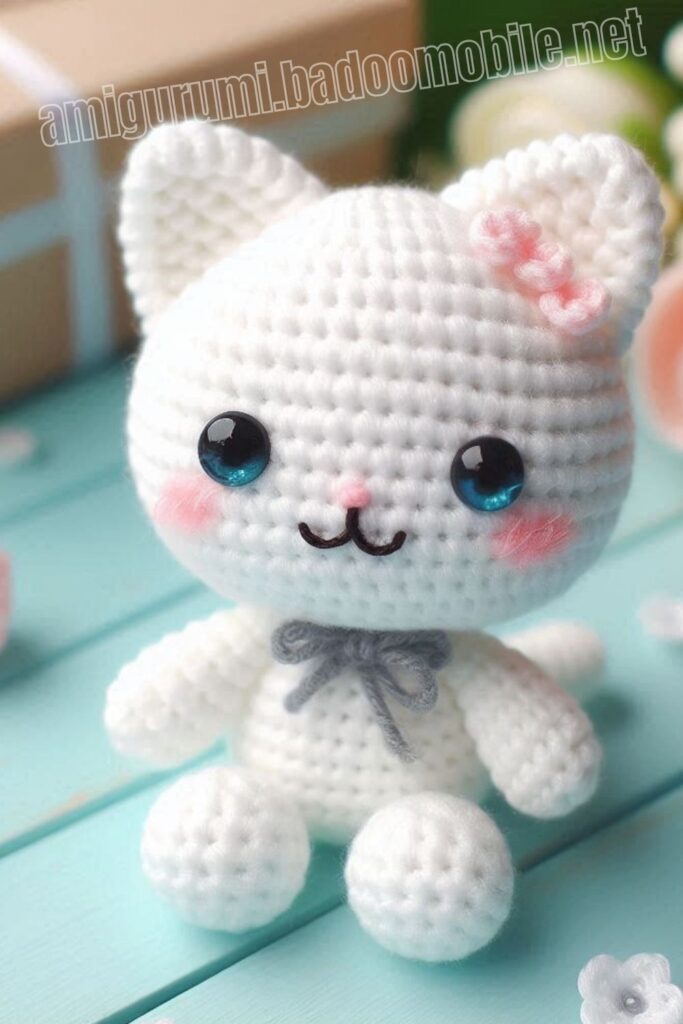
Todays daily new amigurumi free crochet pattern is Amigurumi White Baby Kitty Sitting in a Basket.
I want to give you some informations about this amigurumi free pattern ; White Baby Kitty Sitting in a Basket.
Materials
• yarn (whatever you want)
• crochet hook
• Filling
• sewing needle
• scissors
• stitch marker
• wire (optional)
• safety eyes (optional)
Abbreviations
• Mr – magic ring
• Sc – single crochet
• Inc – increase
• Dec – decrease
• Slst – slip stitch
• Ch – chain
• Blo – back loops only
• FO – fasten off
• St – stitch
• [x] – total stitches
• R – round
Amigurumi White Baby Kitty Sitting in a Basket Free Pattern:
We start making the cat toy in the basket with the ears. We will crochet for a total of 3 rounds. While making the ears, we only do increases. You don’t need to stuff the ears.
Ears (in brown)
R1 4sc in mr [4]
R2 (inc, 1sc) repeat 2 times [6]
R3 (inc, 2sc) repeat 2 times [8]
FO, and leave a long tail for sewing.
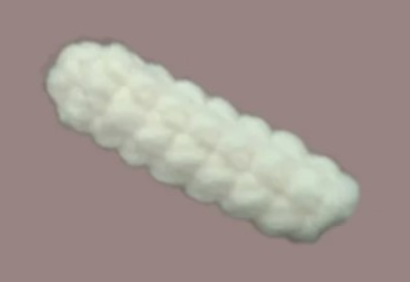
To make the tail, we need to crochet for 8 rounds. You can stuff the tail a little. You can use wire to keep the tail in shape.
Tail (in brown)
R1 6 sc in mr [6]
R2 – 8 6sc (7 rounds)
FO, and leave a long tail for sewing.
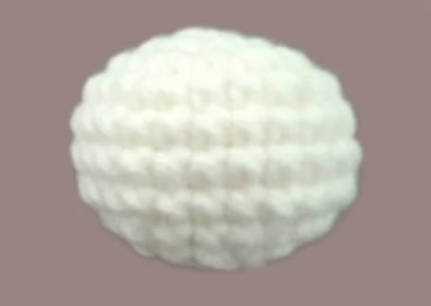
The cat has a fairly symmetrical and very round head. We start the head using a magic ring. Then, we increase until the fourth round. Between rounds 5 and 7, make single crochets, and at this stage, you can place the eyes. While doing the decrease rounds, start stuffing the head as well.
Head
R1 6sc in mr [6]
R2 6inc [12]
R3 (sc, inc) repeat 6 times [18]
R4 (2sc, inc) repeat 6 times [24]
R5-7 24sc (3 rounds)
(if using safety eyes) place safety eyes between rounds 6 and 7 with 4 sc apart.
R8 (2sc, dec) repeat 6 times [18]
Fill
R9 (1sc, dec) repeat 6 times [12]
R10 6 dec [6]
FO, close hole and leave a long tail for sewing.
Next is the cat’s body. We will crochet the body for 8 rounds. The steps here may seem a bit complicated, but continue crocheting patiently. At the same time, make sure to stuff the body properly.
Body
R1 7 ch (starting from the 2nd chain from the hook) 5sc, 3sc in a st, starting on the other side of the ch 4sc, linc [14]
R2 inc, 4sc, 3inc, 4sc, 2inc [20]
R3 sc, inc, 4sc, (sc, inc) repeat 3 times, 4sc, (sc, inc) repeat 2 times [26]
R4-6 26sc (3 rounds)
R7 sc, dec, 4sc, (sc, dec) repeat 3 times, 4sc, (sc, dec) repeat 2 times [20]
R8 dec, 4sc, 3 dec, 4sc, 2dec [14]
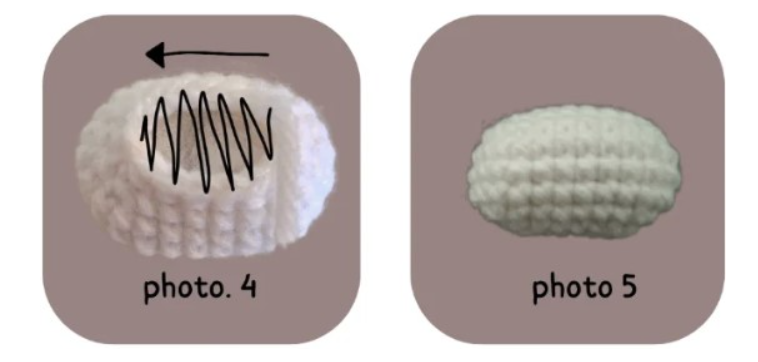
FO, Filling and close hole (see photo 4 and 5)
We’ve completed all the parts of the cat. If you’d like, you can sew the finished pieces together at this stage. Lastly, we will make the cat’s basket. As you can see in the photos, the cat is sitting inside a basket. The basket may look quite complex to make. We will crochet this part for a total of 10 rounds. You don’t need to stuff it, but make sure to shape it properly, as the cat will sit inside it.
Bag
R1 7 ch (starting from the 2nd chain from the hook) 5sc, 3sc in a ch, starting on the other side of the ch 4sc, inc [14]
R2 inc, 4sc, 3inc, 4sc, 2inc [20]
R3 sc, inc, 4sc, (sc, inc) repeat 3 times, 4sc, (sc, inc) repeat 2 times [26]
R4 2sc, inc, 4sc, (2sc, inc) repeat 3 times, 4sc, (2sc, inc) repeat 2 times [32]
R5 (in Blo) 32sc
R6-9 32sc (4 rounds)
R10 14slst, 6ch, skip 2st, 14slst, 6ch, skip 2st and slst in the first stitch of the round.
FO, hide the tail. (see photo 6 and 7)
All the parts are now ready. Now it’s time to assemble the cat.
Assembly
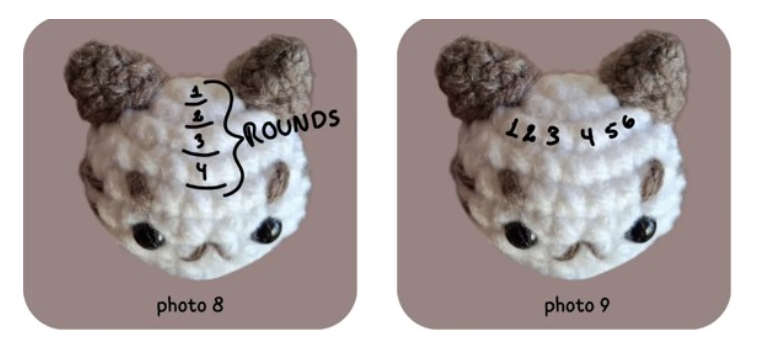
• Ears: Sew on rows 2-4 of the head with 6 stitches apart counted on row 3 (see photo 8 and 9)
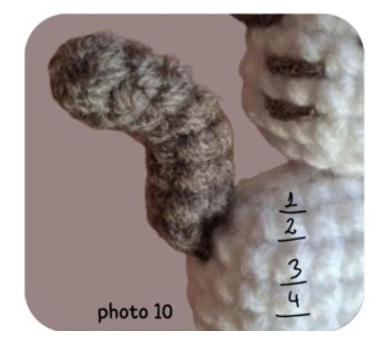
• Tail: (optional: add a piece of wire to shape it) sew between rounds 3-4 on one side of the body (see pohoto 10)
• Head and body: Go to round 9 of the head and sew it to the body between rounds 1-2 on the opposite side to where you sewed the tail.
You can do whatever embroidery you want on the basket and the kitten’s expression.
More Amigurumi Kitty Ideas:
