Hello dear Amigurumi Followers
Today we share Amigurumi Pastel Frog Free Pattern for you. As you know we share new free amigurumi pattern every day. The main crochets are gazelle, amigurumi bear, pola, crochet panda, penguin, giraffe, llama, pig, bunny, clown, lamb, bee, crochet unicorn, amigurumi doll, fox, penguin, dinosaur, crochet elephant, hippo, monkey, crochet cat, crochet dog and more …
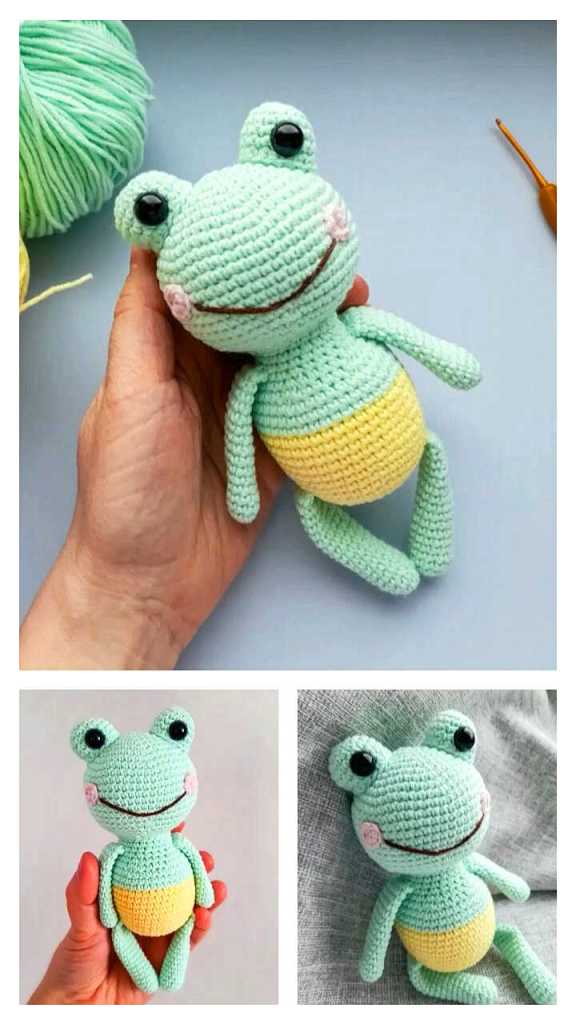
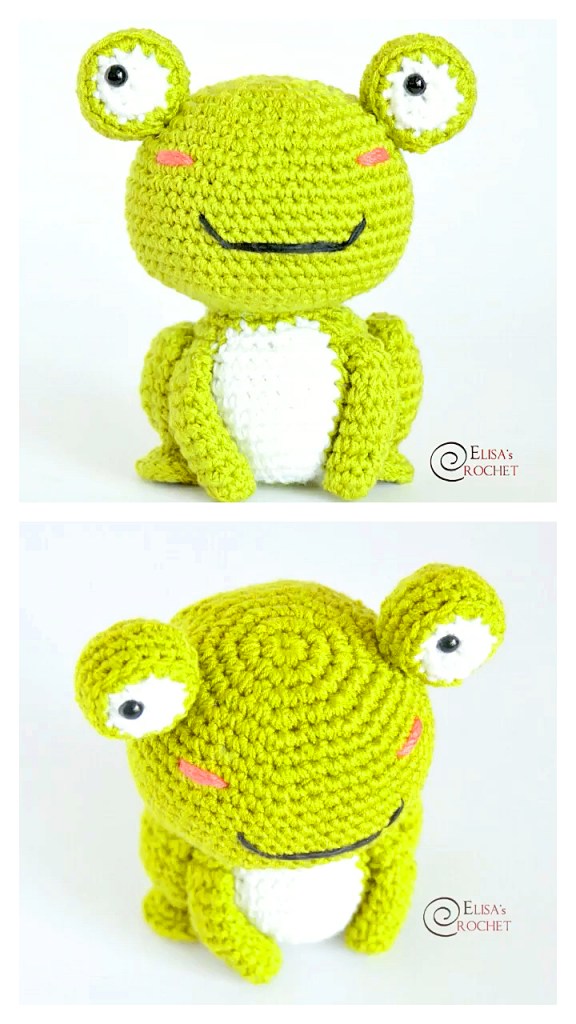
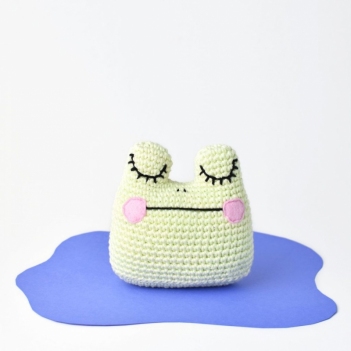
Todays daily new amigurumi free crochet pattern is Amigurumi Pastel Frog.
I want to give you some informations about this amigurumi free pattern ; Pastel Frog.
MATERIALS (what I used in parentheses)
– Medium weight yarn (worsted, aran, or 10-ply) in pastel green (Schachenmayr Catania Grande in;
Pistachio)
– Fine weight yarn (sport) or embroidery floss in black for face (Grace Patons in Night)
– 3.25mm (D) hook (Clover Amour)
– 2 pink felt circles for cheeks with 0.75″ diameter
– Pink thread for sewing on cheeks
– Toy stuffing (Fairfield Poly-Fil)
– Stitch marker (Tulip Heart Stitch Markers)
– Embroidery/sewing needle (DMC Embroidery Needle)
– Tapestry needle (DMC Tapestry Needle Size 16)
– Scissors (Gingher Stork Scissors)
GAUGE
Gauge isn’t important for this pattern. Just make sure your stitches are tight to avoid stuffing show through. My finished amigurumi Frog measures 4 inches tall by 4 inches wide.
CROCHET STITCHES & ABBREVIATIONS (US TERMINOLOGY)
ch – chain
rnd(s) – round(s)
st(s) – stitch(es)
sl st – slip stitch
sc – single crochet
inc – single crochet increase
inv dec – invisible decrease
sm – stitch marker
pm – place marker
x – times (indicates number of times to repeat)
[ ] – repeat steps between brackets for the specified number of times
( ) – the number of stitches you should have at the end of each round
NOTES
– All sections are worked in a continuous round, unless otherwise specified.
– Mark the beginning of each round with a stitch marker.
– Demonstration photos are shown right handed.
– Make pieces in the order presented
– Not all yarns are created equal! Yarns listed as the same weight (e.g. worsted) frequently differ in size and stretch. Schachenmayr Catania Grande is on the thicker end of worsted weight yarns.
Amigurumi Pastel Frog Free Pattern
EYE 1
rnd 1: ch 5, sc 1 into 2nd ch from hook, sc 2, sc 3 in next st, sc 2, inc 1 (10 sts)
rnd 2: [inc 1, sc 2, inc 2] 2x (16 sts)
rnds 3-5: sc around (16 sts for 3 rnds)
Fasten off, leaving a 10-inch tail for weaving in.
EYE 2
Repeat rnds 1-5 from Eye 1, don’t fasten off. Remove sm.
– – – WEAVE IN YARN TAILS (EXCEPT WORKING YARN) BEFORE CONTINUING. – – –
BODY
rnd 1: Connecting eyes (see photos for reference)


rnds 2-3: sc around (42 sts for 2 rnds)
rnd 4: [{inc, sc 4} 3x, inc, sc 5] 2x (50 sts)
rnds 5-10: sc around (50 sts for 6 rnds)
– – – STOP AND EMBROIDER FACE NOW, SEE PHOTO TUTORIAL AT END OF PATTERN. – – –
(Click here for an in depth face embroidery walk through)
rnds 11-16: sc around (50 sts for 6 rnds)
Fasten off, leaving a 10-inch tail for weaving in. Weave in ends.
BOTTOM PANEL
rnd 1: ch 17, sc in 2nd ch from hook, sc 14, sc 3 in next st, sc 14, inc 1 (34 sts)
rnd 2: [inc 1, sc 14, inc 2] 2x (40 sts)
rnd 3: [sc 1, inc 1, sc 15, inc 1, sc 1, inc 1] 2x (46 rnds)
rnd 4: [sc 2, inc 1, sc 16, inc 1, sc 3] 2x (50 rnds)
Fasten off, leaving a 24-inch tail for attaching to body. See page 5 for sewing bottom panel onto body.
EMBROIDERING THE FACE
Embroidering on crochet takes a bit of practice, but it gives your amigurumi lots of personality. The key to face embroidery on crochet is to make sure to insert your needle through your stitches and not in a hole between stitches so your thread remains secure. It is also much easier to embroider on crochet before you’ve finished and stuffed your piece.
To begin, cut a 24-inch piece of black fine weight yarn or embroidery floss (using all 6 strands). Thread embroidery needle and double knot end.
If you’d rather not embroider eyes, use safety eyes between rends 4 & 5 of eyes and embroider nose and mouth using steps 6, 7, 9, & 10.


ATTACHING BOTTOM PANEL
Sew bottom panel onto Frog’s body. Make sure to align bottom panel correctly to avoid warping.


I hope you enjoyed the free amigurumi Frog crochet pattern! If you have any questions about the pattern, leave a comment below and I’ll try to give you some answers!
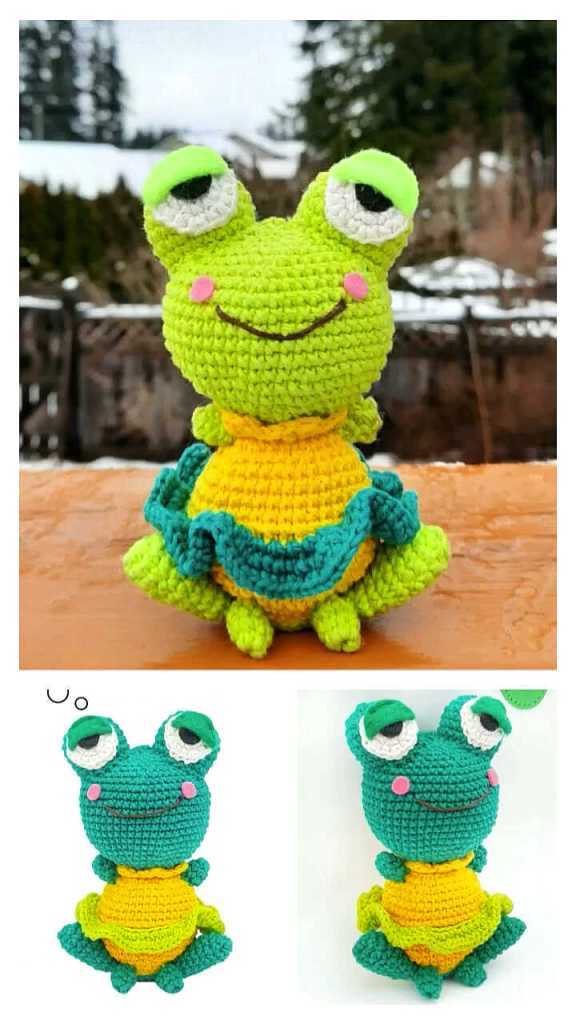
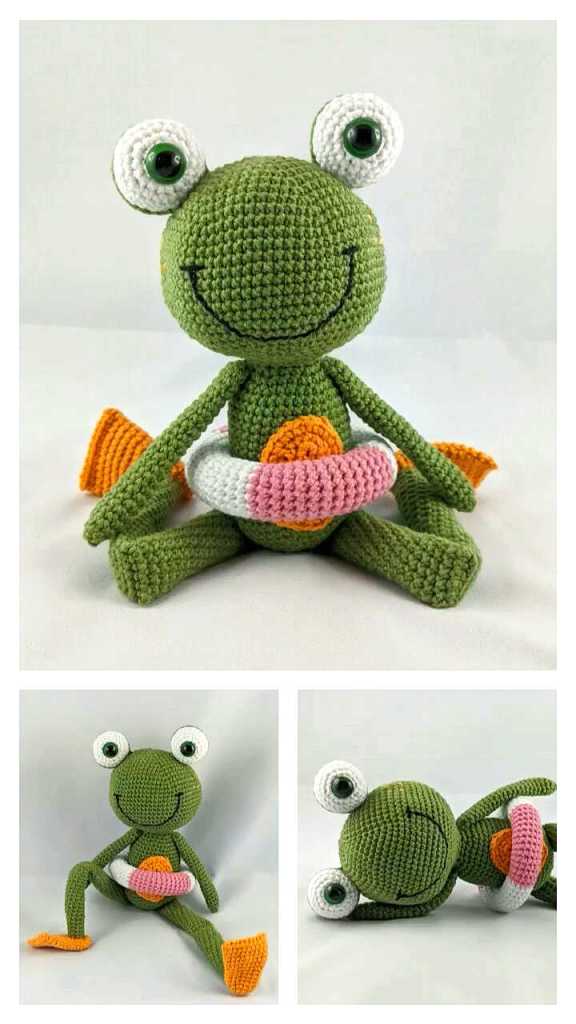
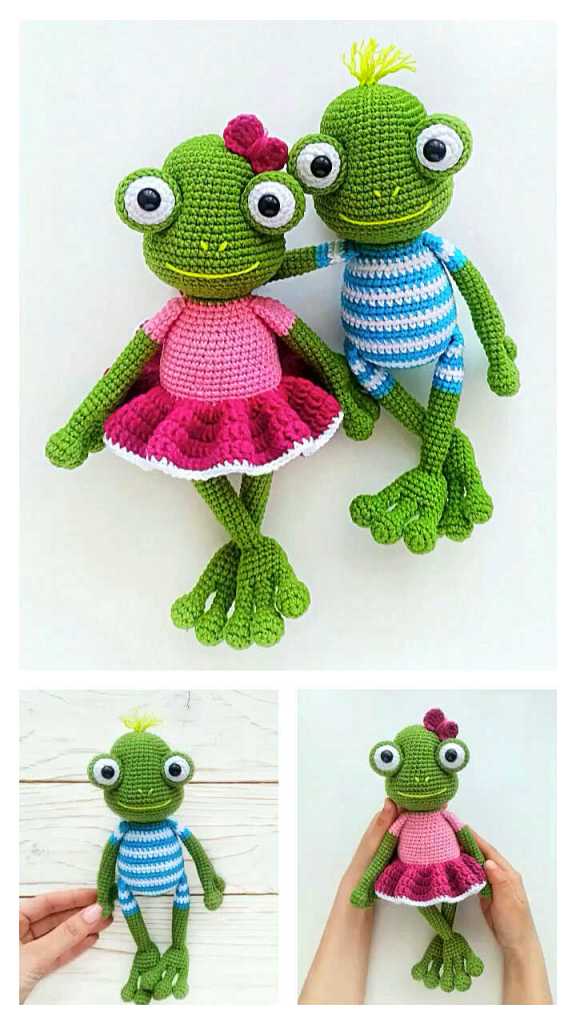
More Amigurumi Frog Ideas:
