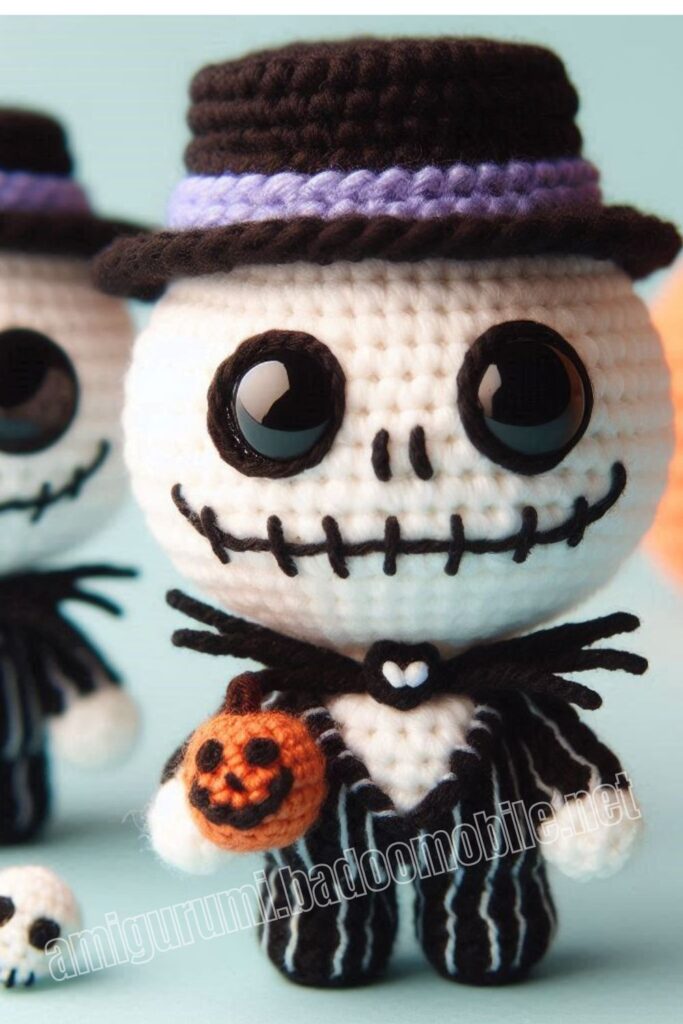
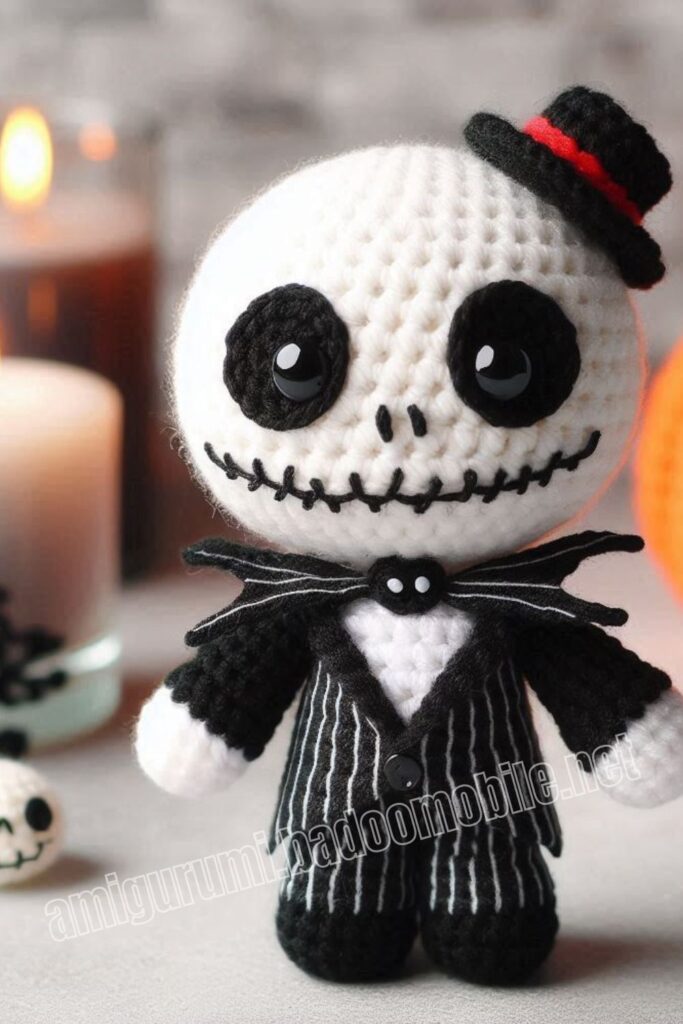
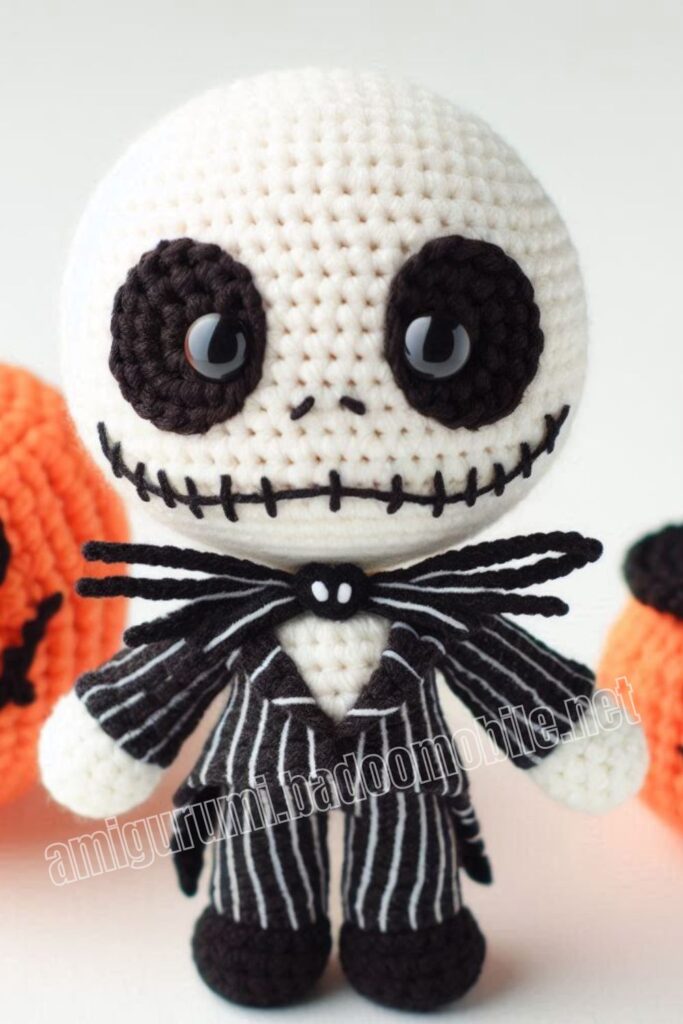
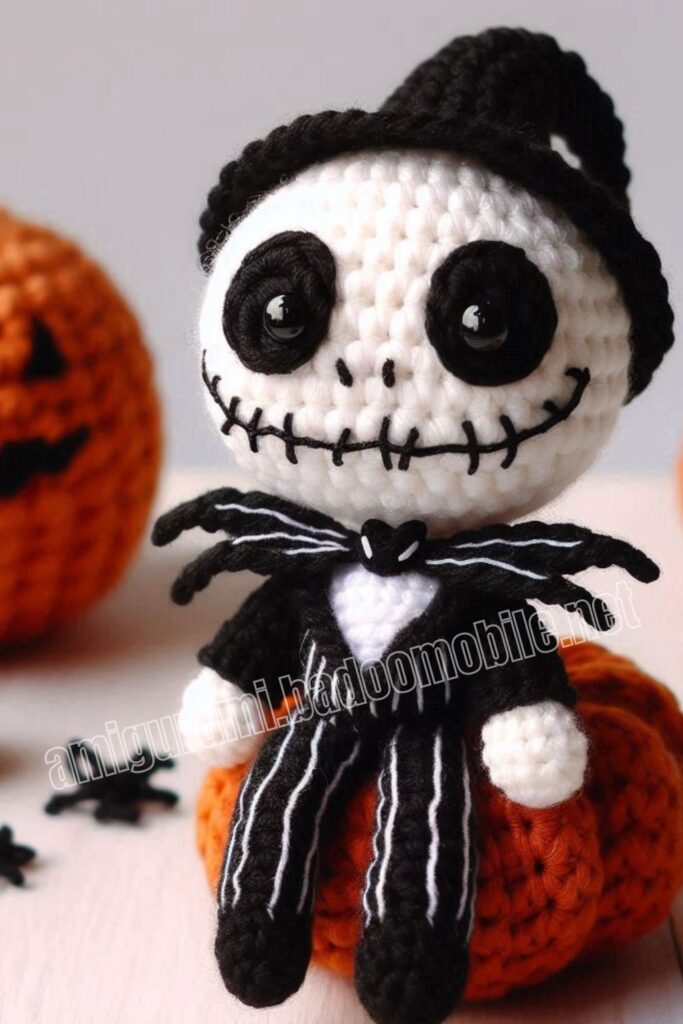
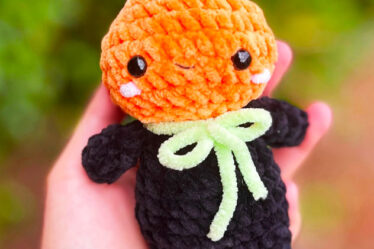
Hello dear Amigurumi Followers
Today we share Amigurumi Jack Skellington Halloween Doll Free Pattern for you. As you know we share new free amigurumi pattern every day. The main crochets are gazelle, amigurumi bear, pola, crochet panda, penguin, giraffe, llama, pig, bunny, clown, lamb, bee, crochet unicorn, amigurumi doll, fox, penguin, dinosaur, crochet elephant, hippo, monkey, crochet cat, crochet dog and more …
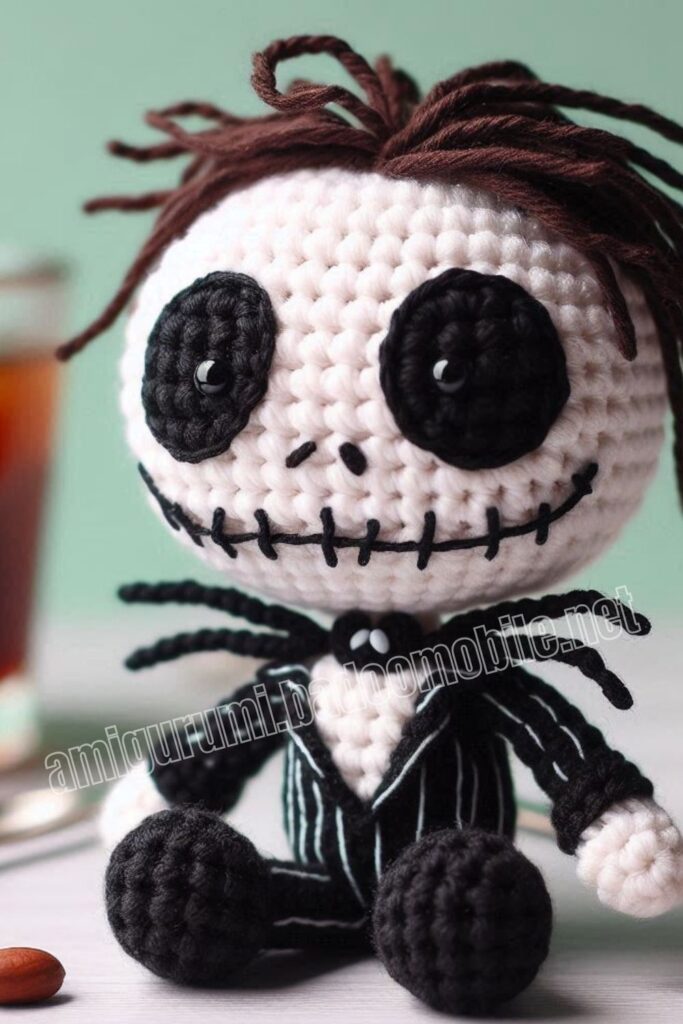
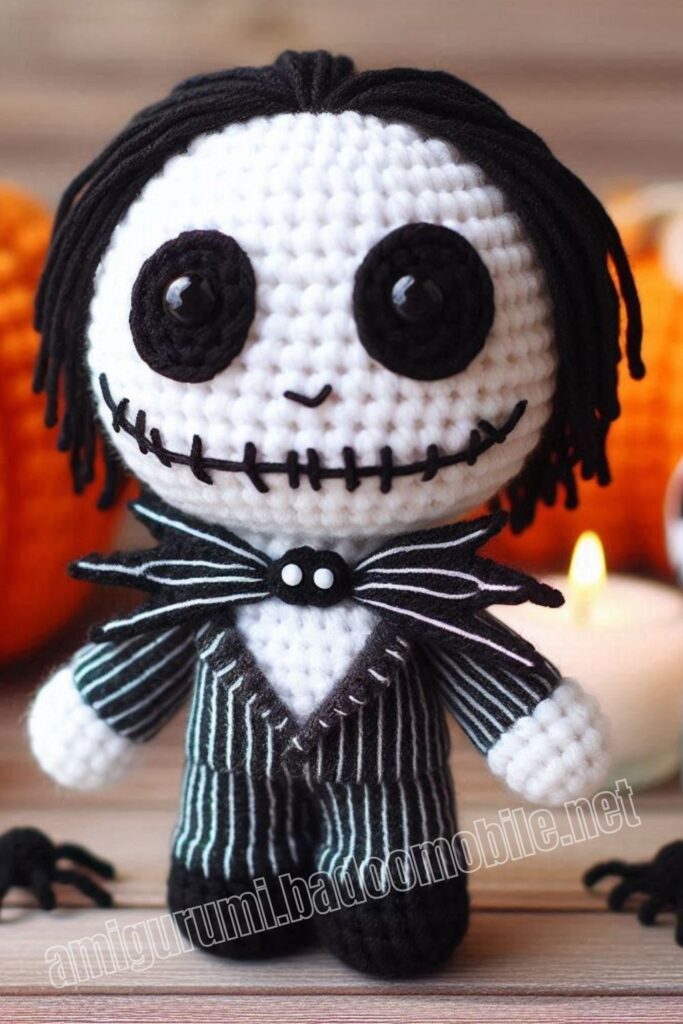
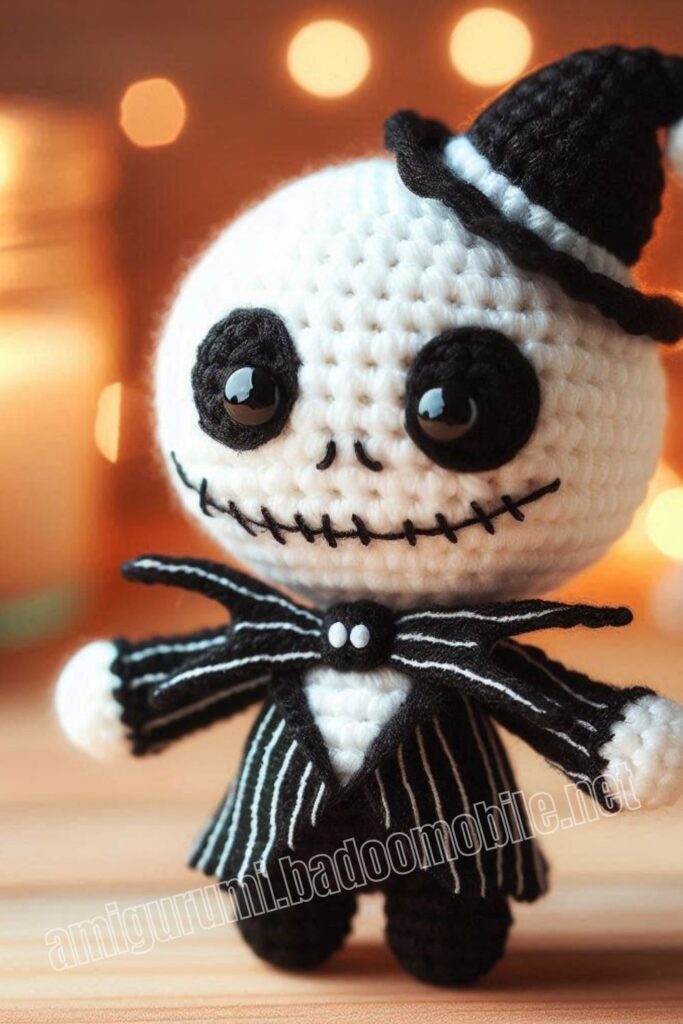
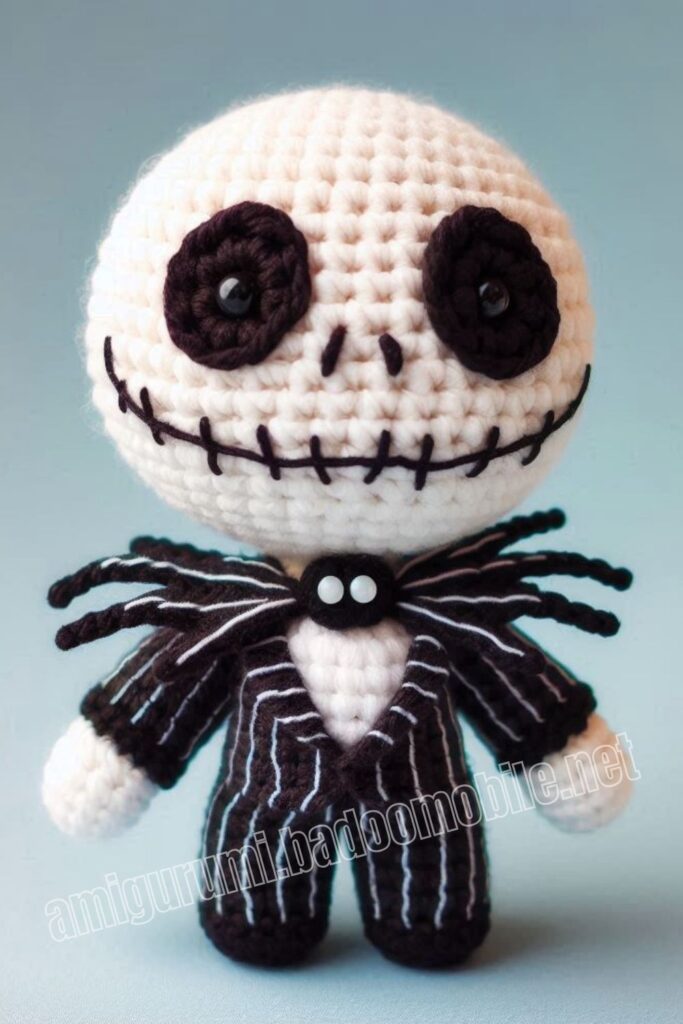
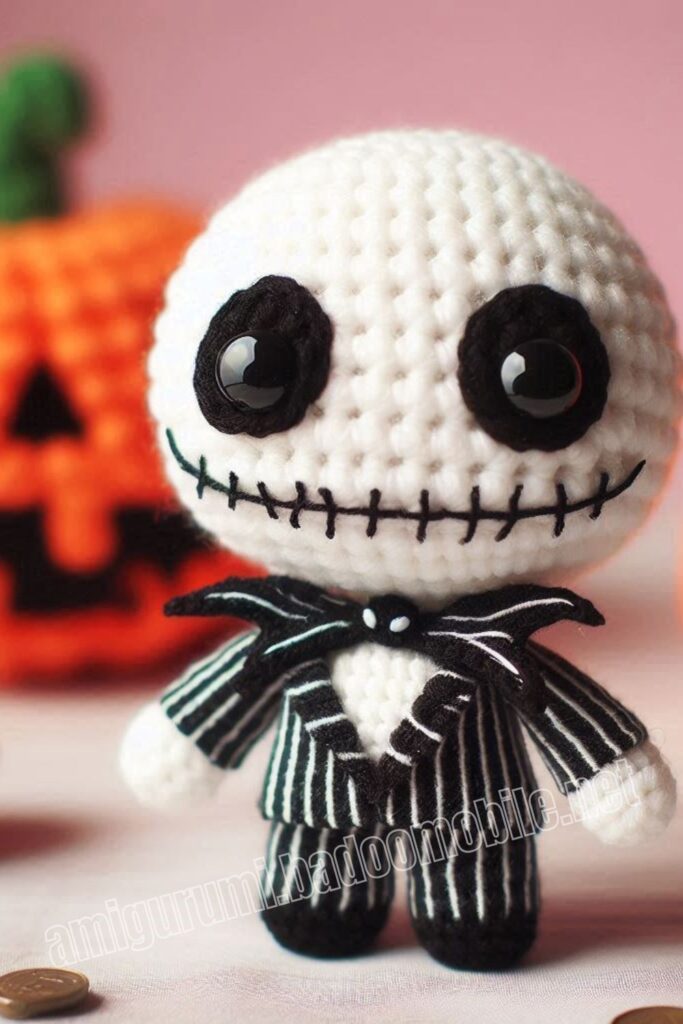
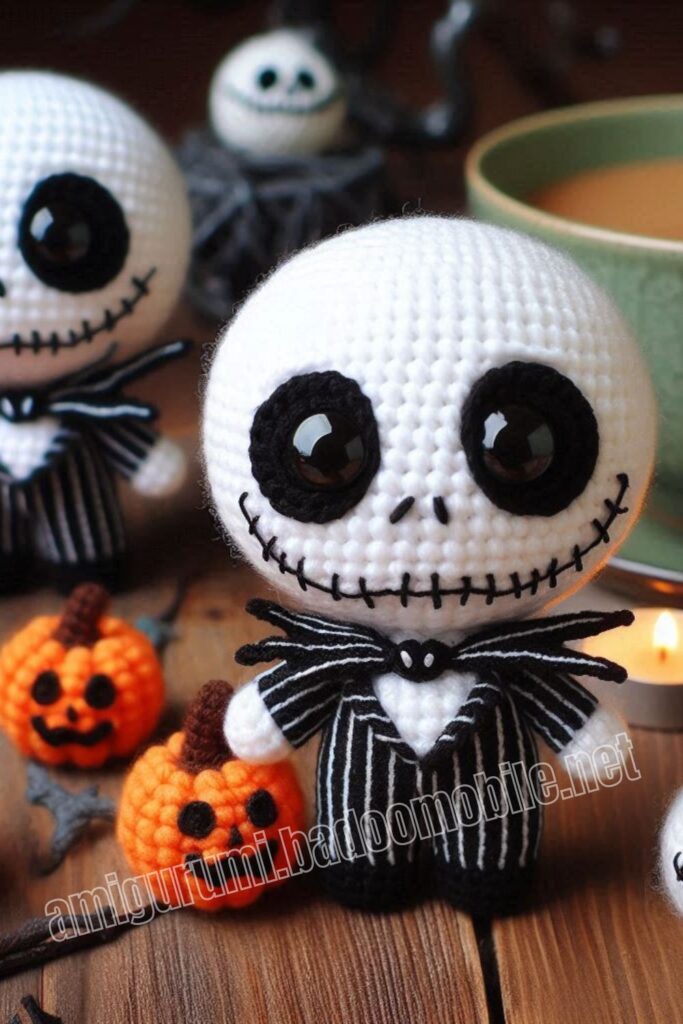
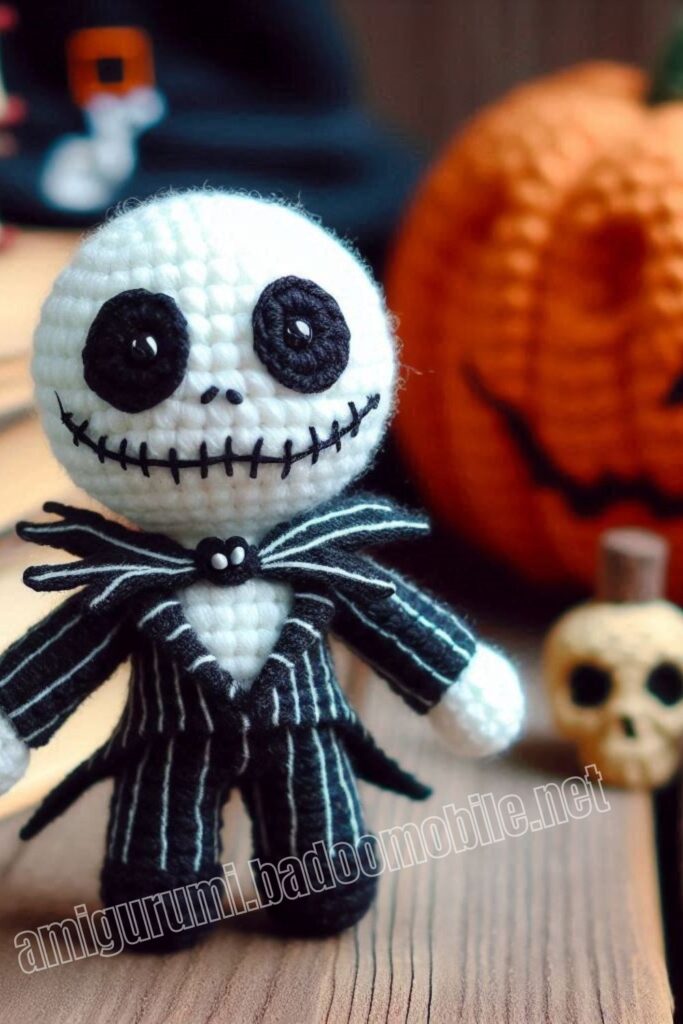
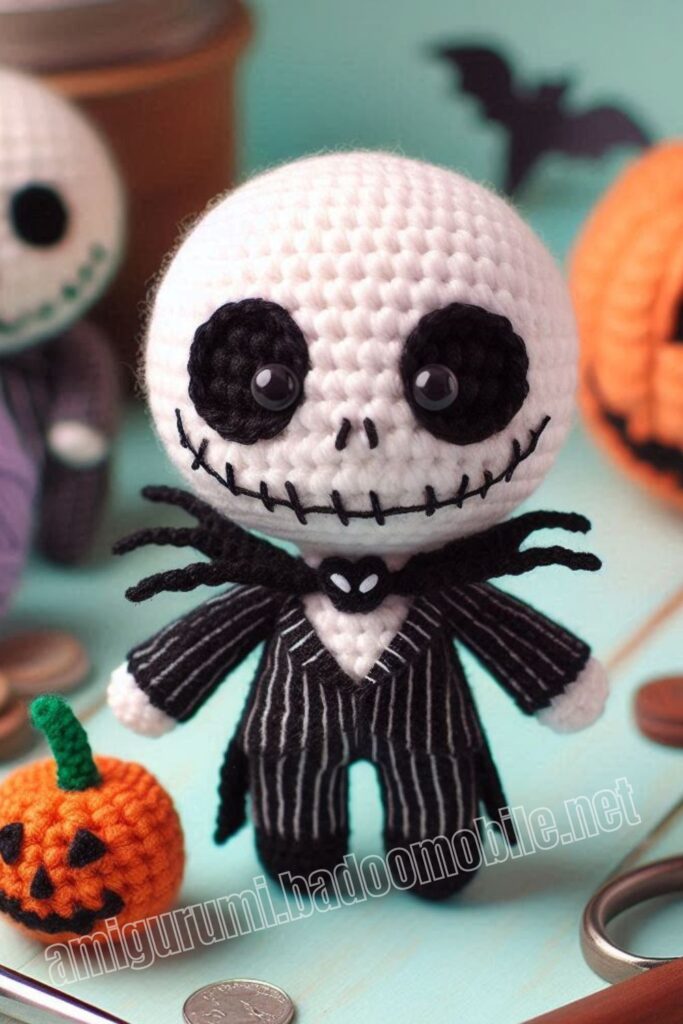
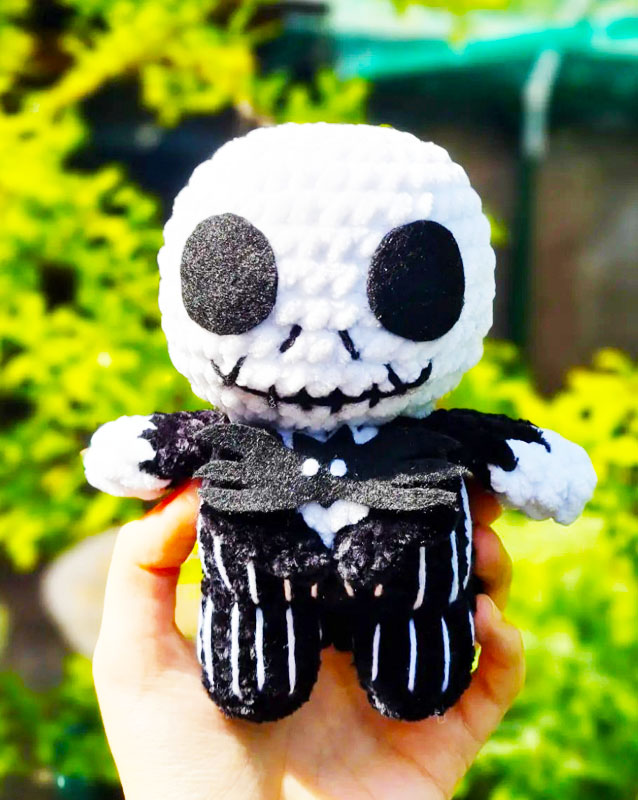
Todays daily new amigurumi free crochet pattern is Amigurumi Jack Skellington Halloween Doll.
I want to give you some informations about this amigurumi free pattern ; Jack Skellington Halloween Doll.
Materials
Hook: 5mm
Black chenille size 4 medium
O White chenille size 4 medium
black cotton/acrylic yarn
white cotton/acrylic yarn
Black felt
white felt
Stuffing
Tapestry needle
Stitch markers
Scissors
hot/super glue
Abbreviations
R: round
St: stitch
mr: magic ring
ch: chain
sc: single crochet
hdc: half double crochet
sl st: slip stitch
inc: increase
dec: decrease
BLO: back loop only
FO: fasten off
cc: change color
Head
Use white yarn
R1: 8sc in a mr (8)
R2: 8inc (16) R3: (sc, inc)x8 (24)
R4: (3sc, inc)x6 (30)
R5: (2sc, inc, 2sc)x6 (36)
R6-10: 36sc (36) – 5 rounds
R11: (4sc, dec)x6 (30)
R12: (3sc, dec)x6 (24)
R13: (4sc, dec)x4 (20)
Cut yarn, FO with invisibile join. Add fiber fill (stuff a lot to get rounded shape).

Body pt.1
Start with black yarn
R1: 5sc in a mr (5)
R2: 5inc (10)
R3: BLO 10sc (10)
R4-5: 10sc (10) – 2 rounds
Cut yarn and FO with an invisibile join. Make another leg but this time don’t cut yarn and ch2 (pic 1).
R6: Insert the hook in any of the first leg st (pic 2) and make 10sc, 2sc in the 2ch, 10sc, 2sc in the 2ch (24)
Body pt.2
R7: (3sc, inc)x2, 6sc, inc, 3sc, inc, 5sc (28)
R8: BLO 28sc (28)
R9: 28sc (28)
R10: 13sc, cc to white 2sc. cc to black 13sc (28)
R11: 12sc, cc to white 4sc, cc to black 12sc (28)
R12: (3sc, dec)x2, sc, cc to white 2sc, dec, 2sc, cc to black, sc, dec, 3sc, dec, 3sc (23)
Start stuffing as you go, when you stuff the feet remember to keep them flat
R13:4sc, dec, 3sc, cc to white sc, dec, 2sc, cc to black 2sc, dec, 5sc (20)
Finish stuffing.
Cut yarn leaving a long tail for sewing (pic 3).

Don’t worry if the color change isn’t neat, you are going to cover that part by making the jacket’s front hem
Arms (x2)
Start using white yarn
R1: 4sc in a mr (4)
R2: 4inc (8)
R3-5: cc to black 8sc (8) – 3 rounds

R6: fold the arm and close it making 4sc (4) Cut yarn leaving a long tail (pic 4).

jacket’s front hem
Start using black yarn
R1: slip knot, ch6, starting from the 2nd ch from the hook make: 1sc, 1hdc, ch 2, in the back of the 2nd ch from the hook make 1sc (pics 6-8), sc in the next 3sts.
Cut yarn leaving a ling tail for sewing (pic 5).

jacket’s back hem
Count 8 BLO sts (made in R8) in the back of the body (you can mark the first and last sts with a stitch marker.
R1: Insert hook in the BLO st of R8 and ch5 (the first ch doesn’t count as a st), sl st in the 2nd ch from the hook and make 2sc in the next 2sts. R2: sl st in the next st, ch5, sl st in the 2nd ch from the hook and make 3sc in the next 3sts
R3: sl st in the next st, ch4, sl st in the 2nd ch from the hook and make 2sc in the next 2sts
Repeat R2 and R3 until you have 7 spikes (you should end with a short one of R3).
Cut yarn and FO (pic 9).

Sewing
• Sew the head to the body, add fiber fill while Sewing if needed
• Sew the arms to the body at R12-13
• Cut 2 black felt circles using pic 10 as reference and glue them on R7-9

Note that the size may vary according to the yarn you are using
Body details
• Sew the jacket’s front hem following the outline of the white Stitches
• With white cotton/acrylic yarn sew the suit’s stripes: sew the legs’ part and the upper part separately
• Cut black and white felt to make the papillon like pic

Congrats! You’ve finished your Jack Skellington…
More Amigurumi Jack Skellington Ideas:
