Hello dear Amigurumi Followers
Today we share Amigurumi Crochet Stella the Little Unicorn Free Pattern for you. As you know we share new free amigurumi pattern every day. The main crochets are gazelle, amigurumi bear, pola, crochet panda, penguin, giraffe, llama, pig, bunny, clown, lamb, bee, crochet unicorn, amigurumi doll, fox, penguin, dinosaur, crochet elephant, hippo, monkey, crochet cat, crochet dog and more …
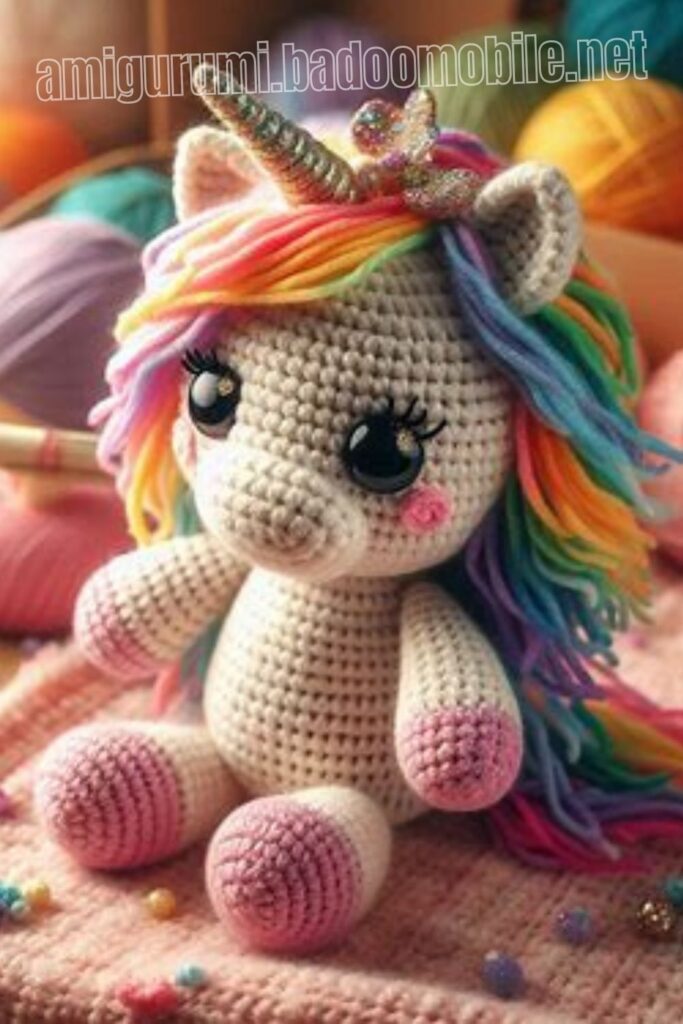
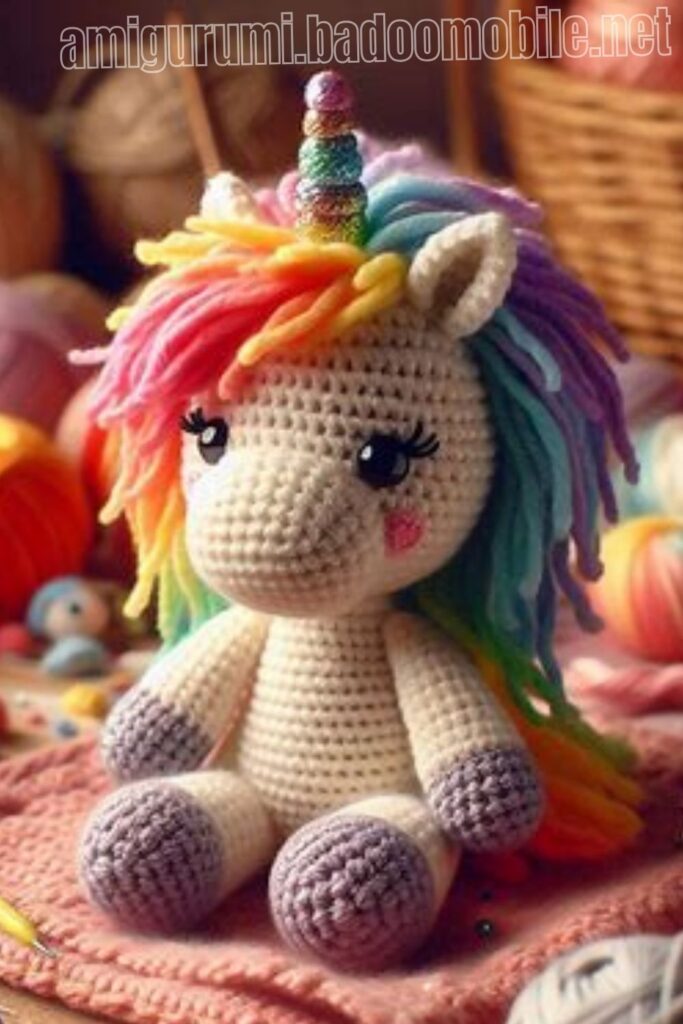
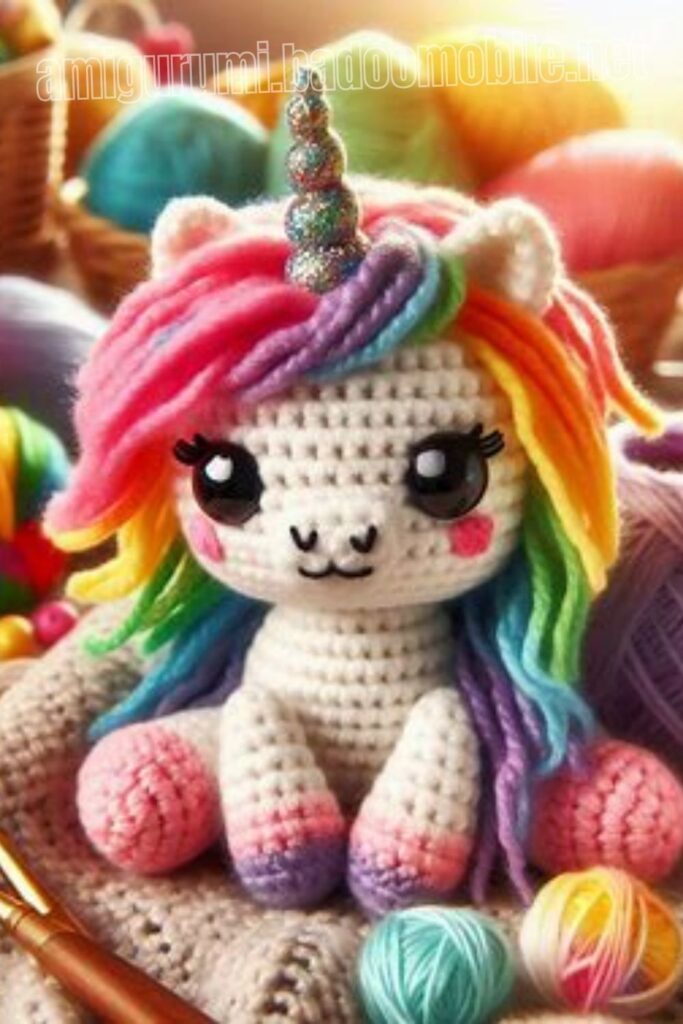
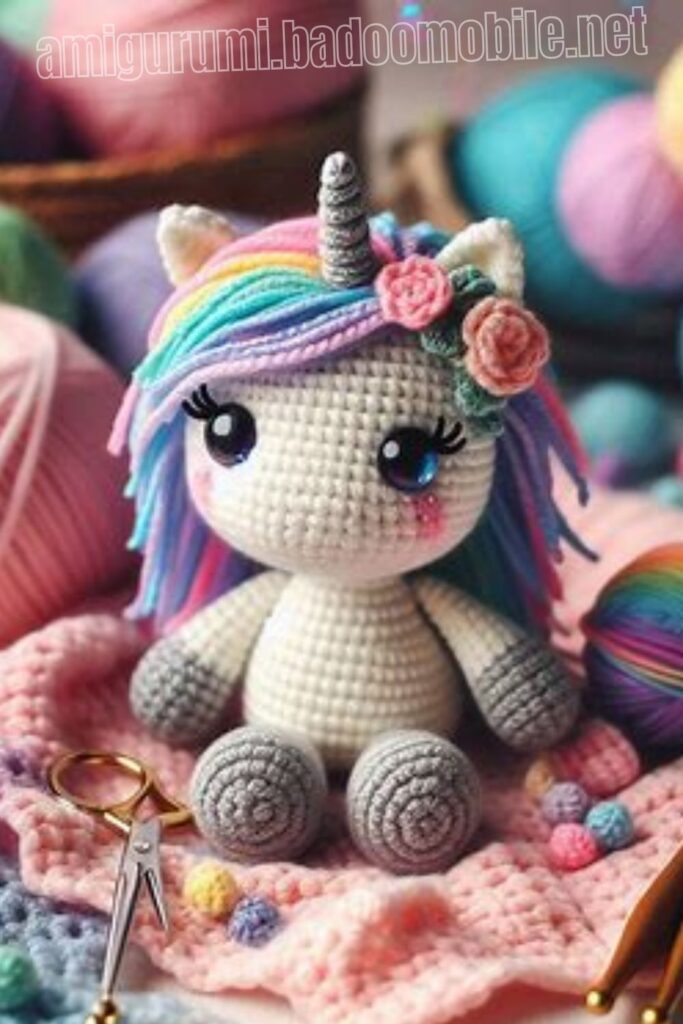
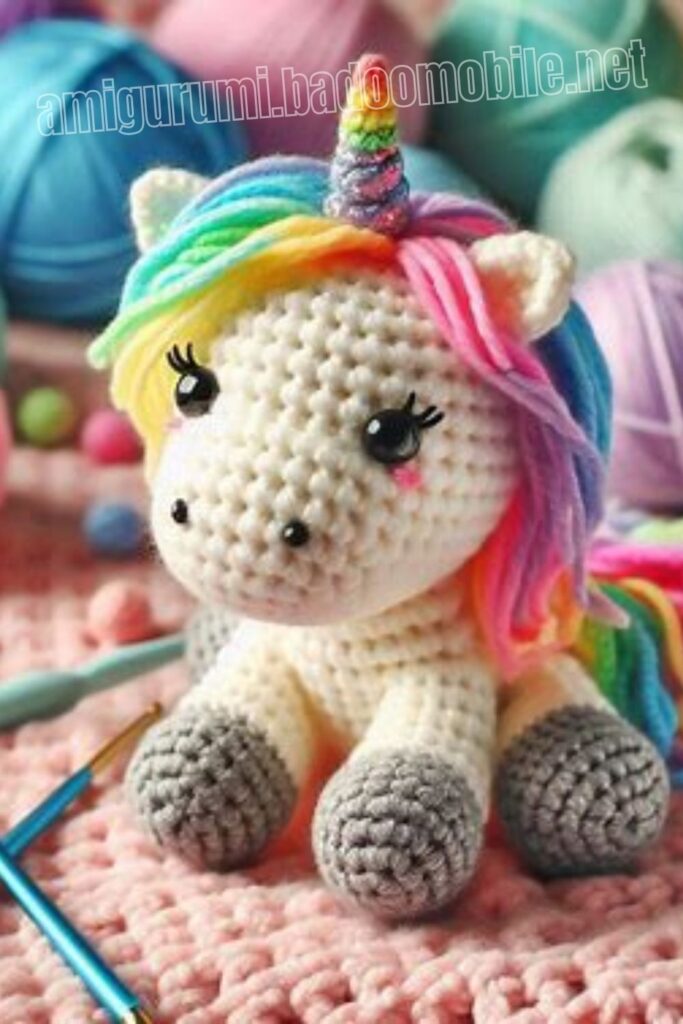
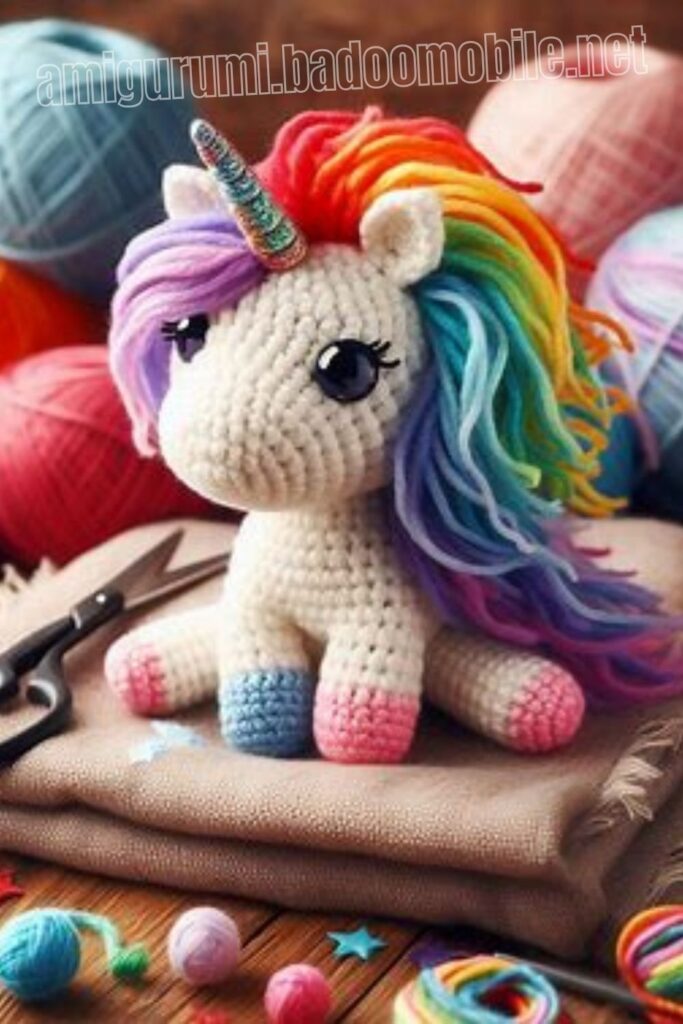
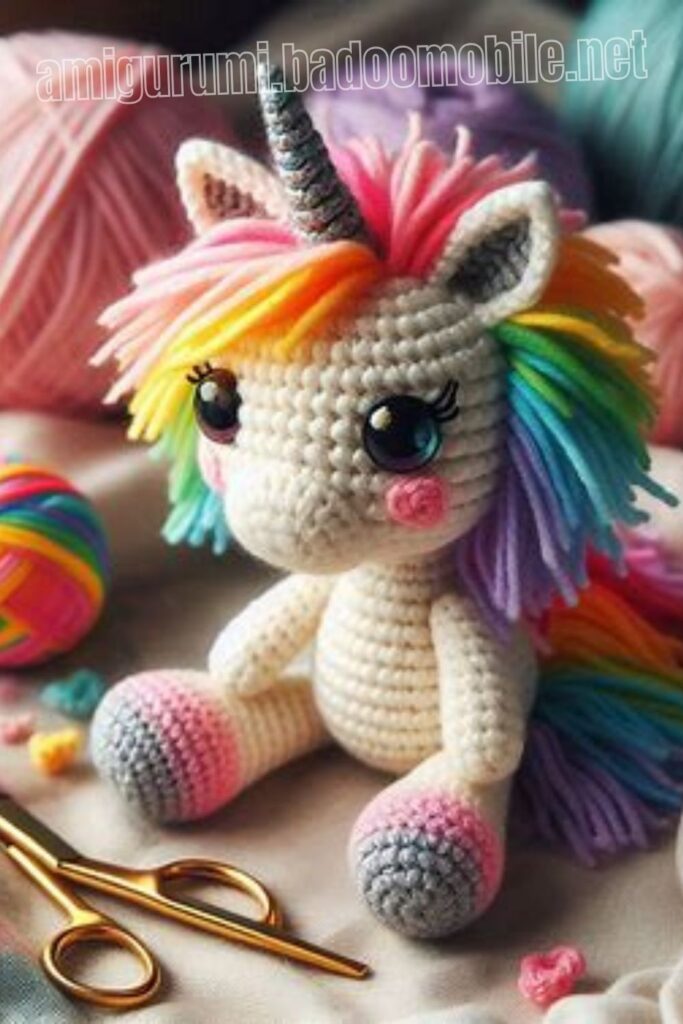
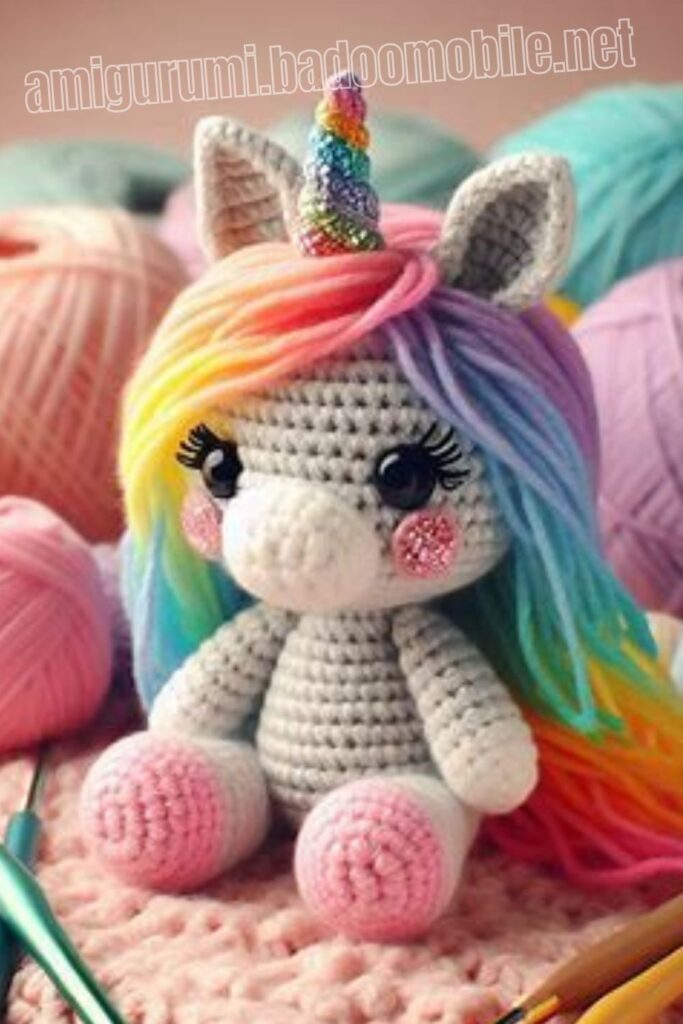
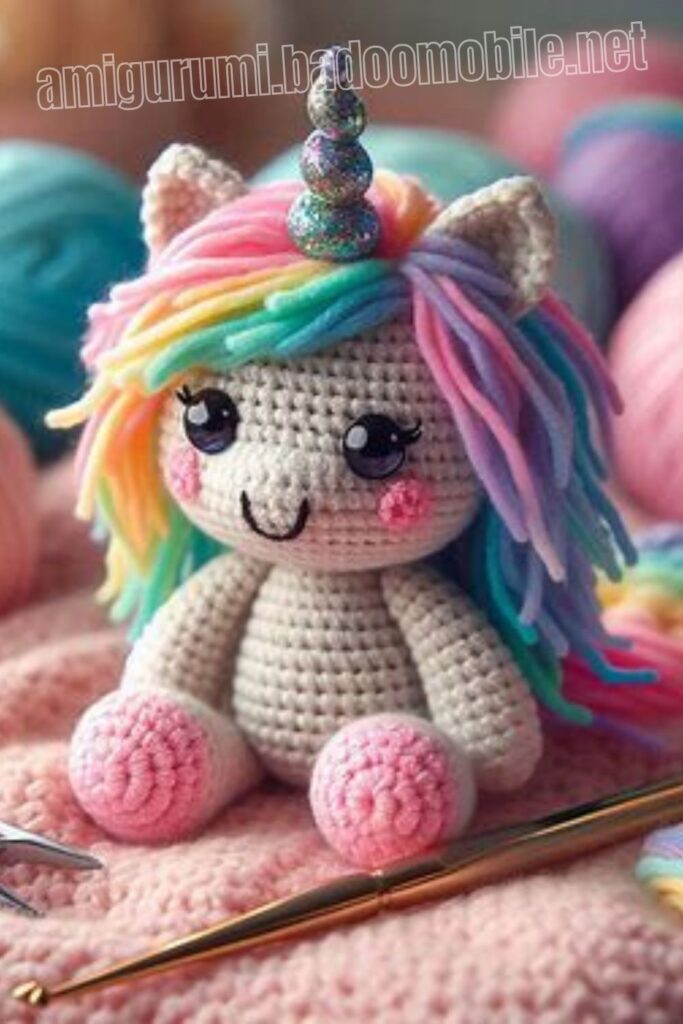
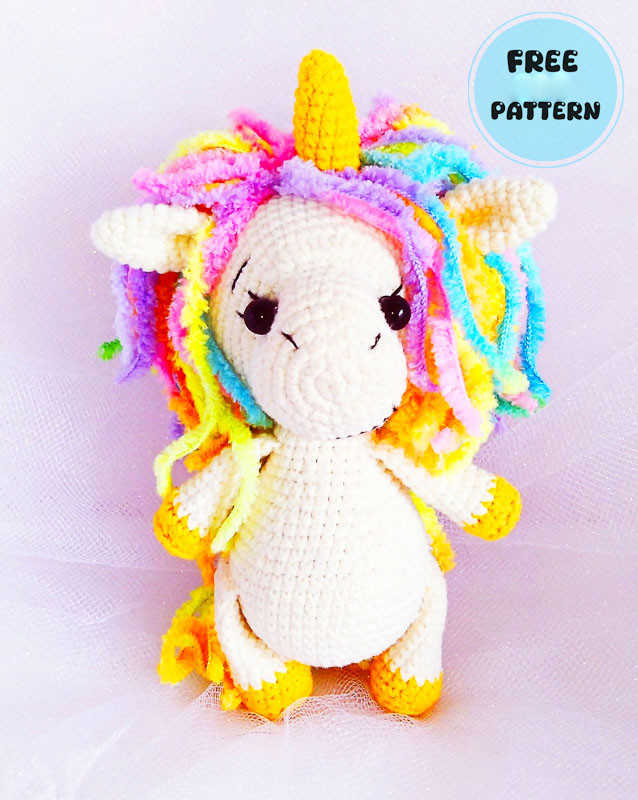
Todays daily new amigurumi free crochet pattern is Amigurumi Crochet Stella the Little Unicorn.
I want to give you some informations about this amigurumi free pattern ; Crochet Stella the Little Unicorn.
Materials and tools:
A crochet hook suitable for your yarn.
YarnArt JEANS yarn, color 03 (main).
YarnArt JEANS yarn, color 35 (for the horn and hooves).
Alize Baby Softy yarn, color 51307 (variegated).
Stuffing.
Safety eyes or sew-on eyes (beads, half-beads – your choice).
A little black thread for embroidering the muzzle.
Sewing needle, scissors, pins, stitch marker.
Attention!
This pattern does not include crochet lessons and is intended for those who have basic crochet skills. The difficulty level of this pattern is easy.
The finished toy will be about 15 cm tall when using the specified materials.
We start crocheting with the legs. All parts are worked in a spiral.
Abbreviations:
MR – magic ring
sc – single crochet
ch – chain
inc – increase
dec – decrease
sl st – slip stitch
hdc – half double crochet
Amigurumi Crochet Stella the Little Unicorn Free Pattern:
FRONT (upper) LEGS, make 2 pieces.
Round 1: 6 sc in MR
Round 2: 6 inc = (12)
Round 3: 12 sc in back loops only = (12)
Round 4: 12 sc
Change to main color
Rounds 5–13: 12 sc
Stuff slightly only the lower part (“hoof”)
Fold in half, crochet 6 sc together.
BACK (lower) LEGS, make 2 pieces.
Round 1: 7 sc in MR
Round 2: 7 inc = (14)
Round 3: 14 sc in back loops only = (14)
Rounds 4–5: 14 sc
Change to main color
Rounds 6–13: 14 sc
As with the front legs, stuff slightly only the lower part (“hoof”)
Fold in half, crochet 7 sc together.
HORN
Round 1: 6 sc in MR
Round 2: (1 sc, inc) repeat 3 times = (9)
Round 3: 9 sc
Round 4: (2 sc, inc) repeat 3 times = (12)
Rounds 5–10: 12 sc
Stuff lightly, leave a tail for sewing.
EARS, make 2 pieces.
Round 1: 6 sc in MR
Round 2: (1 sc, inc) repeat 3 times = (9)
Round 3: 9 sc
Round 4: (2 sc, inc) repeat 3 times = (12)
Round 5: 12 sc
Round 6: (3 sc, inc) repeat 3 times = (15)
Rounds 7–8: 15 sc
Round 9: (3 sc, dec) repeat 3 times = (12)
Round 10: 12 sc
Do not stuff the ears, fold in half, crochet 6 sc, fold in half again, make a few stitches with a needle, secure with a knot, leave a tail for sewing to the head.
BODY
Round 1: 6 sc in MR
Round 2: 6 inc = (12)
Round 3: 12 inc = (24)
Round 4: (3 sc, inc) repeat 6 times = (30)
Round 5: (4 sc, inc) repeat 6 times = (36)
Round 6: (5 sc, inc) repeat 6 times = (42)
Round 7: 42 sc
Round 8: (6 sc, inc) repeat 6 times = (48)
Round 9: 48 sc
In the next round we will attach the legs.
Note: the toy will look neater if the color change on both legs is placed at the back.
Round 10: 8 sc, 7 sc together with the leg, 17 sc, 7 sc together with the second leg, 9 sc (48)
Rounds 11–14: 48 sc
Round 15: (6 sc, dec) repeat 6 times = (42)
Round 16: 42 sc
Round 17: (5 sc, dec) repeat 6 times = (36)
Round 18: 36 sc
Round 19: (4 sc, dec) repeat 6 times = (30)
Round 20: 30 sc
Round 21: (3 sc, dec) repeat 6 times = (24)
Round 22: 24 sc
Now we will attach the arms.
Again, make sure the color change on the hooves is placed at the back. If necessary, add extra sc until you reach the middle of the back to adjust for stitch shifting, so that the upper legs are aligned parallel to the lower ones. The next round is described starting from the middle of the back.
Round 23: 3 sc, 6 sc together with the arm, 6 sc, 6 sc together with the second arm, 3 sc (24)
Round 24: 24 sc
Stuff the body, leave a tail for sewing the head.
HEAD
Round 1: 6 sc in MR
Round 2: 6 inc = (12)
Round 3: 12 inc = (24)
Round 4: (3 sc, inc) repeat 6 times = (30)
Round 5: (4 sc, inc) repeat 6 times = (36)
Rounds 6–8: 36 sc
Round 9: (4 sc, dec) repeat 6 times = (30)
Round 10: work in front loops only: (4 sc, inc) repeat 6 times = (36)
Round 11: (4 sc, inc) repeat 3 times, then make 6 hdc increases, (inc, 4 sc) repeat 3 times = (48)
Round 12: (7 sc, inc) repeat 6 times = (54)
Rounds 13–21: 54 sc
Round 22: (7 sc, dec) repeat 6 times = (48)
Round 23: (6 sc, dec) repeat 6 times = (42)
Round 24: (5 sc, dec) repeat 6 times = (36)
Round 25: (4 sc, dec) repeat 6 times = (30)
Round 26: (3 sc, dec) repeat 6 times = (24)
Round 27: (2 sc, dec) repeat 6 times = (18)
Stuff the head at this stage.
Round 28: (1 sc, dec) repeat 6 times = (12)
Round 29: 6 dec = (6)
Close the opening, hide the tail inside the piece.
ASSEMBLY
To attach the head evenly, I secure it with a pin.
To make the head sit firmly and not wobble, stuff some filling into the opening while sewing.
For the eyes, I used 6 mm beads, first making a tightening on the muzzle.
I make the tightening and attach the eyes at the beginning and end of the hdc increases in Round 11.
I used “Azhurnaya” thread from Pekhorka for embroidering.
I attached the mane and tail using the same technique as tassels on a scarf.
And now your unicorn is ready!
I hope the creation process was easy and enjoyable, and that the result met your expectations!
More Amigurumi Unicorn Ideas:
