Hello dear Amigurumi Followers
Today we share Amigurumi Crochet Sea Turtle Free Pattern for you. As you know we share new free amigurumi pattern every day. The main crochets are gazelle, amigurumi bear, pola, crochet panda, penguin, giraffe, llama, pig, bunny, clown, lamb, bee, crochet unicorn, amigurumi doll, fox, penguin, dinosaur, crochet elephant, hippo, monkey, crochet cat, crochet dog and more …
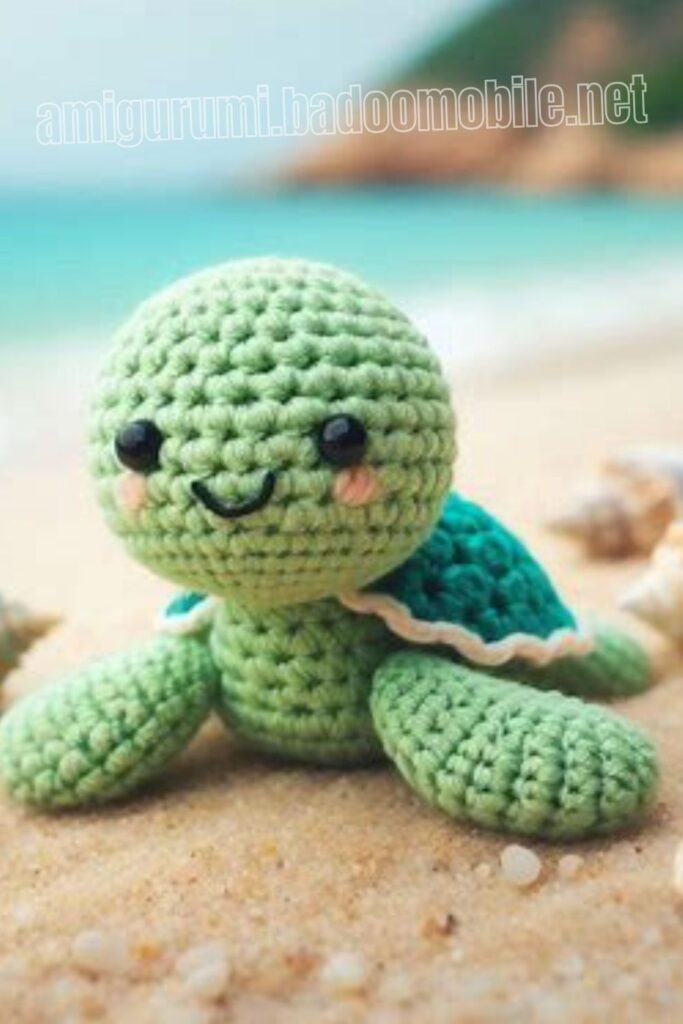
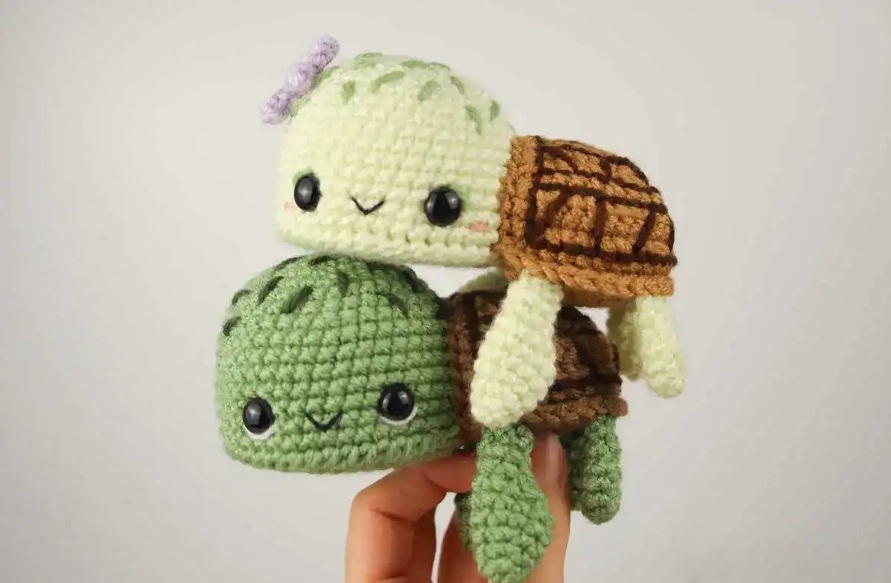
Todays daily new amigurumi free crochet pattern is Amigurumi Crochet Sea Turtle.
I want to give you some informations about this amigurumi free pattern ; Crochet Sea Turtle.
Materials
– G (4 mm) crochet hook
– 10.5 mm black safety eyes
– Fiberfill (or your stuffing of choice)
– Bent tip tapestry needle
– Scissors
– Stitch marker
– Straight pins
– Black embroidery floss
– Cardboard
Abbreviation
– sc – single crochet
– st/sts – stitch(es)
– sl st – slip stitch
– dec – decrease (join the next 2 stitches together)
– inc – increase (2 single crochet in the next stitch)
– R1 – round 1
– rep – repeat
– ** – repeat the group of instructions between the asterisks the number of times indicated.
Amigurumi Crochet Sea Turtle Free Pattern:
Flower Detail (Optional – Using Purple Yarn)
Start with a long tail
R1: *ch 4, starting in 2nd ch from hook, sl st 3* rep 5 times. There should be 5 “petals” by the time you are finished. Finish off leaving a tail for sewing. Sew the two ends together to create the flower (see pic. #1). Do not cut the tails yet. Set aside until we make the head.
Head (Using Light Green Yarn)
R1: ch 2, 6 sc in 2nd ch from hook (6 sts) (you can use the magic circle/ring if you prefer as it won’t make a difference in the end. Watch this video to see how to start crocheting in the round using the “ch 2 method”.)
R2: *inc* rep 6 times (12 sts)
R3: *sc 1, inc* rep 6 times (18 sts)
R4: *sc 2, inc* rep 6 times (24 sts)R5: *sc 3, inc* rep 6 times (30 sts)
R6: *sc 4, inc* rep 6 times (36 sts)
R7-8: sc in all 36 sts (2 rounds total at 36 sts each)
R9: *sc 5, inc* rep 6 times (42 sts)
R10-16: sc in all 42 sts (7 rounds total at 42 sts each)
Finish off leaving a short tail.
Adding the Face Details
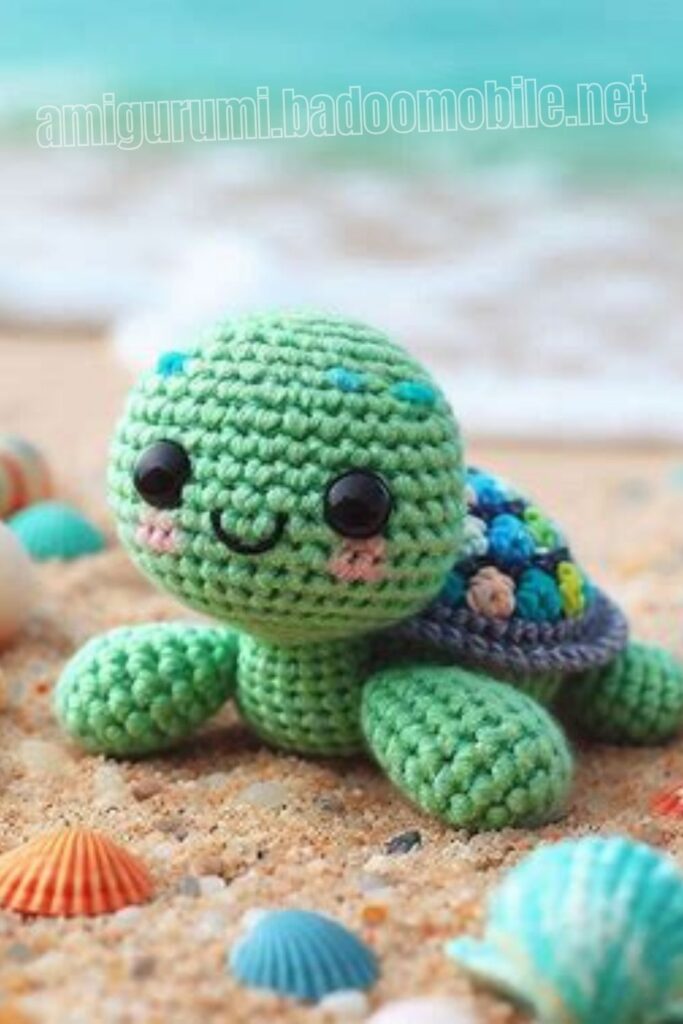
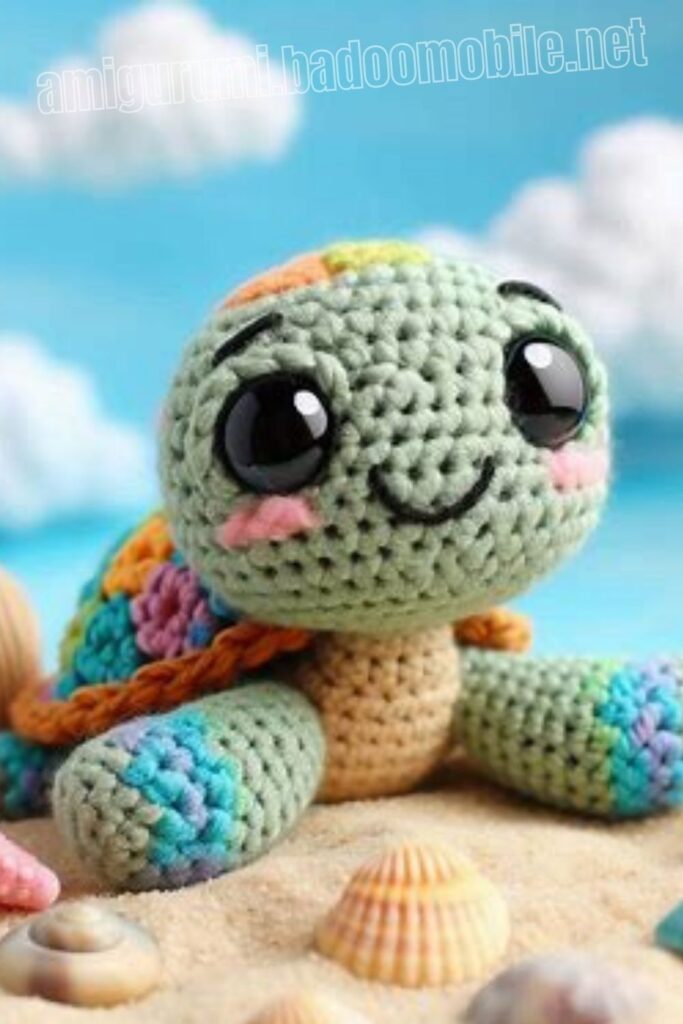
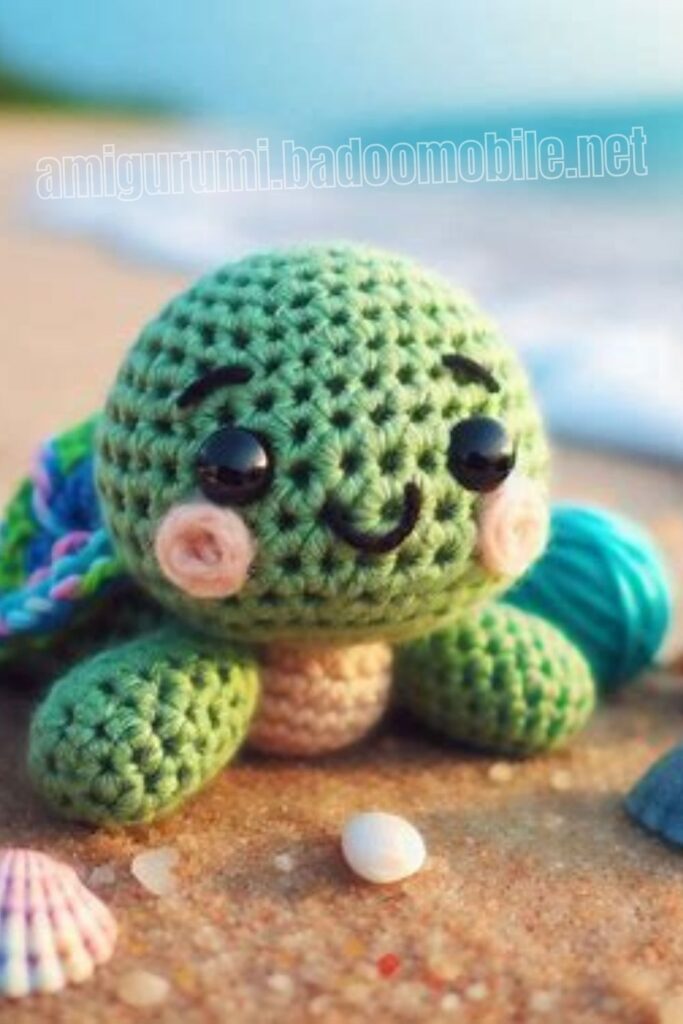
Insert your 10.5 mm safety eyes between R14 & 15, 8 sts apart (Hint: insert the 1st eye. Count 8 sts from the hole where you inserted the 1st eye and insert the 2nd eye. There will be 6 visible sts between the eyes.)
Using black embroidery floss, embroider a smile about 2 sts wide over R15 of the head centered between the eyes. Watch this video to learn how to embroider a simple smile.
Now, take some pink yarn and embroider two little cheeks between R15 & 16 of the head, spaced one stitch away from the eyes. Make one straight stitch that is one stitch wide. Repeat on the other side for the 2nd cheek.
Take some dark green yarn and embroider a small stitch over the outer top corners of the eyes.
Embroidering the Head and Adding the Flower
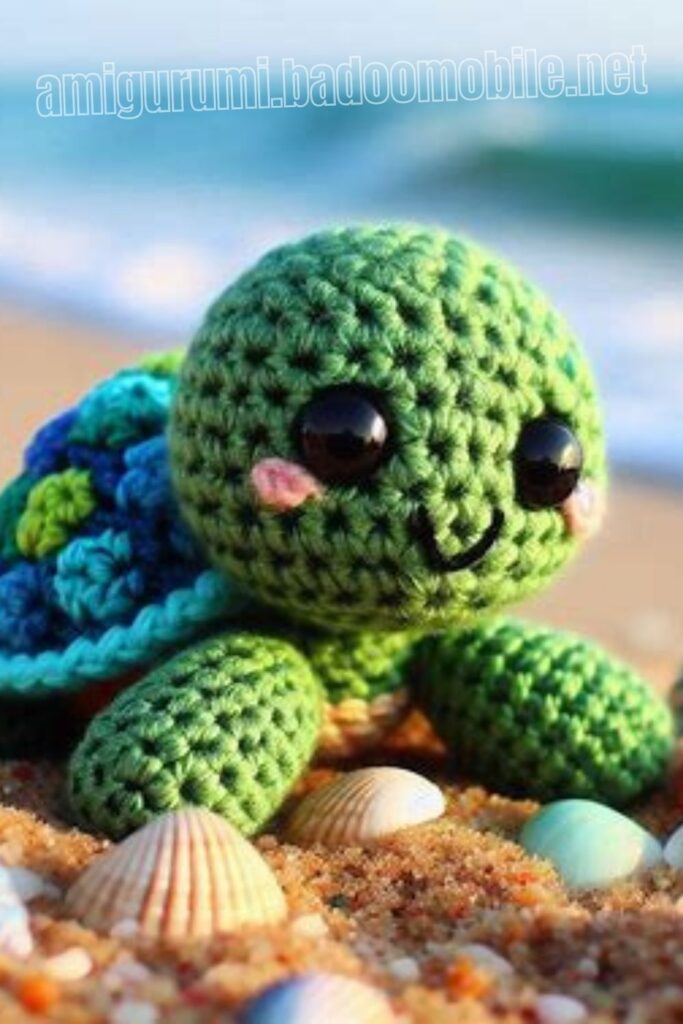
To make the markings on the top of the head, take a long piece of dark green yarn and thread your tapestry needle. Make a large knot at the end of the yarn to ensure it doesn’t pop out. Embroider short straight stitches all over the top of the head, making sure not to go down further than R9 of the head, or it will interfere with sewing the shell on. You can make as many or few stitches as you like, but refer to the below photos to see how I made mine. When you are finished, make a knot in the inside of the head to secure the sewing.
If you want to sew a flower to the side of the head, now is the time to do it. I sewed mine to R8 of the head. Weave both the starting and sewing tails into the inside of the head and knot them together to secure.
Set the top of the head aside until we make the bottom piece.
Bottom Piece of Head (Using Light Green Yarn)
We will stagger the increases on the bottom piece to create a nice, round bottom. I’ve written out exactly how to do this here.
R1: ch 2, starting in the 2nd ch from hook, sc 6 (6 sts)
R2: *inc* rep 6 times (12 sts)
R3: *sc 1, inc* rep 6 times (18 sts)
R4: sc 1, inc, *sc 2, inc* rep 5 times, sc 1 (24 sts)R5: *sc 3, inc* rep 6 times (30 sts)
R6: sc 1, inc, *sc 4, inc* rep 5 times, sc 3 (36 sts)R7: sc 3, inc, *sc 5, inc* rep 5 times, sc 2 (42 sts)
Finish off neatly using the invisible finish (see “Special Stitches and Techniques Used in This Pattern” under the “Important Additional Info” section at the beginning of this pattern) and leave a long tail for sewing.
Cut out a round piece of cardboard the same size as the bottom piece of the head and set it aside.
We will now sew the top of the head to the bottom piece. Since the last rounds of both pieces have 42 sts, they will line up perfectly.
Whipstitch the two pieces together using the long tail we left and your tapestry needle.
When you are about halfway through, stop and start to stuff the head. Insert the round cardboard piece on top of the stuffing. This helps keep the bottom of the head flat. Continue to sew the two pieces together. Keep stuffing the head under the cardboard piece until you finish.
Knot the finishing tail we left from the top of the head and the remaining sewing tail together to secure the sewing and weave both tails into the head to finish (see the collage photo below).
Bottom of Shell (Using Light Brown Yarn)
R1: Ch 7, starting in the 2nd ch from hook, sc 6, rotate your work 180 degrees, and in the front loops of the chain, sc 6, ch 1, turn (12 sts)
By chaining 1 and turning, we now have a half-oval shape and we will continue to ch 1 and turn at the end of each row so that there is a flat edge at the top. Watch this video to see an example of how to crochet a half-oval.
R2: sc 4, inc 4, sc 4 (16 sts), ch 1, turn
R3: sc 4, *sc 1, inc* rep 4 times, sc 4 (20 sts), ch 1, turn
R4: sc 4, *inc, sc 2* rep 4 times, sc 4 (24 sts)
Now, sc 6 along the top flat edge of the shell piece to give it a clean finish. Place a stitch marker in the first of the 6 sts and the last. Finish off neatly using the invisible finish (see “Special Stitches and Techniques Used in This Pattern” under the “Important Additional Info” section at the beginning of this pattern) and leave a tail.
Top of Shell (Using Light Brown Yarn)
R1: ch 7, starting in the 2nd ch from hook, sc 6, rotate your work 180 degrees and in the front loops of the chain, sc 6, ch 1, turn (12 sts) By chaining 1 and turning, we now have a half oval shape (just like we did for the bottom of the shell).
R2: sc 4, inc 4, sc 4 (16 sts), ch 1, turn
R3: sc 4, *sc 1, inc* rep 4 times, sc 4 (20 sts), ch 1, turn
R4: sc in all 20 sts (20 sts), ch 1, turn
R5: sc 4, *inc, sc 2* rep 4 times, sc 4 (24 sts), ch 1, turn
R6-9: sc in all 24 sts, ch 1, turn (4 rows total at 24 sts each)
Sc 16 along the top flat edge of the shell to give it a clean finish. Place a stitch marker in the first of the 16 sts. Do not finish off.
Now, we will crochet the top of the shell to the bottom of the shell. Since there are 24 sts around both the top and bottom pieces, they will line up perfectly.
Holding the shell upside down, start by placing the two pieces together and insert your hook into the next stitch on the top and then into the corner stitch of the bottom piece. Make a sc st and mark this first st with a stitch marker. Continue to join the two pieces together with sc sts.
Crochet around until you’ve joined all 24 sts together. We will not be crocheting into the flat edges of either piece. Finish off neatly using the invisible finish and leave a long tail for sewing.
Embroidering the Shell
To embroider the shell details, thread your tapestry needle with dark brown yarn and make a large knot at the end to ensure it doesn’t pop out. Use the below photos as a guide on how to embroider the markings. You can also watch this step-by-step video on how to embroider the shell.
Sewing the Shell on
Stuff the shell lightly. Position the shell to the side of the head. The side of the shell should be about two sc sts away from the eye. The top of the shell should be positioned over R8, and the bottom of the shell over the bottom edge of the head. Use straight pins to pin the shell in place so it stays in place while you sew it on.
Use the seamless join method to sew the shell to the head. Watch this video to learn how to sew using the seamless join method.
Front Flippers (Using Light Green Yarn)
R1: ch 2, starting in the 2nd ch from hook, sc 4 (4 sts)
R2: *sc 1, inc* rep 2 times (6 sts)
R3: *sc 2, inc* rep 2 times (8 sts)
R4: *sc 3, inc* rep 2 times (10 sts)
R5-6: sc in all 10 sts (2 rounds total at 10 sts each)
R7: dec 2, sc 6 (8 sts)
R8: dec 2, sc 4 (6 sts)
R9: sc in all 6 sts (6 sts)
Finish off leaving a long tail for sewing. Do not stuff the flippers. Instead, flatten them, and then, for each flipper, sew the open ends closed using the whipstitch to create a flat edge for sewing. Watch this video to learn how to sew the open ends closed on a crocheted piece.
Position the front flippers to the underside of the shell. You’ll want to sew the flippers to the last round of the shell about one stitch away from the head. Sew the flippers to the shell using the whipstitch.
When you finish sewing both flippers on, weave the remaining tails from both flippers to the back of the shell and knot the two tails together to secure the sewing. Weave the remaining tails into the body to finish.
Back Flippers (Using Light Green Yarn)
R1: ch 2, starting in the 2nd ch from hook, sc 4 (4 sts)
R2: *sc 1, inc* rep 2 times (6 sts)
R3: *sc 2, inc* rep 2 times (8 sts)
R4: sc in all 8 sts (8 sts)
R5: *sc 2, dec* rep 2 times (6 sts)
R6: sc in all 6 sts (6 sts)
Finish off leaving a long tail for sewing. Do not stuff the flippers. Instead, flatten them and, like we did for the front flippers, sew the open ends closed using the whipstitch to create a flat edge for sewing.
Position the back flippers to the underside of the shell. The back flippers will be spaced about 4 sc sts away from the front flippers, and there should be about 3 sc sts between the two back flippers. Sew the flippers to the shell using the whipstitch.
As we did for the front flippers, when you finish sewing both flippers on, weave the remaining tails from both flippers to the back of the shell and knot the two tails together to secure the sewing. Weave the remaining tails into the body to finish.
Congratulations!!!
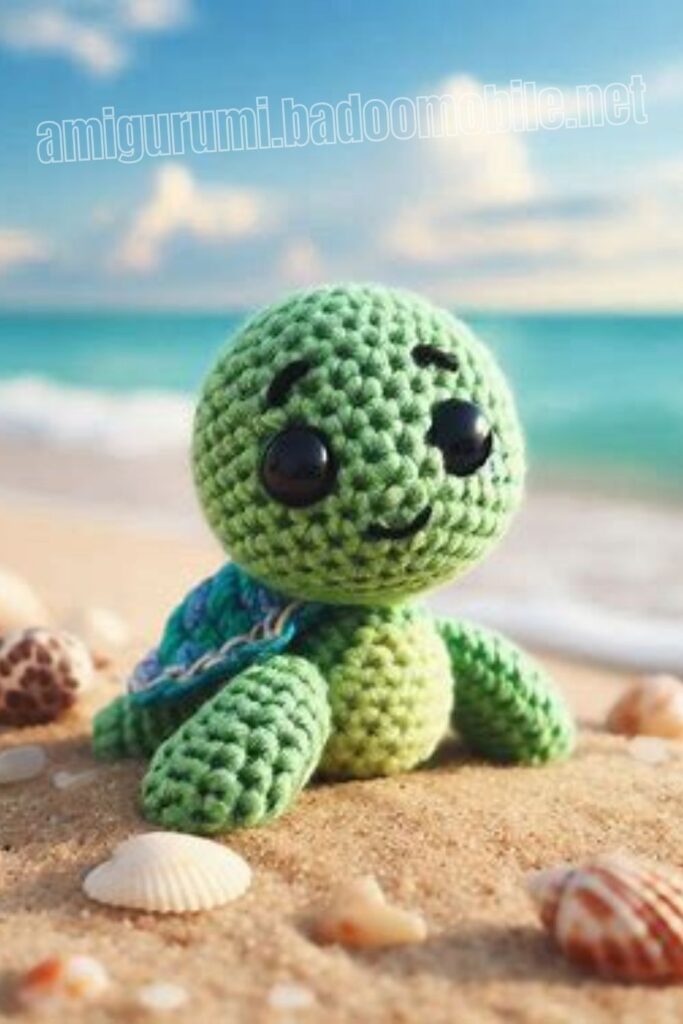
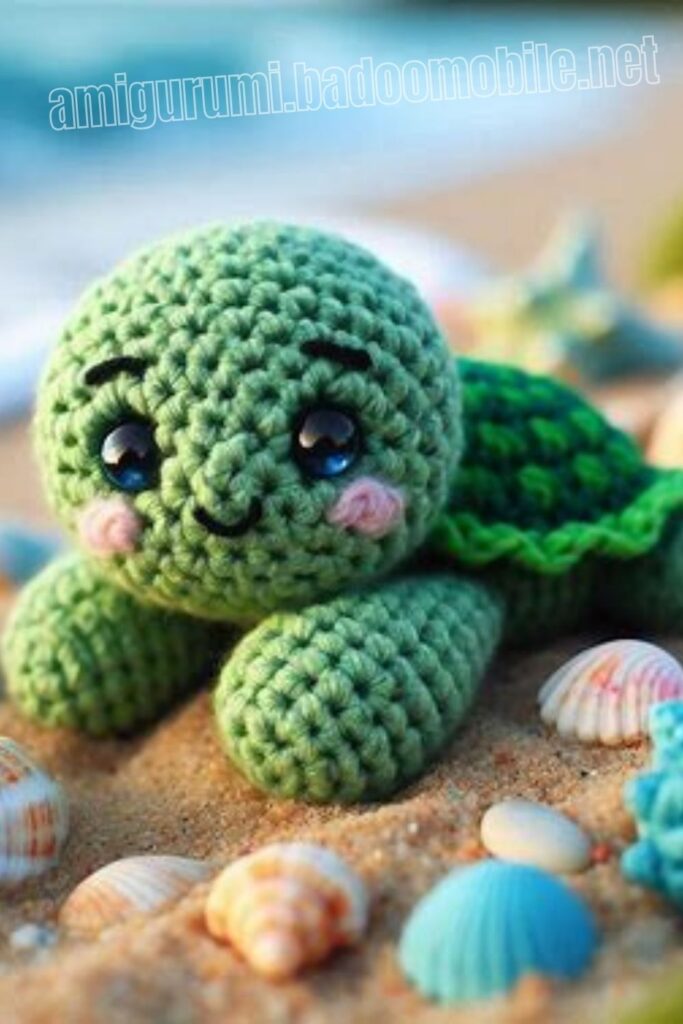
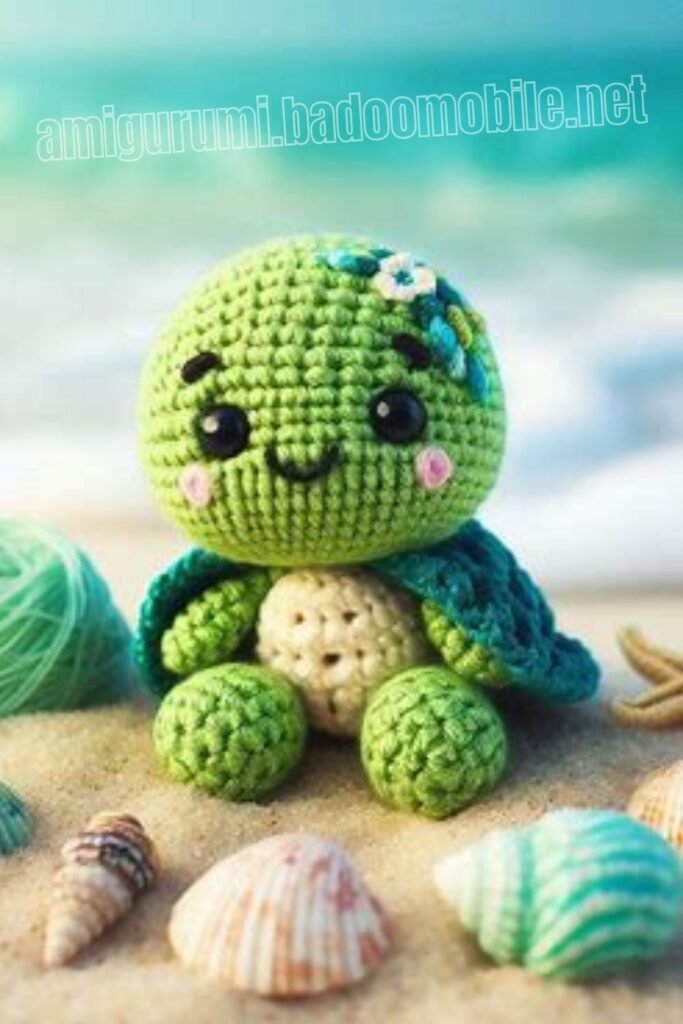
More Amigurumi Sea Turtle Ideas:
