Hello dear Amigurumi Followers
Today we share Amigurumi Plush Shiba Inu Free Pattern for you. As you know we share new free amigurumi pattern every day. The main crochets are gazelle, amigurumi bear, pola, crochet panda, penguin, giraffe, llama, pig, bunny, clown, lamb, bee, crochet unicorn, amigurumi doll, fox, penguin, dinosaur, crochet elephant, hippo, monkey, crochet cat, crochet dog and more …
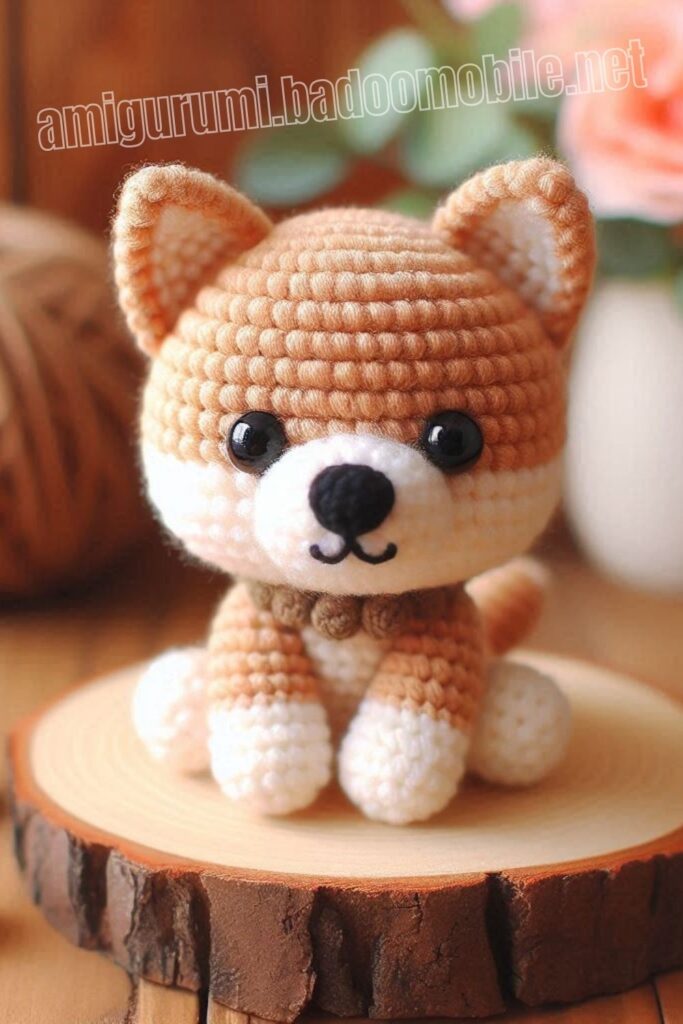
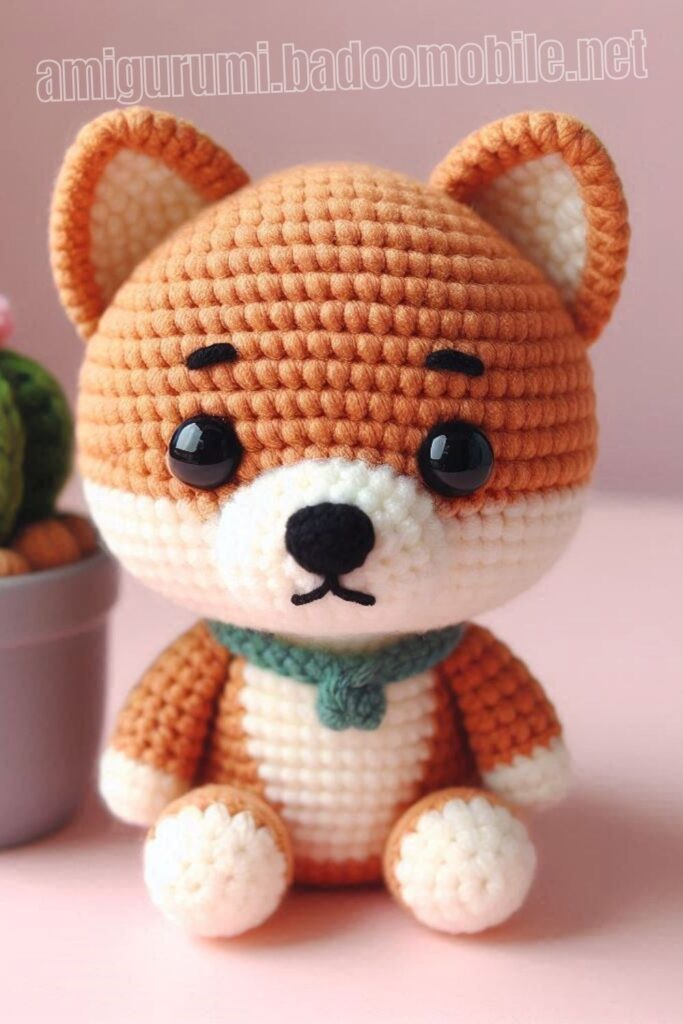
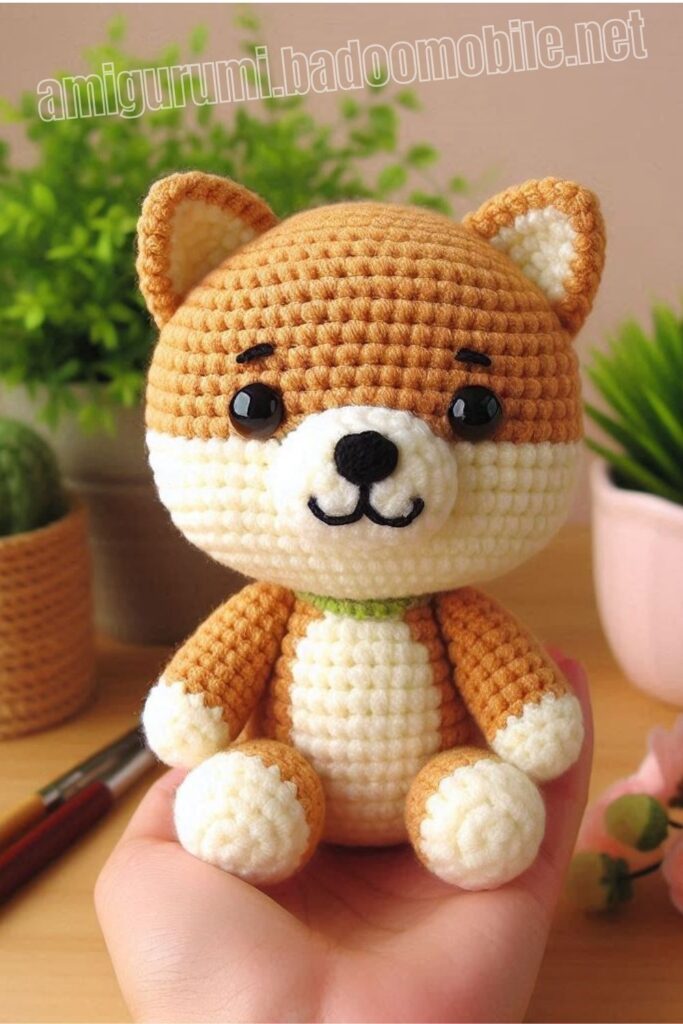
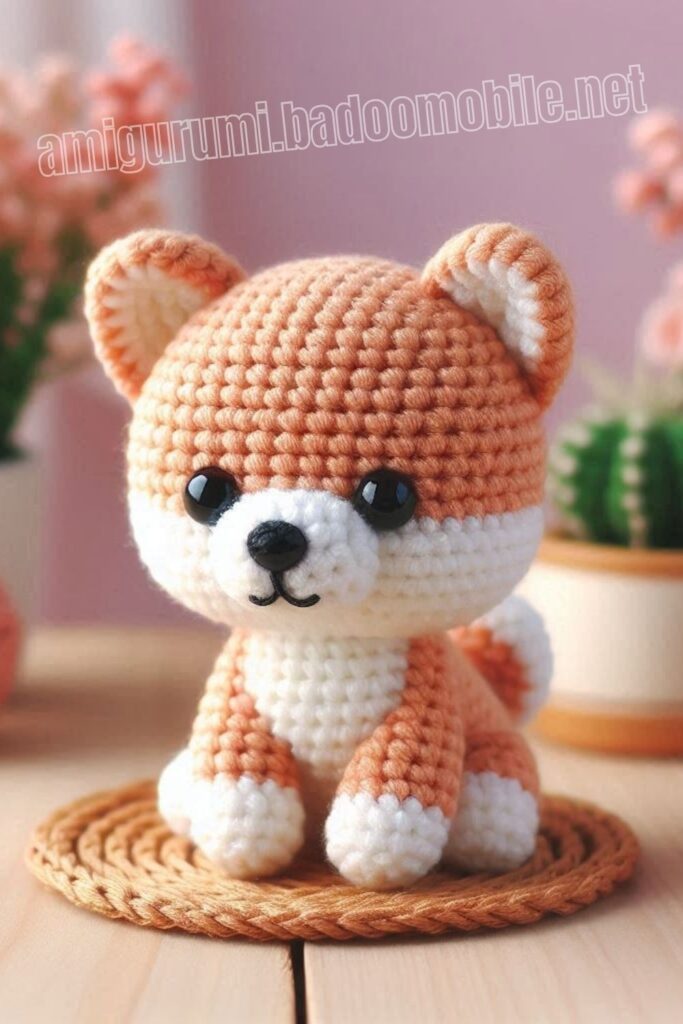
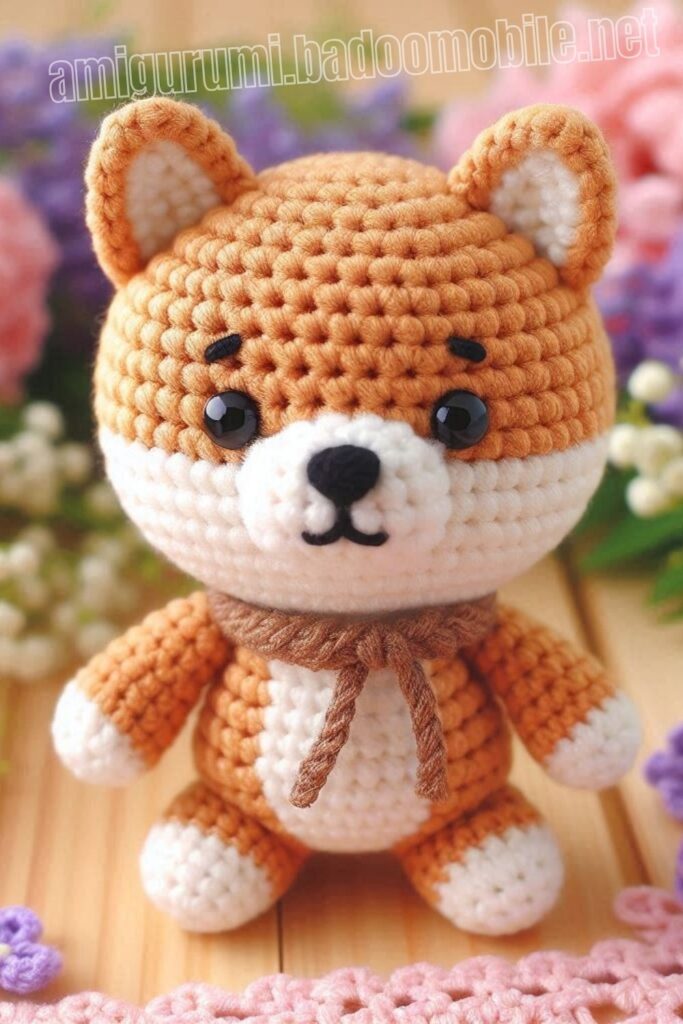
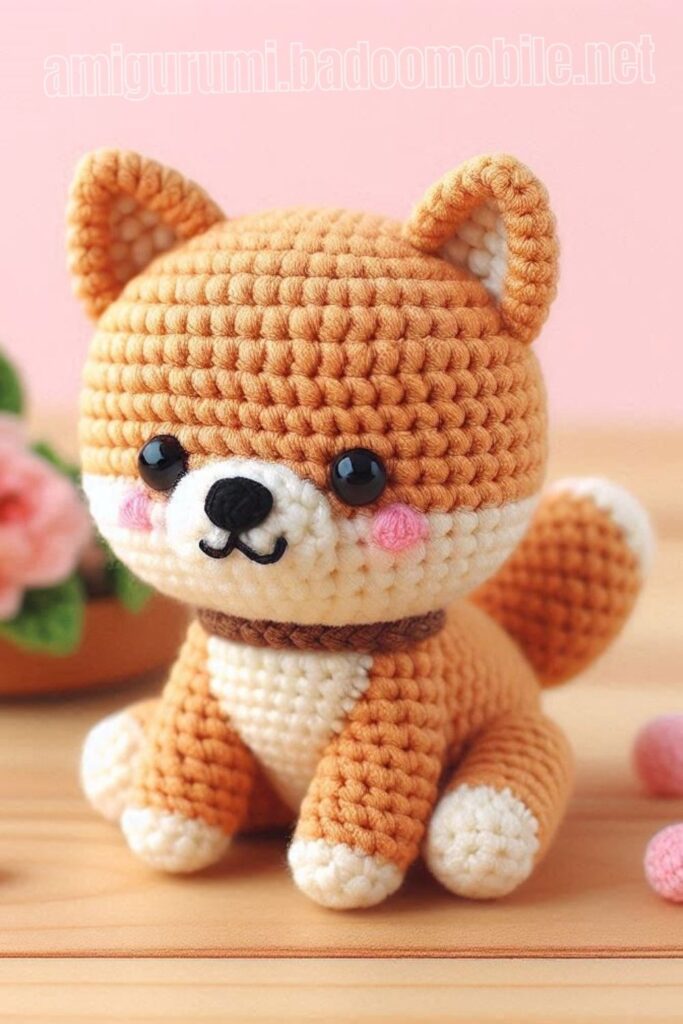
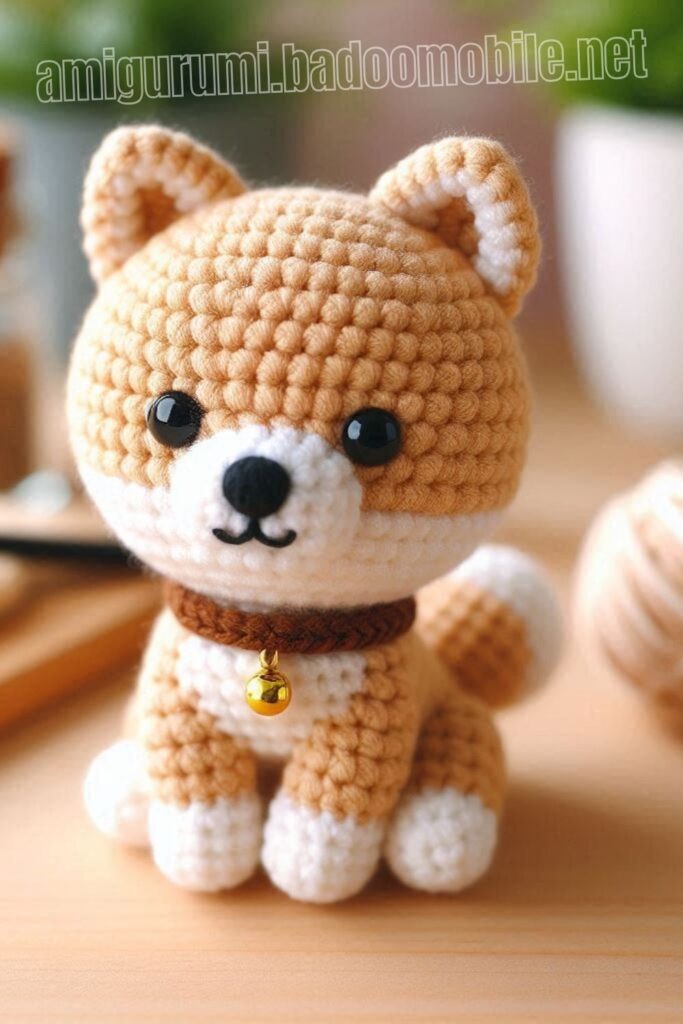
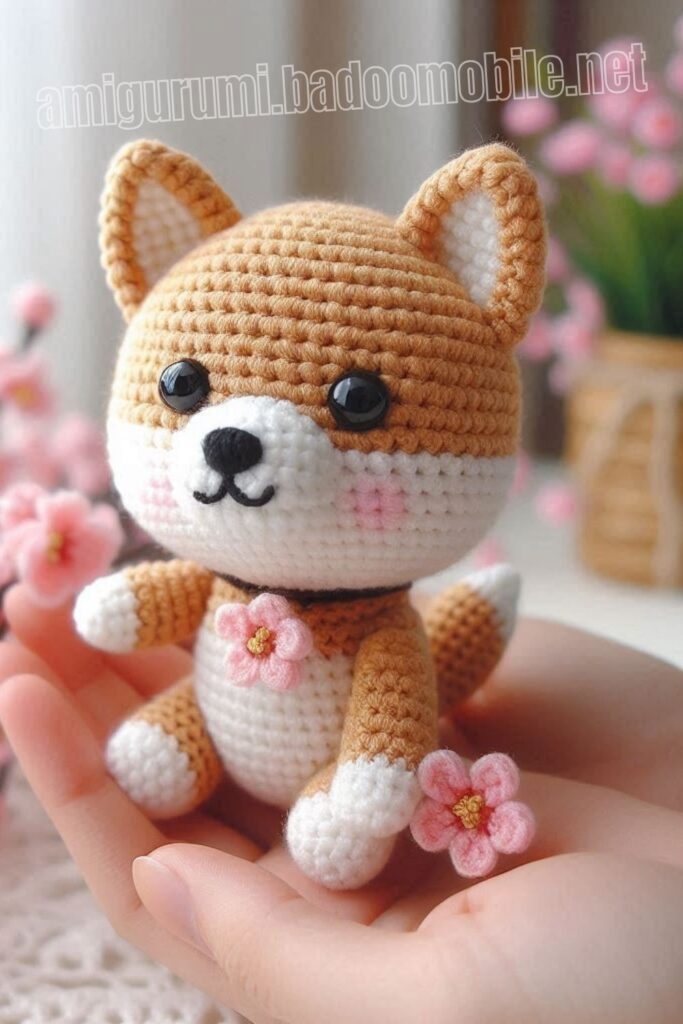
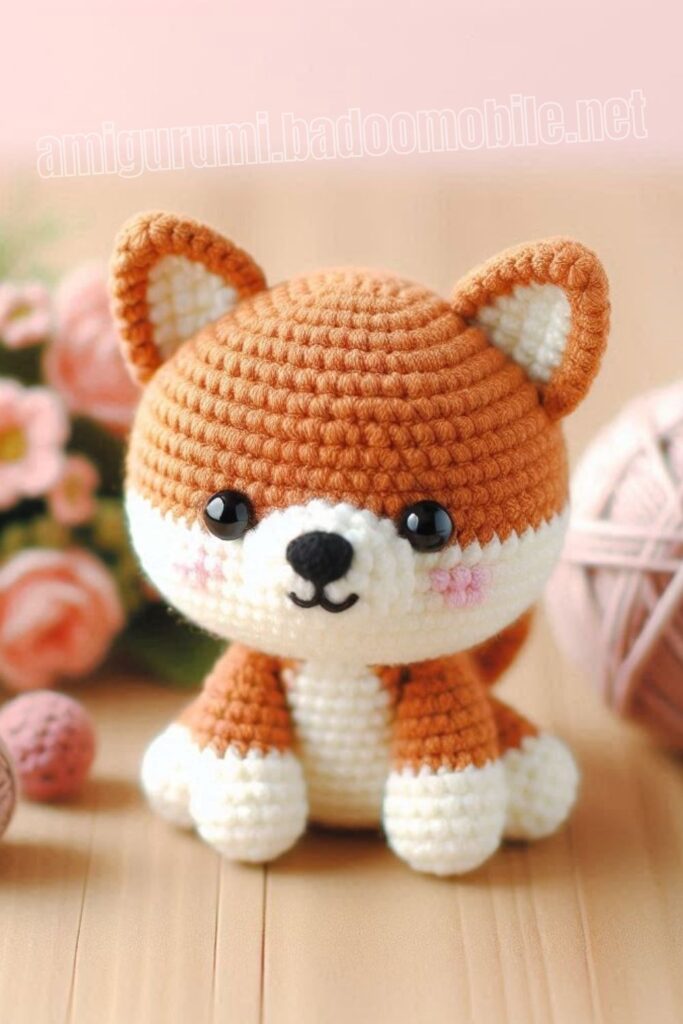
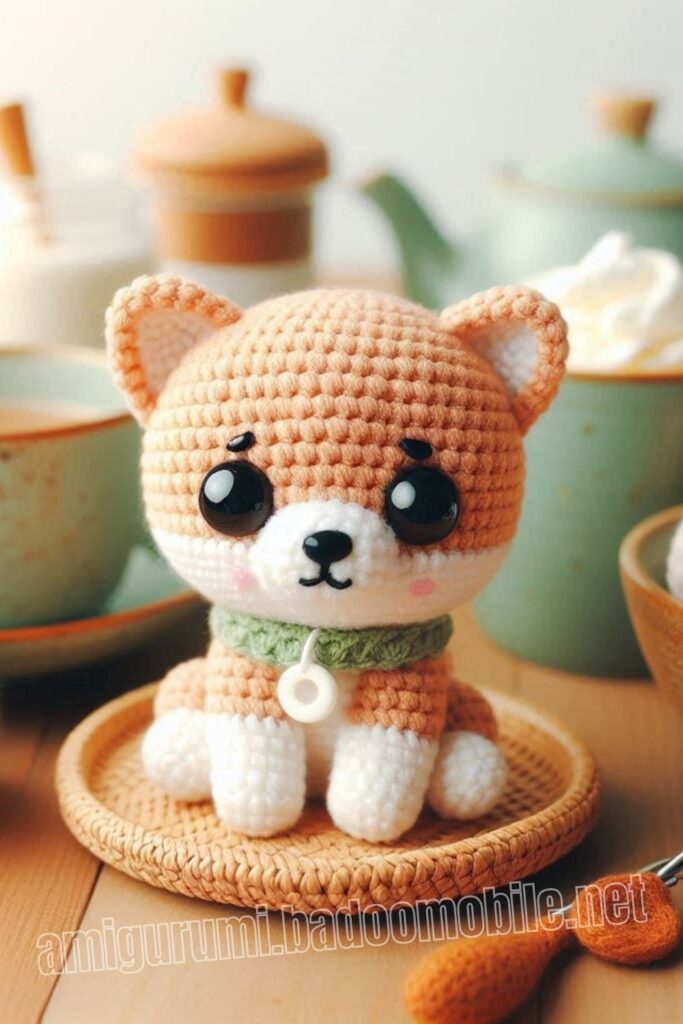
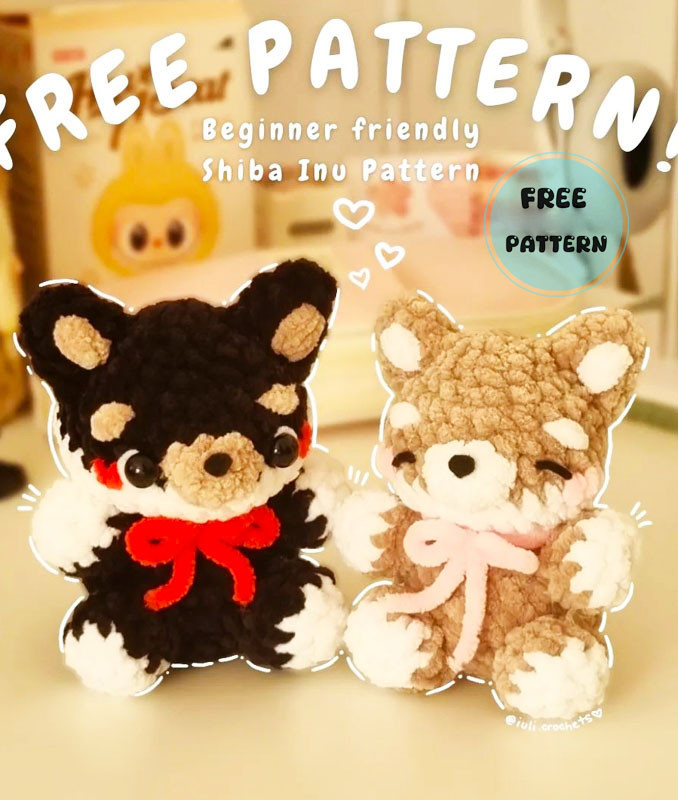
Todays daily new amigurumi free crochet pattern is Amigurumi Plush Shiba Inu.
I want to give you some informations about this amigurumi free pattern ; Plush Shiba Inu.
Materials
• Yarn Colour A (light brown/black/any)
• Yarn Colour B (white)
• For the black version: Yarn Colour C (light brown)
• Yarn Colour D (pink/red)
• 4.5mm crochet hook/hook matching your yarn’s weight
• 8mm safety eyes
• Brown/black felt
• Fiber Filling, scissors, hot glue gun
Abbreviations
ch – chain
mr – magic ring
Sc – single crochet
Flo – Front Loops only
dc – double crochet
sl st – slip stitch
inc – increase
dec – decrease
Amigurumi Plush Shiba Inu Free Pattern:
Head and Body-begin in colour A
R1: 6sc in MR (6)
R2: (sc, inc) x3 (9)
R3: (2sc, inc) x3 (12)
R4: (sc, inc) x6 (18)
R5: (2sc, inc) x6 (24)
R6: sc around (24)
R7: (3sc, inc) x6 (30)
Change to Colour B
R8-R9: sc around 2 rows (30×2)
If you are using safety eyes, insert them between R7-R8, about 5 stitches apart.
R10: (3sc, dec) x6 (24)
Stuff the head fully.
R11: 12dec (12)
R12: in FLO (sc, inc) x6 (18)
Body begins here
Change to Colour A
R13: sc around (18)
R14: (2sc, inc) x6 (24)
R15-R17: sc around 3 rows (24 x3)
R18: (2sc, dec) x6 (18)
R19: (sc, dec) x6 (12)
R20: 6dec (6)
Fasten off, cut the tail, use it to sew the hole on the last row closed.
Bottom Paws (make 2)- Begin in Colour B
R1: 6sc in MR (6)
R2: (sc, inc) x3 (9)
Change to colour A
R3: (2sc, inc) x3 (12)
R4: (2sc, dec) x3 (9)
Sl st and fasten off. Leave a long tail for sewing.
Top Paws (make 2)- Begin in Colour B
R1: 6sc in MR (6)
R2: (sc, inc) x3 (9)
Change to colour A
R3:sc around (9)
R4: (sc, dec) x3 (6)
Sl st and fasten off. Leave a long tail for sewing.
Ears (make 2) – In colour A
R1: 3sc in MR (6)
R2: 3inc (6)
R3: sc around (6)
R4: (sc, inc) x3 (9)
Sl st and fasten off. Leave a long tail for sewing.
Snout – In colour B/ colour C for black ver.
R1: 4ch, begin in 2nd chain from hook, 2sc, inc in the last chain, 2sc on other side (6)
R2: (sc, inc) x3 (9)
Sl st and fasten off. Leave a long tail for sewing.

Assembly
The next page includes a collage of the plushie seen from all sides to help with sewing.
• Stuff the top paws and sew them onto the body on the sides, between R12-R14, about 6 stitches apart.
• Leave one row under the arms empty, and sew the bottom paws between R16- R18, about 3 stitches apart. Make sure to stuff the paws.
• Sew the snout in the middle of the face, between R8-R6, about 4 stitches across.
• Sew the ears onto the head on both sides, situated a little bit at the back of the head, starting from R6 to between R3-R2
• Sew 2 spots using Colour B/Colour C onto the ears, between R2-R4 of the ears • Cut a reverted half triangle with smooth edges for the nose, glue it in the middle of the snout, on R2
• For the brown version: cut 2 half ovals for the eyes in brown felt, about 1.5 stitches long and glue them on R7, leaving 1 stitch from the snout
• For the black version: using white yarn, sew 2 white parts right under the eyes
• Sew the eyebrows of the Shiba using Colour B/Colour C between RR7-R6 and R6-R5 angled downwards, above the eyes, 2 stitches across as shown below
• Sew 2 little hearts in colour D for the cheeks, next to the eyes.
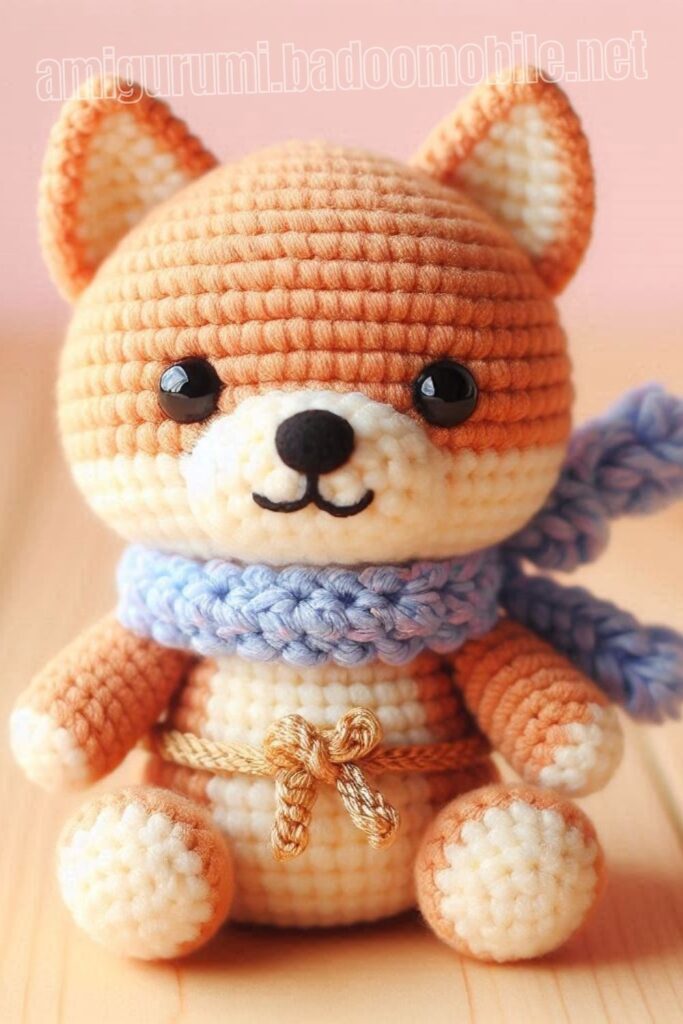
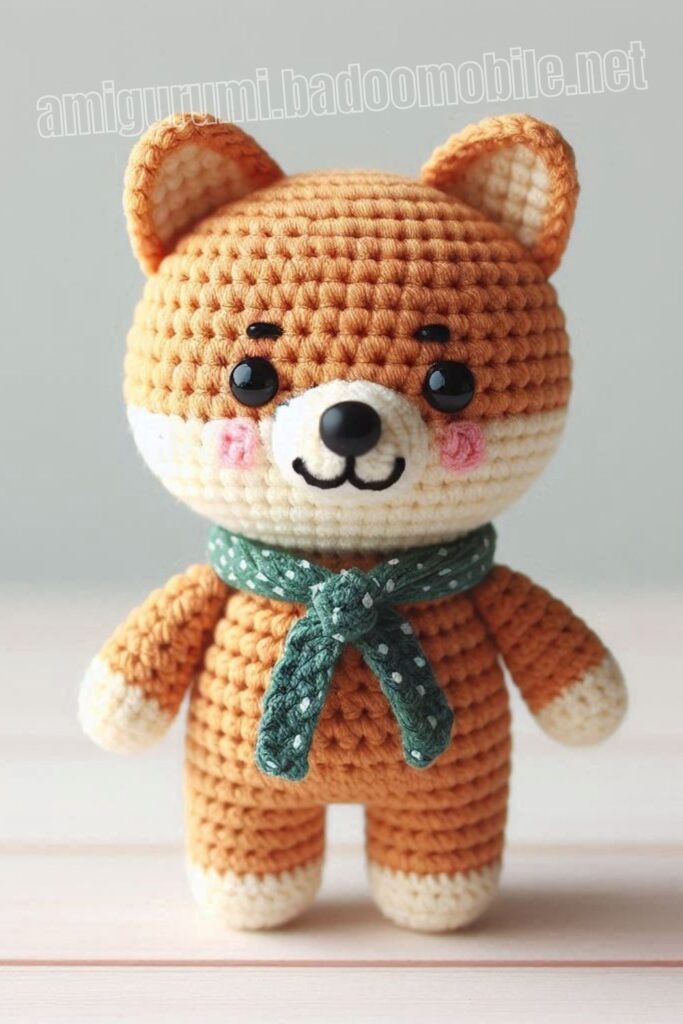
More Amigurumi Shiba Inu Ideas:
