Hello dear Amigurumi Followers
Today we share Amigurumi Crochet Little Totoro Keychain Free Pattern for you. As you know we share new free amigurumi pattern every day. The main crochets are gazelle, amigurumi bear, pola, crochet panda, penguin, giraffe, llama, pig, bunny, clown, lamb, bee, crochet unicorn, amigurumi doll, fox, penguin, dinosaur, crochet elephant, hippo, monkey, crochet cat, crochet dog and more …
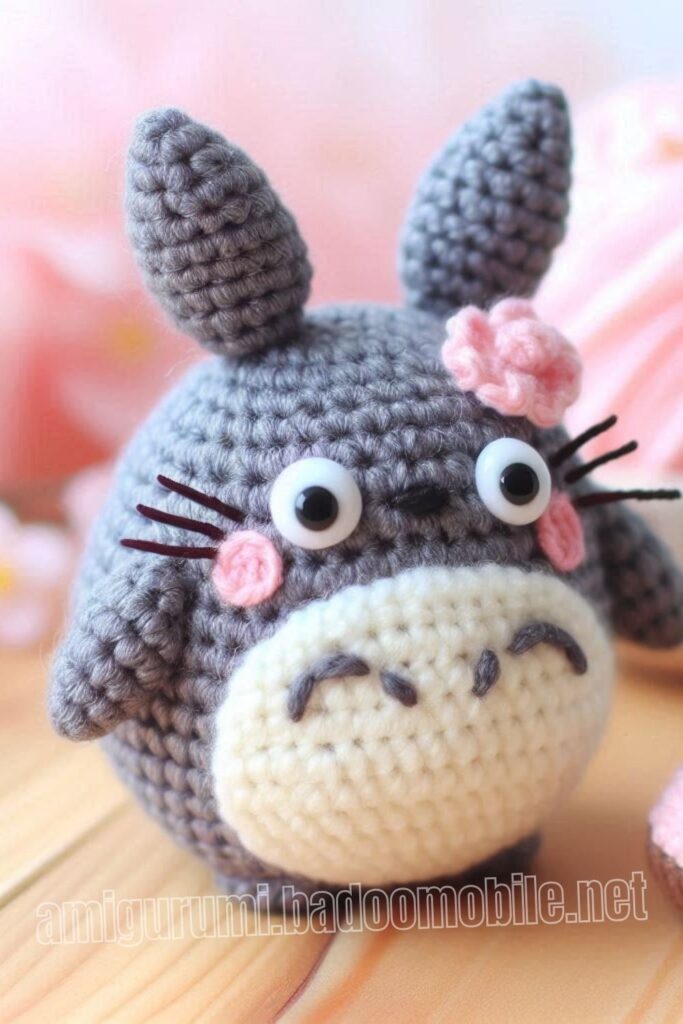
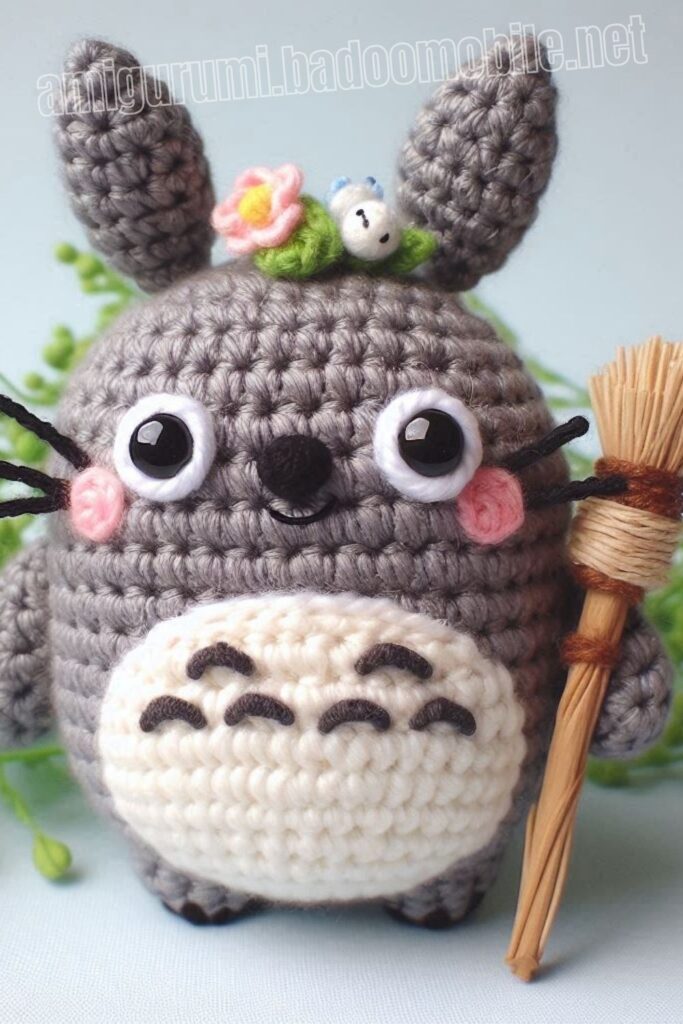
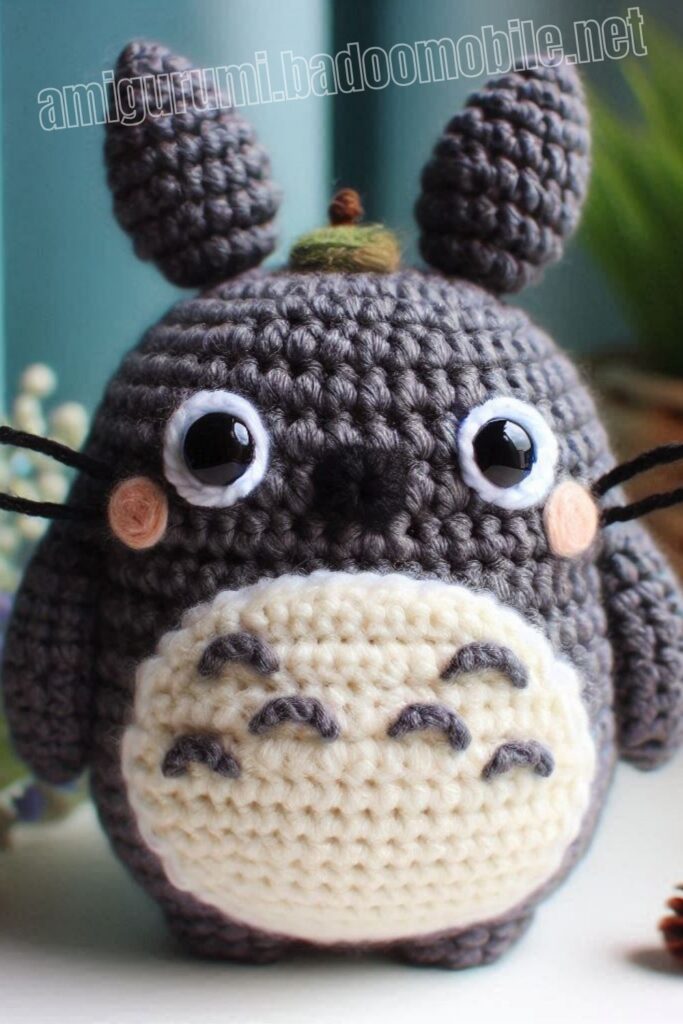
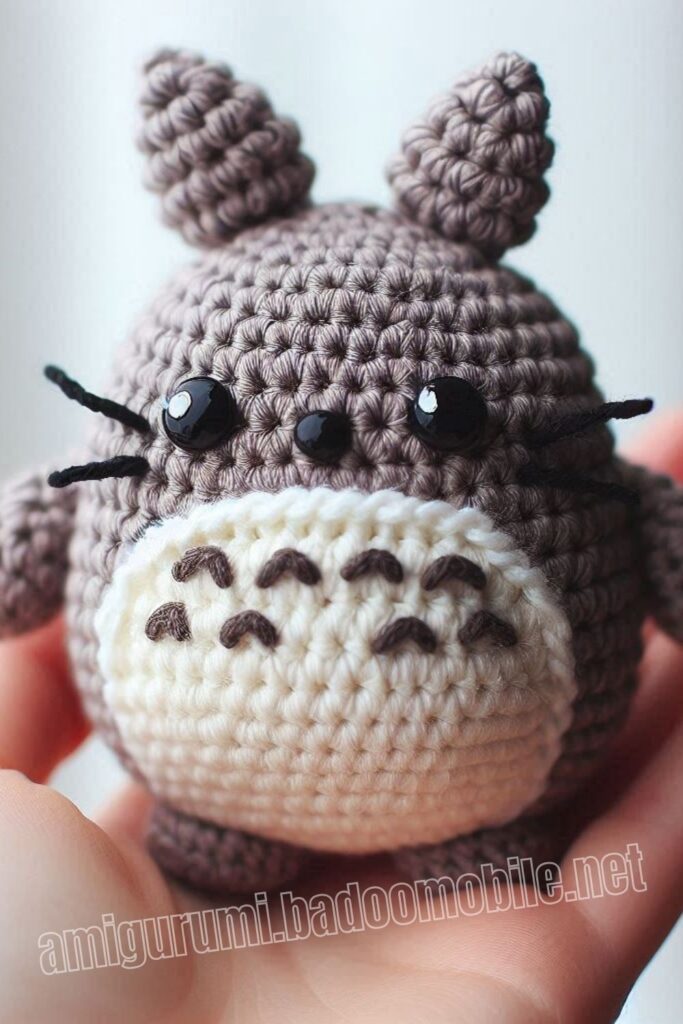
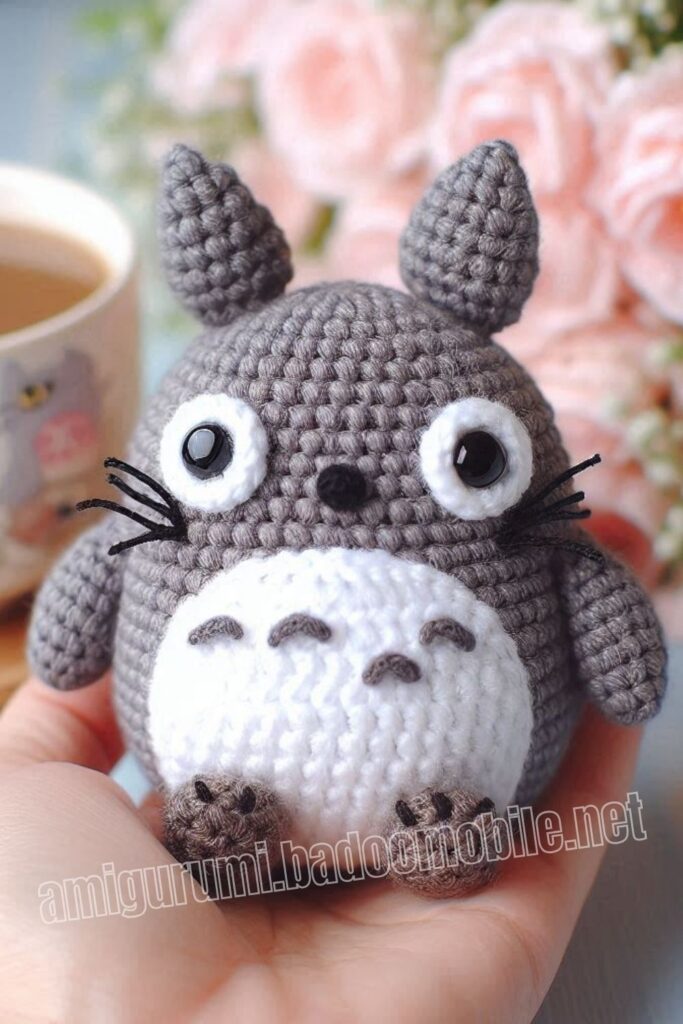
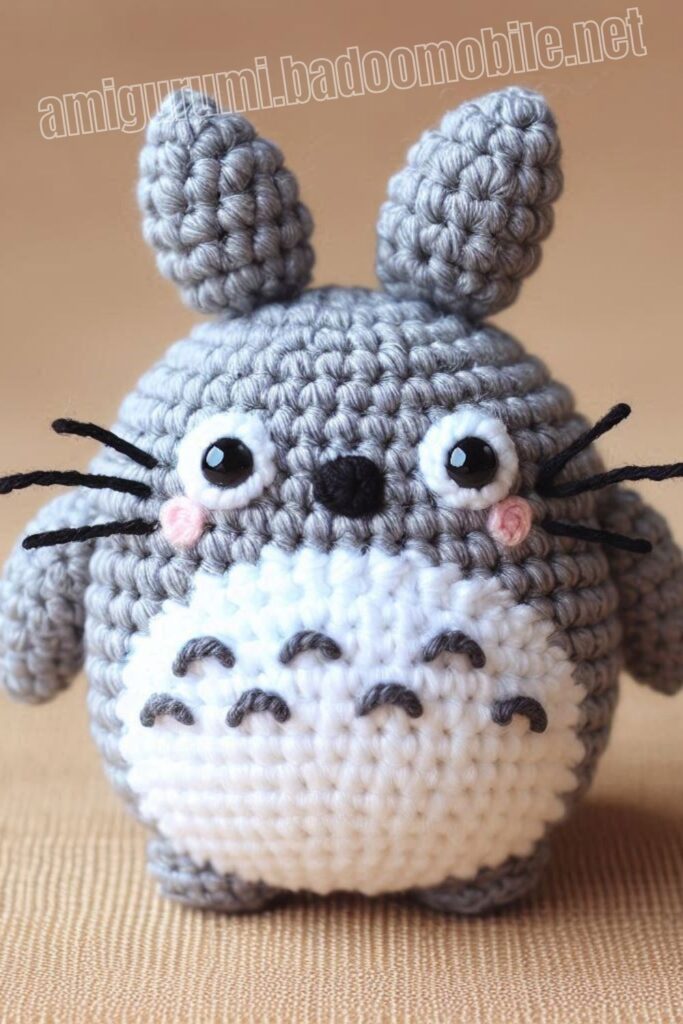
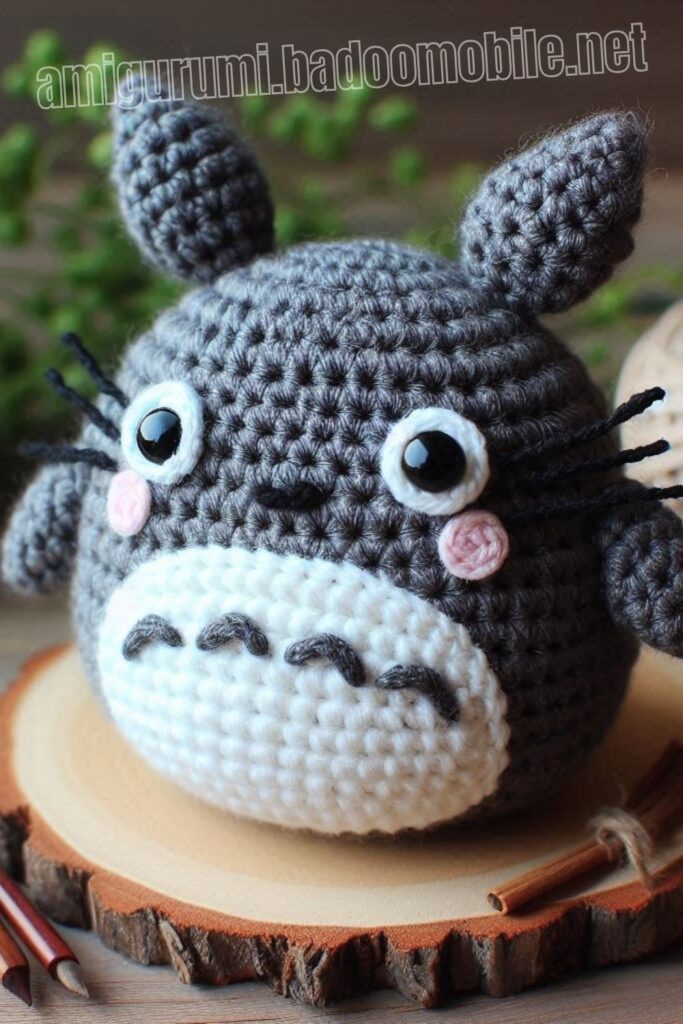
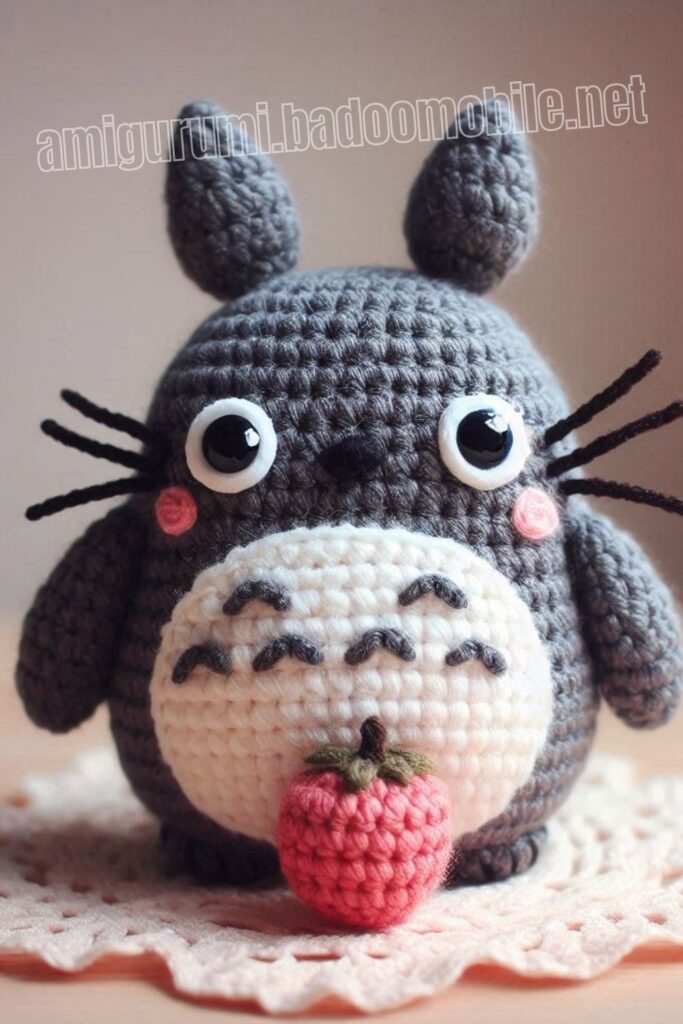
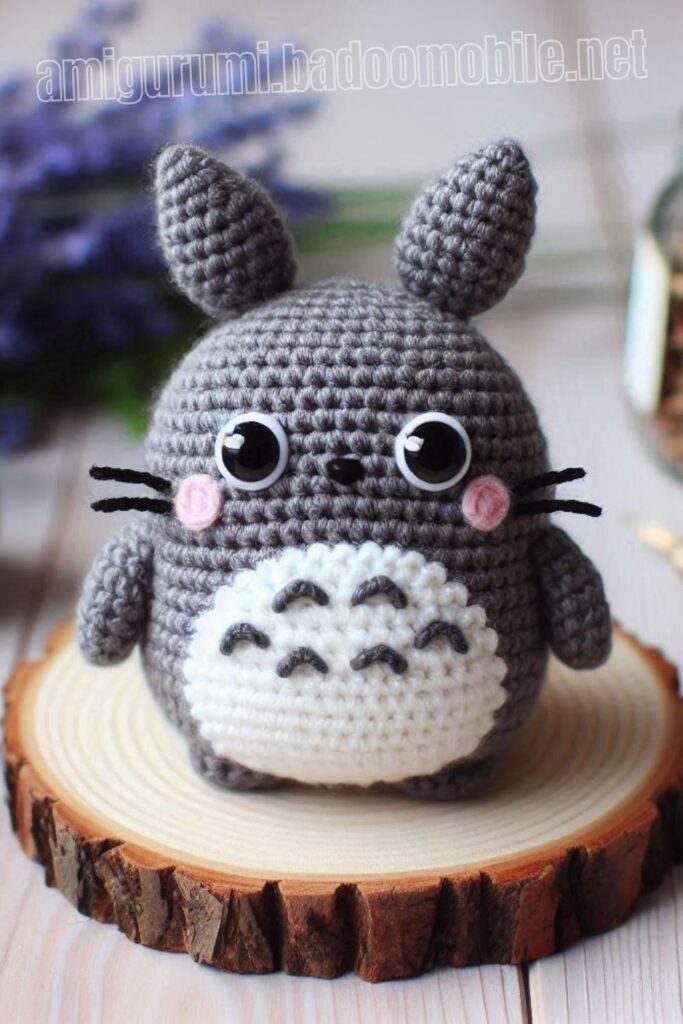
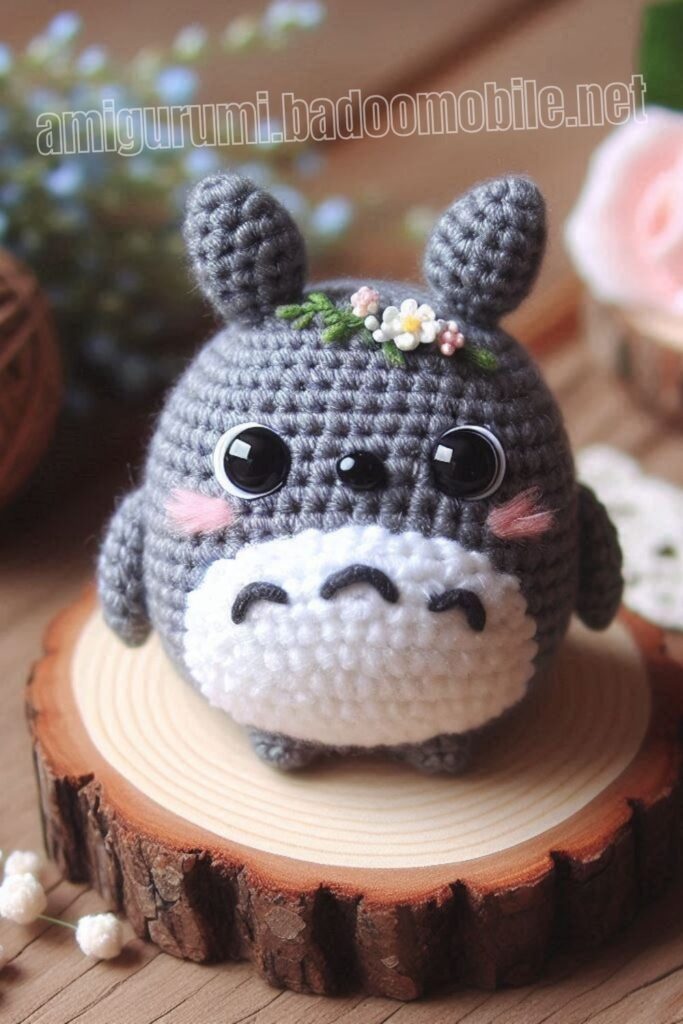
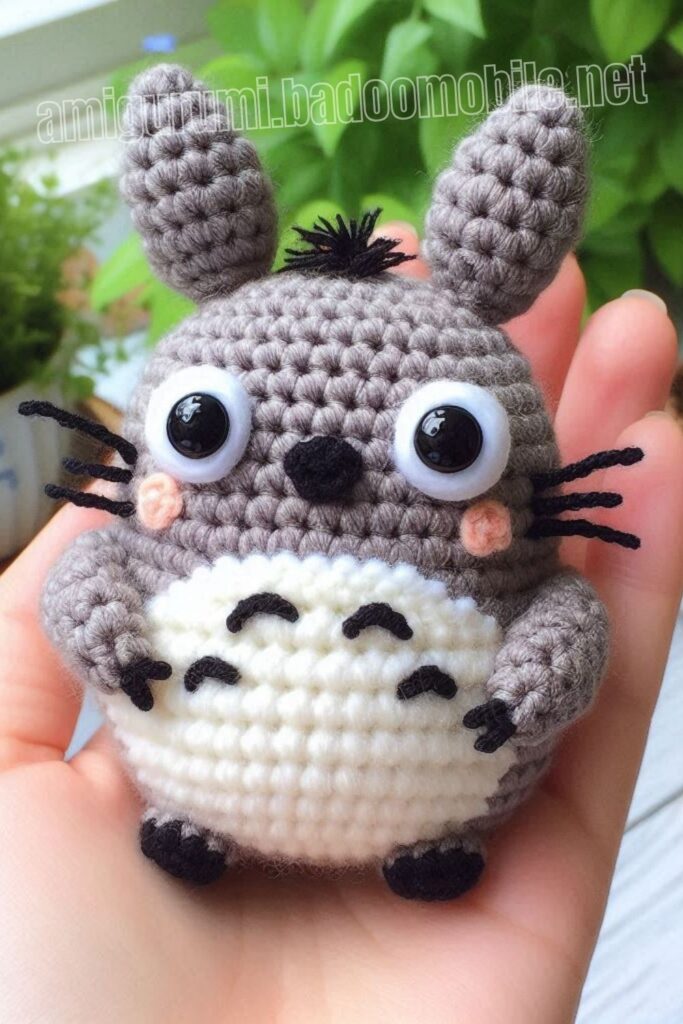
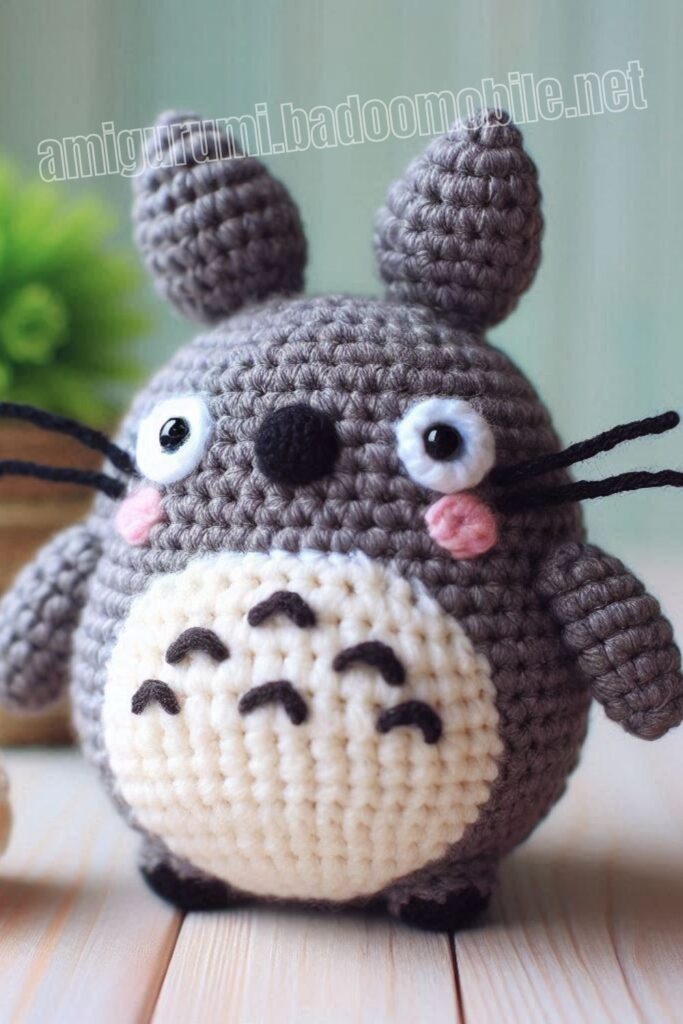
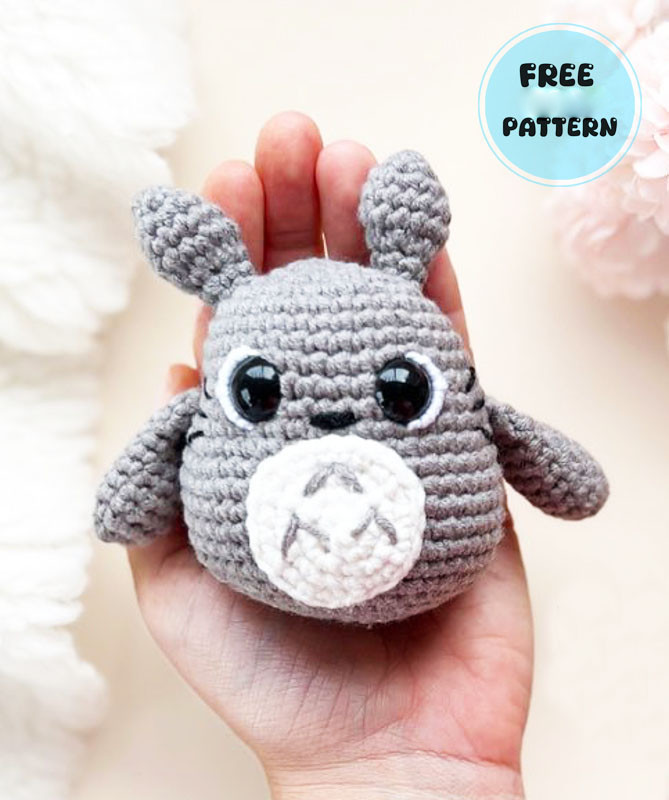
Todays daily new amigurumi free crochet pattern is Amigurumi Crochet Little Totoro Keychain.
I want to give you some informations about this amigurumi free pattern ; Crochet Little Totoro Keychain.
Materials
Yarn – Amigurumi Soft in colors: 8464- Chiselled 1706 – Flakes
Amigurumi yarn in color: 8001 White
Cléa thread in color: 8990 – Black
Courses of materials:
Tapestry needle
Acrylic fiber
13mm safety pins
Scissors
Pins
ABBREVIATIONS
MR – Magic Ring
sc – single crochet
inc – increase
dec – decrease
sl st – slip stitch
Amigurumi Crochet Little Totoro Keychain Free Pattern:
Arms
Start with the chiseled color:
1. 6sc in the MR [6]
2. 6inc [12]
3-9. 12sc [12] (7rows)
Place some acrylic fiber on the piece.
Close the piece with 5sc, grabbing both sides of the piece.
Fasten and cut the middle thread.
We will sew later.

Body
With the chiseled color start:
1. 6 sc in MR [6]
2. 6aum [12]
3. (1sc. 1inc) repeat 6 times [18]
4. (2sc. 1inc) repeat 6 times [24]
5. (3sc. 1inc) repeat 6 times [30]
6. (4sc. 1inc) repeat 6 times [36]
7-9. 36 sc [36] (3 row)
10. (5sc. 1inc) repeat 6 times [42]
11-12. 42 sc [42] (2 row)
13. (6sc. 1inc) repeat 6 times [48]
14-19. 48sc [48] (6 rows)

Place the 13mm eyes between rows 10 and 11, 5sc apart
This is the time to embroider the eyes and the snout.

We will return to the body later.
In row 11, 1sc apart from the right eye , use the needle and a black thread. Use the needle to make 2 sc for the left eye. Do this 3 more times to form the snout.
Embroider the whiskers on the sides of the eyes at a distance of 2 sc.

Body
Use the Flocos thread to embroider the side of the eye:
Start with the needle at the bottom of the eye and enter at the top. Return with the needle again to the starting point of the embroidery and pass the thread through the embroidered line. Be careful not to scratch the eye with the needle. Finally, start with the thread in the middle of the eye and pass it around the white embroidery, entering again at the point where you started to keep the embroidery attached.

20. (6sc. 1dec) repeat 6 times [42]
21. (5sc. 1dec) repeat 6 times [36]
22. (4sc. 1dec) repeat 6 times [30]
23. (3sc. 1dec) repeat 6 times [24]
24. (2sc. 1dec) repeat 6 times [18]
Stuff the body with acrylic fiber.
25. (1sc. 1dec) repeat 6 times [12]
26. 6 dec [6]

Make the reverse MR and hide the yarn.

Ears
Start with chiseled stitch:
1. 6sc in MR [6]
2. 6sc [6]
3. 6inc [12]
4-5. 12sc [12] (2rows)
6. 6dec [6]
7. 6sc
Fasten off, cut the yarn and leave a long tail for sewing.

Belly
With snowflakes start:
1. 6sc in MR [6]
2. 6inc [12]
3. (1sc. 1inc) repeat 6 times [18]
4. (2sc. 1inc) repeat 6 times [24]
make 1slst. fasten off and leave the thread long for sewing.
With the chiseled color, embroider the details as in the photo to the side.

Assembly
Sew the arms to the sides of the body behind the mustache:
Sew the belly 1 row below the snout:
Sew the ears on the third row
at eye level.
Your totoro is ready!!
Don’t forget to tag us so we can share.
More Amigurumi Totoro Ideas:
